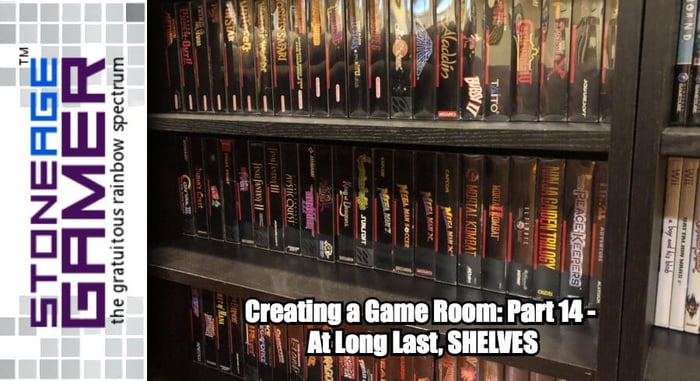
Creating a Game Room: Part 14 - At Long Last, SHELVES
The final stretch has begun!
It’s been a little over a year since I’ve written one of these entries, and well, it’s been a little over a year since I’ve done anything of note with my collection. If you’re new here, I’ve been working on turning my basement into a game room for a number of years, but the existence of small children and a lack of finances have been standing in my way.
Well, a fortunate turn of events has changed things, and I’m finally in a position to bring my game room plans to fruition. At long last, things are moving forward.
There are four main facets remaining in my basement that need to be resolved. First, I need a proper set of shelves to display my games on out in the open. Second, I need a proper desk to work on, preferably something where I can display my First 4 statues. Third, I need a proper shelving unit for my retro consoles. (No offense to the wire rack solution I cobbled together last year) And finally, I need to filter through what’s left and find a way to make it all accessible in my closet space.
Today, we’re going to focus on the shelving units.
Good ol’ Billy
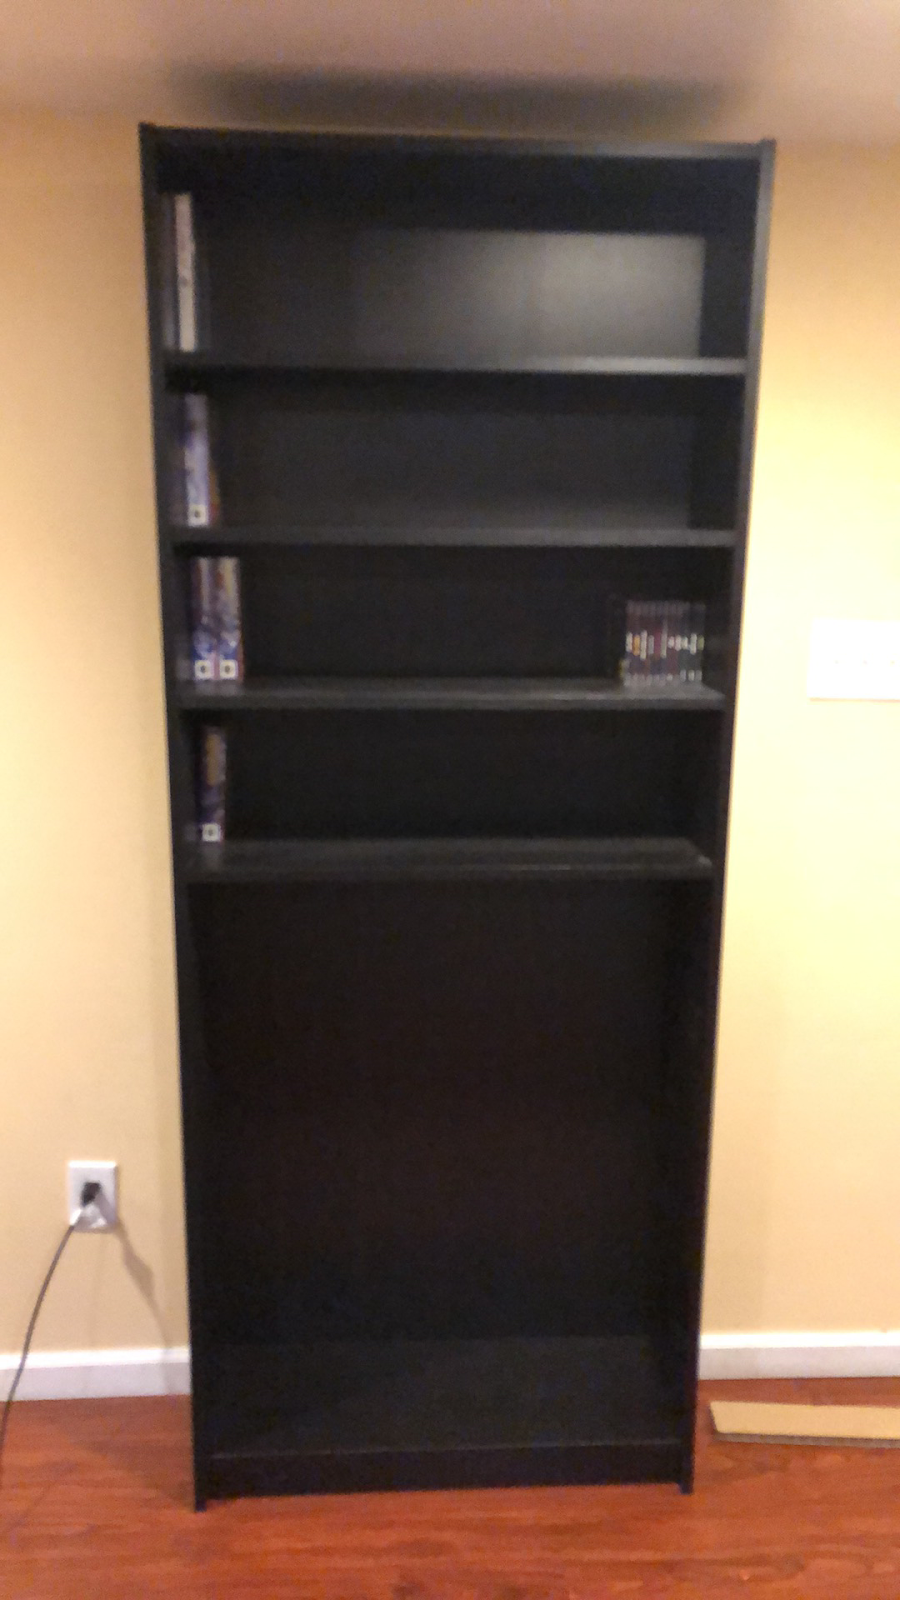
For years, I’ve been cruising the internet looking for proper shelving units to display my games on. Way back in the third part of this series (back in 2017) I wrote about special shelving units I’d want to put together with cabinet space at the bottom. Later I landed on Oskar shelves. There were several other options out there, but the one I was certain I didn’t want was Billy from IKEA. The problem with Billy was that the shelves were too deep. In my mind, the perfect shelves for video game storage were from my old FuncoLand. Just deep enough to fit the games nicely, but not so deep that there was a leftover chunk of space in front of everything.
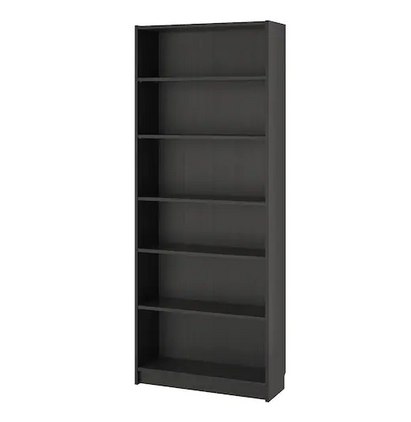
Billy is a nice looking bookcase, but it left that extra space that I couldn’t stand. The games by themselves would just look silly with all that empty room in front of them, and I felt like coming up with a method to keep them all pushed forward would only result in a shoddy looking situation. Billy wasn’t going to work.
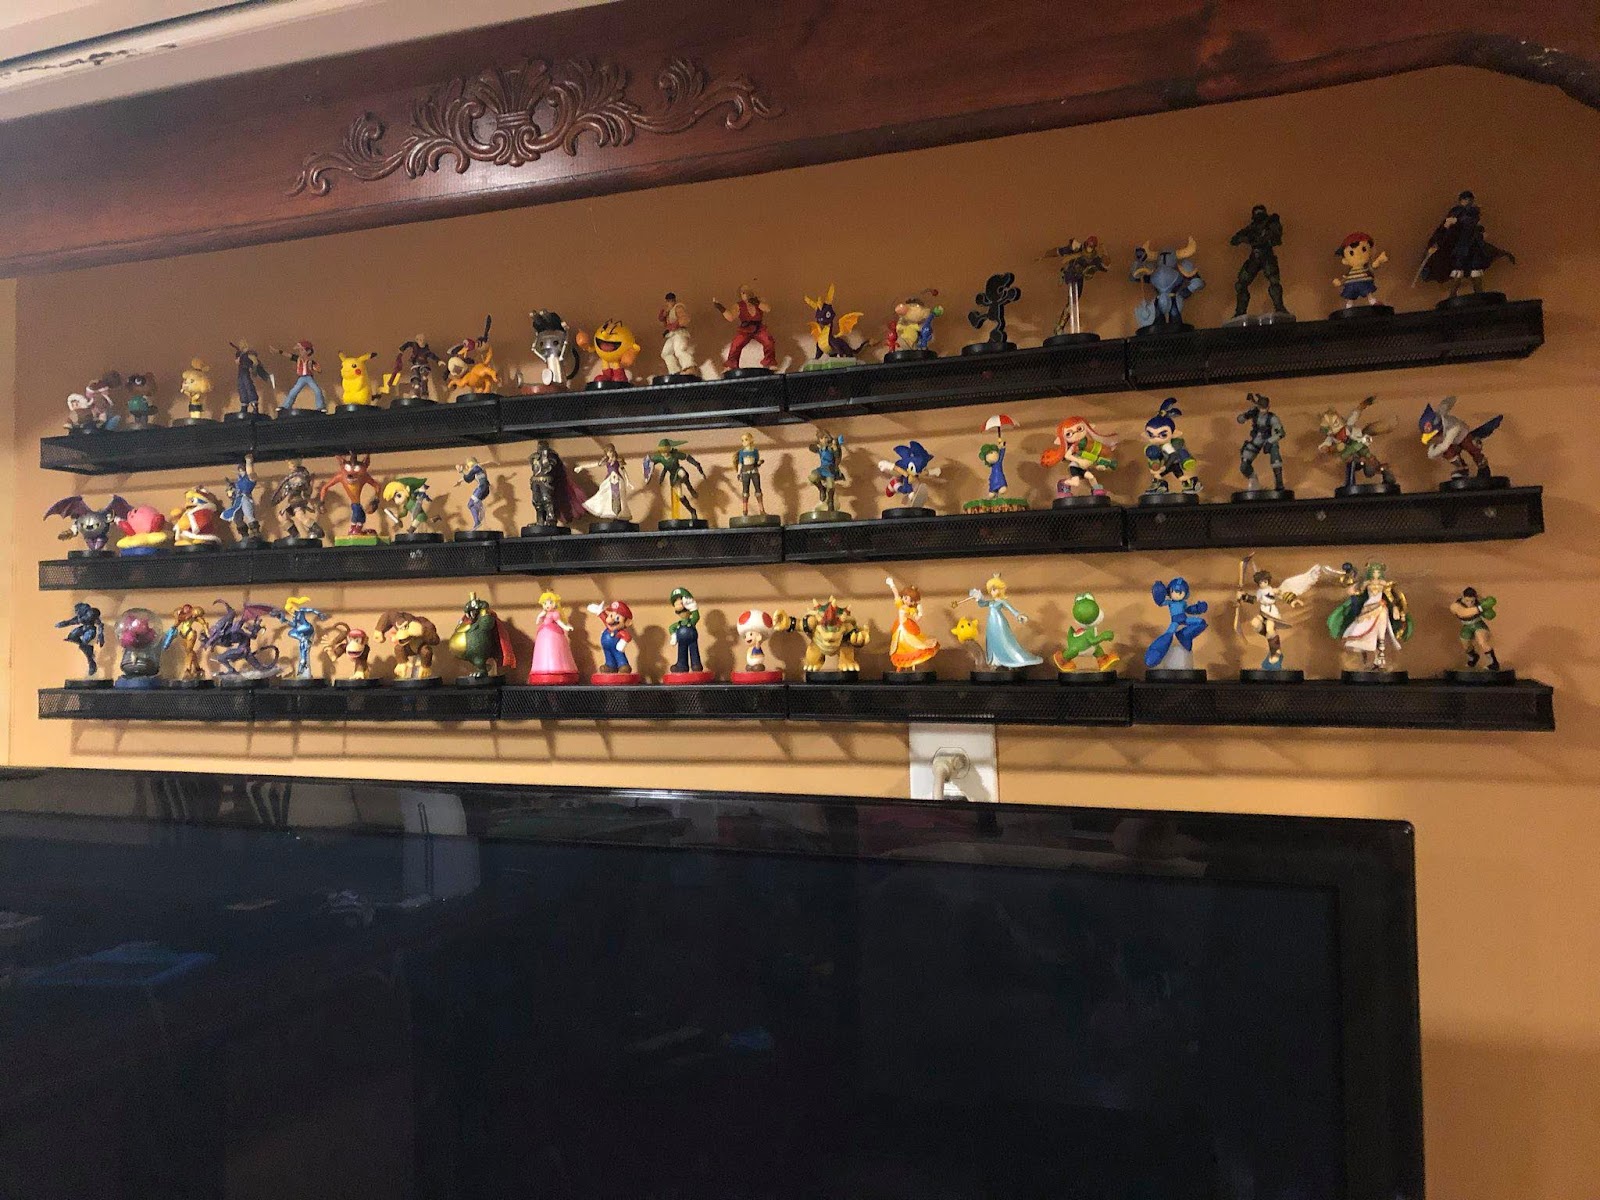
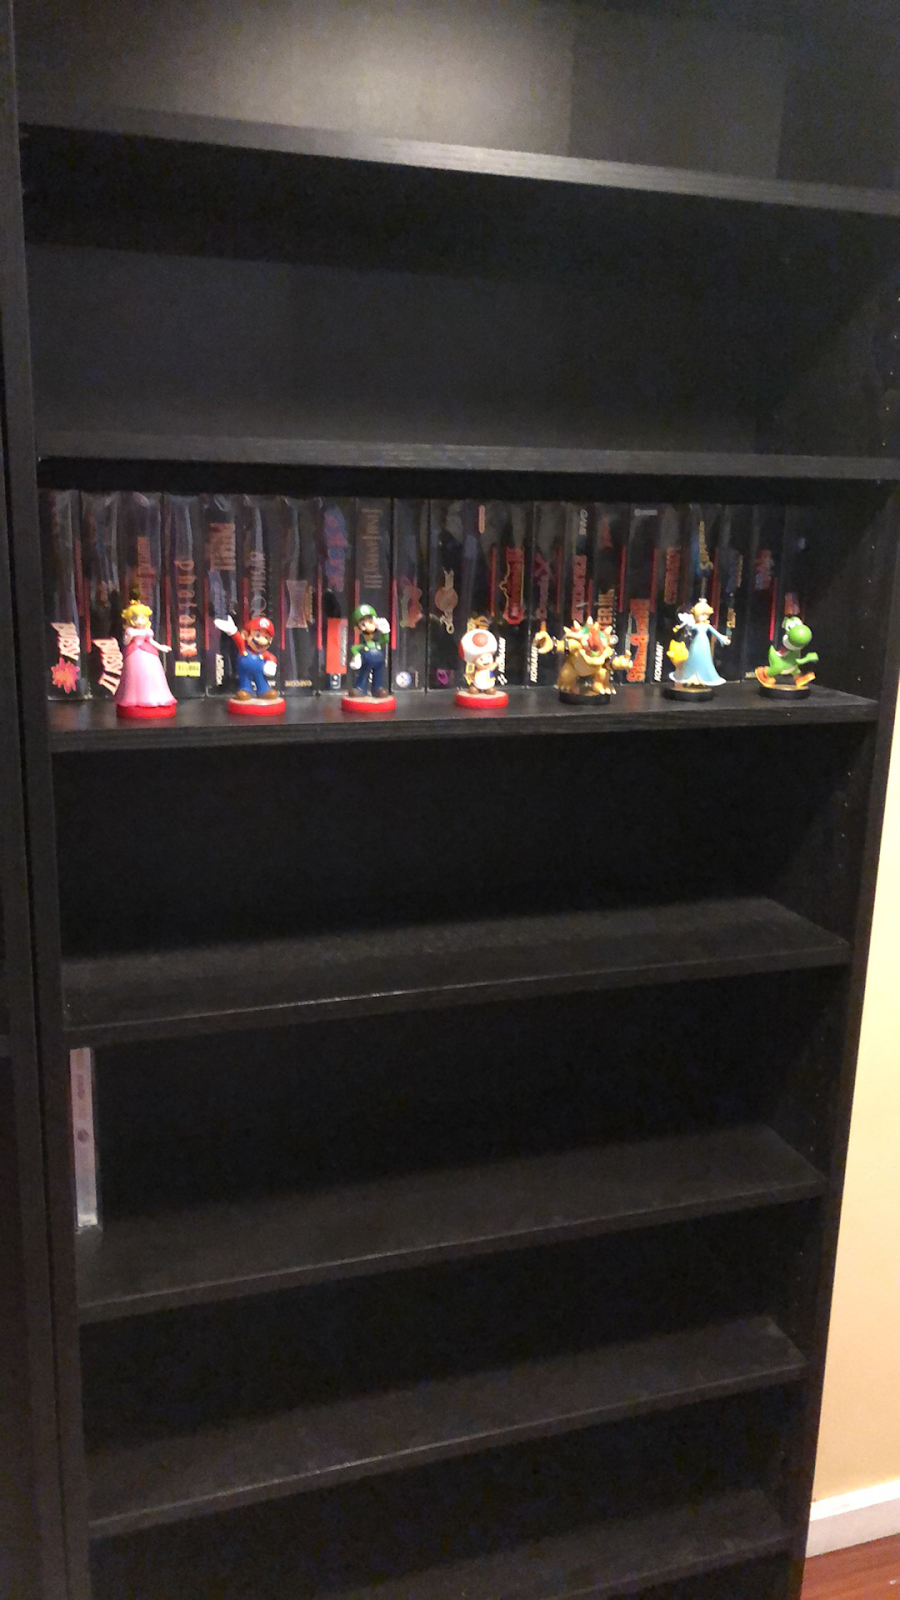
But then amiibo happened.
Those wonderful toys
What if I could actually use that space in front of the games to display cool video game related things? I did it before back in my old apartment. But in my mind, if I were to do it again I would want those things to all be uniform in some way, so putting things like random toys in front wouldn’t work. But amiibo fit that bill flawlessly. The only question then would be about accessing the games if I lined up figures in front of them. But then I realized two things. 1. amiibo aren’t exactly heavy. They can easily be moved aside if they're blocking something I need. 2. Flash carts are a thing that exist, so it’s unlikely that I’ll need to access my games all that frequently.
This begs the question, why have this stuff at all if I don’t plan on using them? Honestly, if I was being practical, no. There’s no real need to have this stuff. That said, this isn’t about practicality. There’s always going to be a certain amount of charm to putting an actual cartridge or disc into a game system and playing it the way I did when I was a kid, but more importantly, it’s the art. The physical things are so cool to look at, even lined up on a shelf. Especially lined up in an attractive manner.
The decision was made, and I had landed back on Billy. Now I just needed to wait for IKEA to get the darn things back in stock.
Here’s a tip. When you call IKEA, the automated voice tells you that the people on the phone don’t have any information you can’t find on the website. That is NOT TRUE. Turns out the people on the phone can not only tell you exactly how many of an item a store has in stock, but if it’s sold out they can tell you when the next shipment is scheduled to arrive. That is most certainly not information available on their website. That would have saved me a trip to Pennsylvania.
Anyway, my first successful trip to IKEA resulted in three Billy bookcases. Unfortunately, all of the other stuff I needed to overhaul my basement was out of stock. I ultimately devised a plan where a friend of mine who lives only a few minutes away from a store would be my designated pickup person. I’d place orders online as the items came back in stock, and he would pick them up a few at a time and store them until I could come up and get them all in one trip. After all, the IKEA I was ordering from was about 2 hours from my house, so making that drive repeatedly wouldn’t make a whole lot of sense.
Can we build it? Yes we can!
Billy bookcases only come with 5 shelves. In order to organize my games the way I wanted, I would need an additional 2 shelves per unit. Unfortunately, the store I bought the bookcases from didn’t have any extra shelves, so I’d just have to get started with what I had.
I’ve been collecting games my whole life, and as I’ve been doing it, I’ve had no idea where I would ultimately end up. Now that I am where I am, I have way more stuff than I will ever be able to display properly. This is where some serious curation comes into play.
One thing I knew I wanted was to have all the shelves even. I hate it when I see a lineup of video games and the shelves are all uneven. I understand why that happens, because it’s a more effective way to use vertical space. If you’re lining up 3DO boxes on one shelf and Game Boy boxes on another, having those shelves sit at the same height apart is going to wind up leaving an awful lot of negative space unused. So I decided that the best use of space that would keep the shelves uniform would be to space them out just high enough to fit Sega Saturn, and only display my boxed games.
This does leave some space above my Game Boy stuff, but it doesn’t look terrible, especially once I put the amiibo in front of them.
Before I could actually set all that up, I was going to have to decide which games were going up, and which games were staying in the closet.
This is going to be fun.
The Game Room story so far:
Creating a Game Room: Part 13 - Adventures in Consolidation
Creating a Game Room: Part 12 - On the Blink
Creating a Game Room: Part 11 - Reclamation at Last
Creating a Game Room: Part 10 - Paint it Black
Creating a Game Room: Part 9 - Inspiration From Above
Creating a Game Room: Part 8 - A Nice Place to Sit
Creating a Game Room: Part 7 - Two Steps Forward…
Creating a Game Room: Part 6 - Love (HDMI) Connection
Creating a Game Room: Part 5 - CRTs are Heavy
Creating a Game Room: Part 4 - Arcade Dreams
Creating a Game Room: Part 3 - Shelf-Satisfaction