Creating a Game Room: Part 6 – Love (HDMI) Connection
At the end of my last post, I mentioned that the majority of my games are going to have to wait for a while. Turns out I was wrong. Here’s the deal. The garage is turning out to be a far more useful storage space than we had originally assumed. (We’ve never had a garage before) This means I have to get my games out of the garage sooner than later so that space can be utilized, thus clearing excess boxes out of other rooms in the house. Of course, the basement has also turned out to be a much more entertaining space for the kids than we originally thought. So I’ve had to start accelerating my plans to divide garage stuff between “attic,” “get rid of,” and “display,” let’s call them piles for lack of a better term. But before I started doing that, I needed to get the stuff that was already down there a bit more set up, and that meant attacking the “modern” stuff.
A few posts ago I think I mentioned that I hooked my Wii U up so I’d have access to the Virtual console, but I didn’t know how I was going to make it work on these shelves with the wires and all that. Well, I started digging into that issue first. I discovered that the previous tenants punched a hole into the side of this set of shelves, so I started trying to shove wires through it. The problem was that the hole wasn’t very big. The idea of expanding the hole occurred to me, but I’d like to avoid punching holes in the walls of my new house if I can, so I started seriously considering just putting the consoles on the shelves under the TV. That is, after all, what the shelves were designed for, right? The problem there is that, like I said earlier, the kids like to play down here, and as my son proved when he was a baby, small children like opening disk drives, and the Xbox 360 in particular would be in serious danger down there. Really, anything I put on those shelves could be in trouble with kids potentially trying to shove things into the disk drives. Fortunately, a solution presented itself.
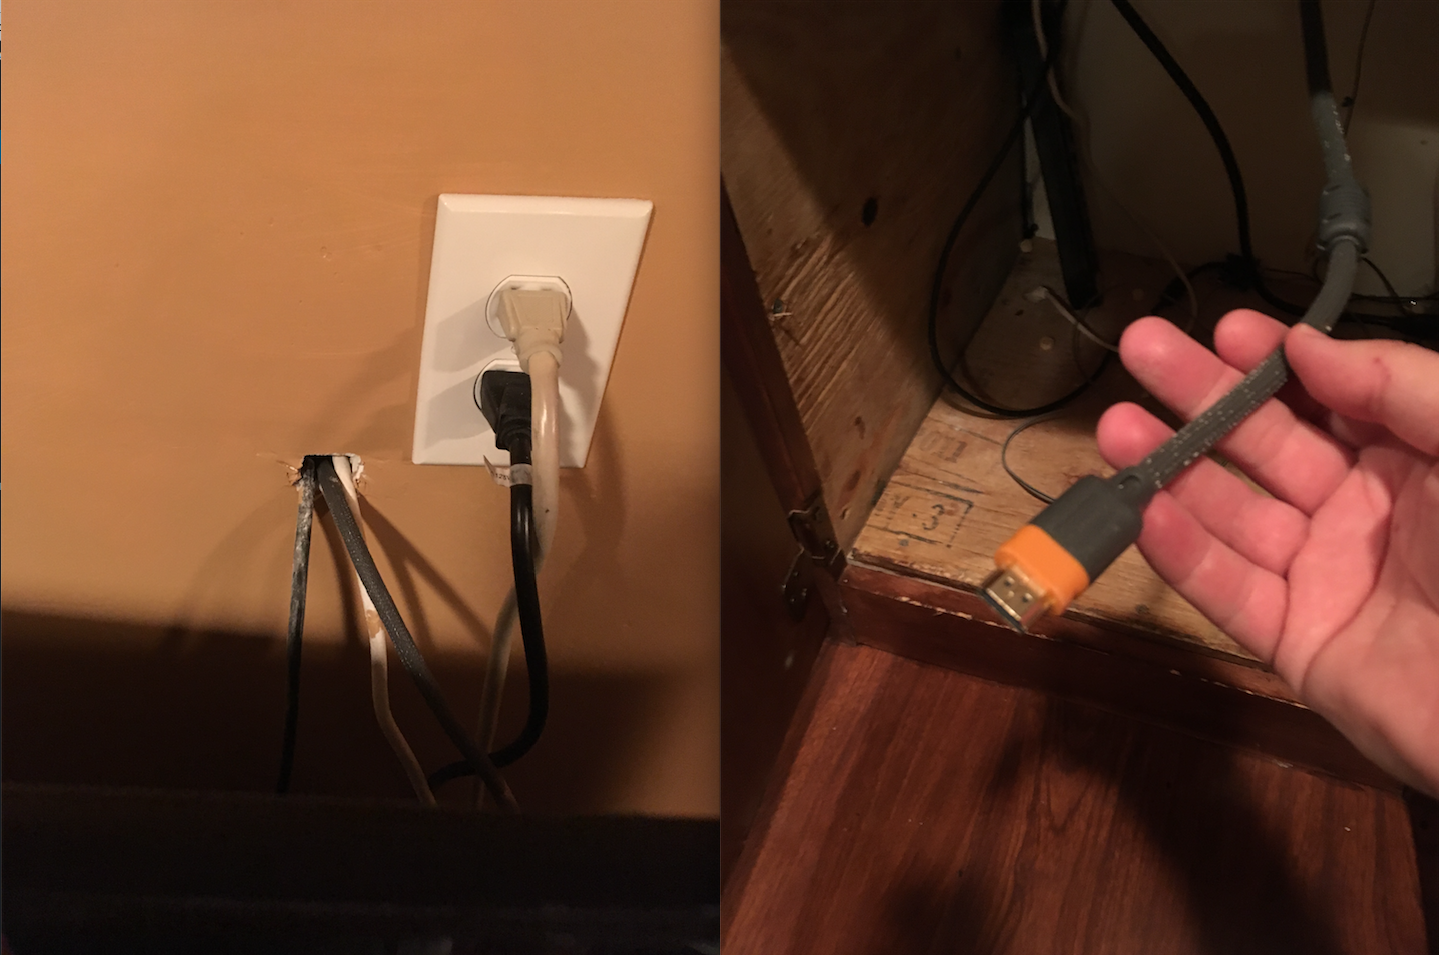
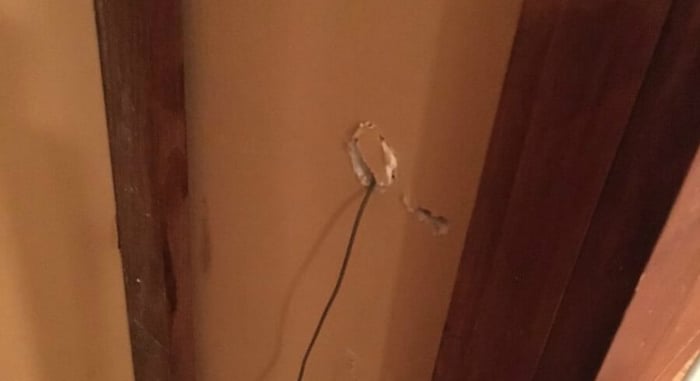
Left: Hole in the wall behind the TV. Right: The other end coming out of the cabinet under the shelves. What luck!
I noticed before that there were several wires sticking out of a hole in the wall behind the TV. Upon further inspection, one of those wires was an HDMI cable. (YES!) Now, the previous tenants had a projector in the ceiling, and there’s an HDMI port in the ceiling that I assumed was the other end of this wire. As it turns out, that’s not the case. The other end of the HDMI cable runs behind the wall and into this set of shelves! And since I bought an HDMI switch box to run into my component converter (thanks once again to the HDMI ports on my TV being fried) this worked out perfectly. The shelves all have power outlets on them, they’re out of kid-reaching height, and now there’s a clean way to connect them to the TV. The only remaining issue was the Wii U’s sensor bar, which just so happens to have a wire small enough to run through that aforementioned hole in the side of the shelves.
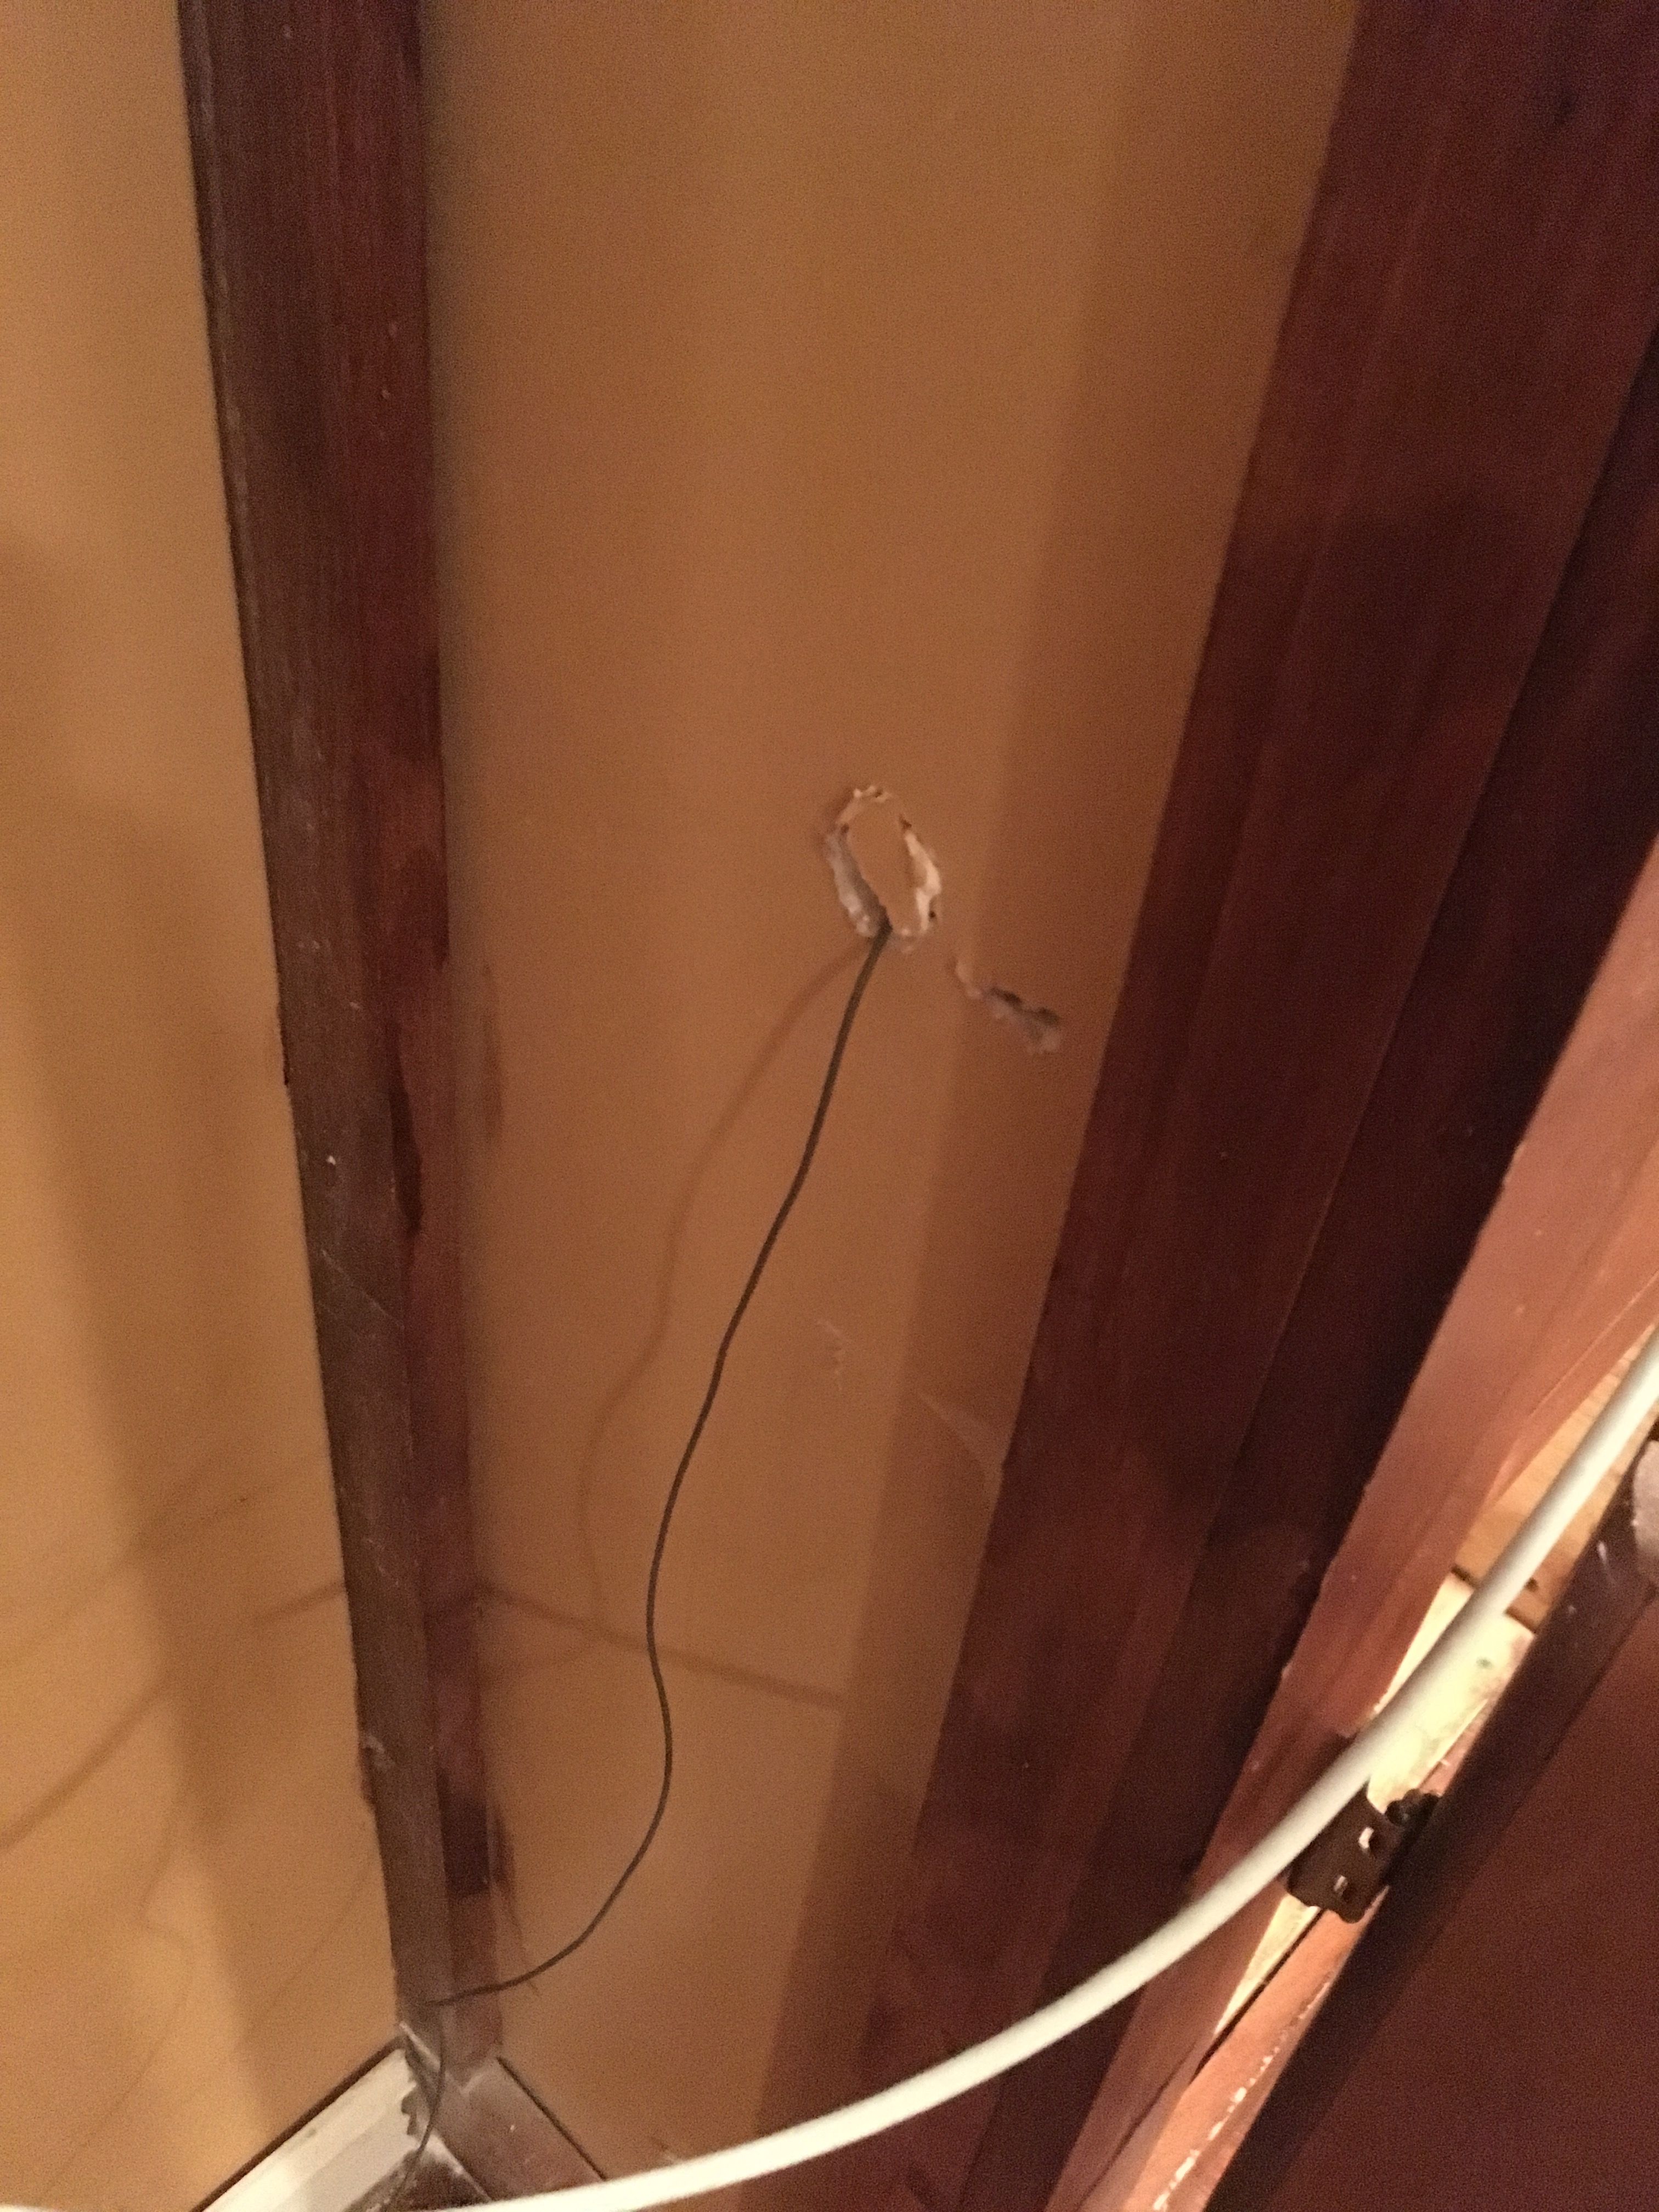
That’s the hole they punched in the side of the shelves. Fortunately you can’t see it if you don’t poke your head around the side, but man. They certainly didn’t care if it looked nice, did they?
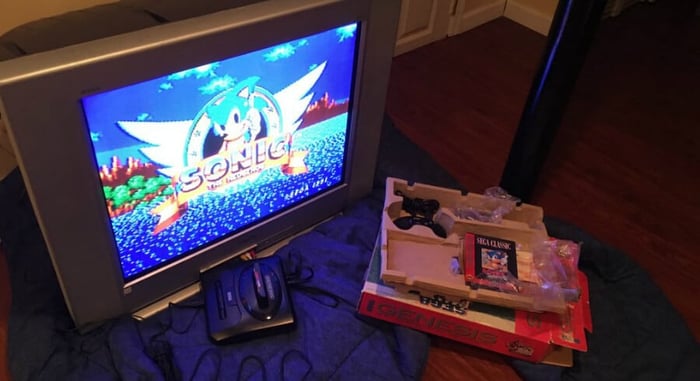
The next step was going to be hooking up my PS3 and Xbox 360 consoles. Neither one of them has been used for a very long time, with the exception of the PS3 which was used as a Netflix player in my last apartment’s bedroom, and even that hadn’t been turned on in almost a year. So I decided to start with that one, since I was pretty sure it still worked. I was also pretty sure that because it’s a PS3, it was going to need some serious updates, and I was right. So I set that sucker on the progress bar apocalypse and switched over to my 360. Much to my pleasure, it also booted right up. However, that guy needed some SERIOUS updates, and it seemed really confused about my Xbox Live account. I had to go through a bunch of dumb password resets and telling Microsoft that I didn’t want to pay to renew my Live subscription that I hadn’t used in about 2 years. But other than that, that old sucker booted up way better than I thought it would. As a side note though, after having spent so much time playing Wii U and Switch, the 360 seems really rickety. The sounds it makes, the loading times, game consoles really has come a long way.
Anyway, I did run into a rather unexpected problem with my 360, and that was the controllers. It seems the battery for my Play n Charge kit has expired, and I foolishly left a pair of AAs in my other wireless, so I had to test stuff out with my wired 360 pad. Not the end of the world, but as I learned when I tried messing around with Portal for the first time in a couple years, my daughter REALLY likes chewing on cables, so I’m going to have to get myself a fresh Play n Charge kit soon. All things considered, that certainly could have gone worse, but not for nothing, what’s up with that dead battery? My PS3 controller still works just fine. I wouldn’t expect the built-in battery in any of my wireless controllers to die like that, so why should I expect the battery in my Play n Charge kit to die after non-use? Also, why the heck wasn’t the battery built into the 360 controller? For all the stuff that console did well (and that’s a LOT. I played the crap out of my 360) there sure were some oddities.
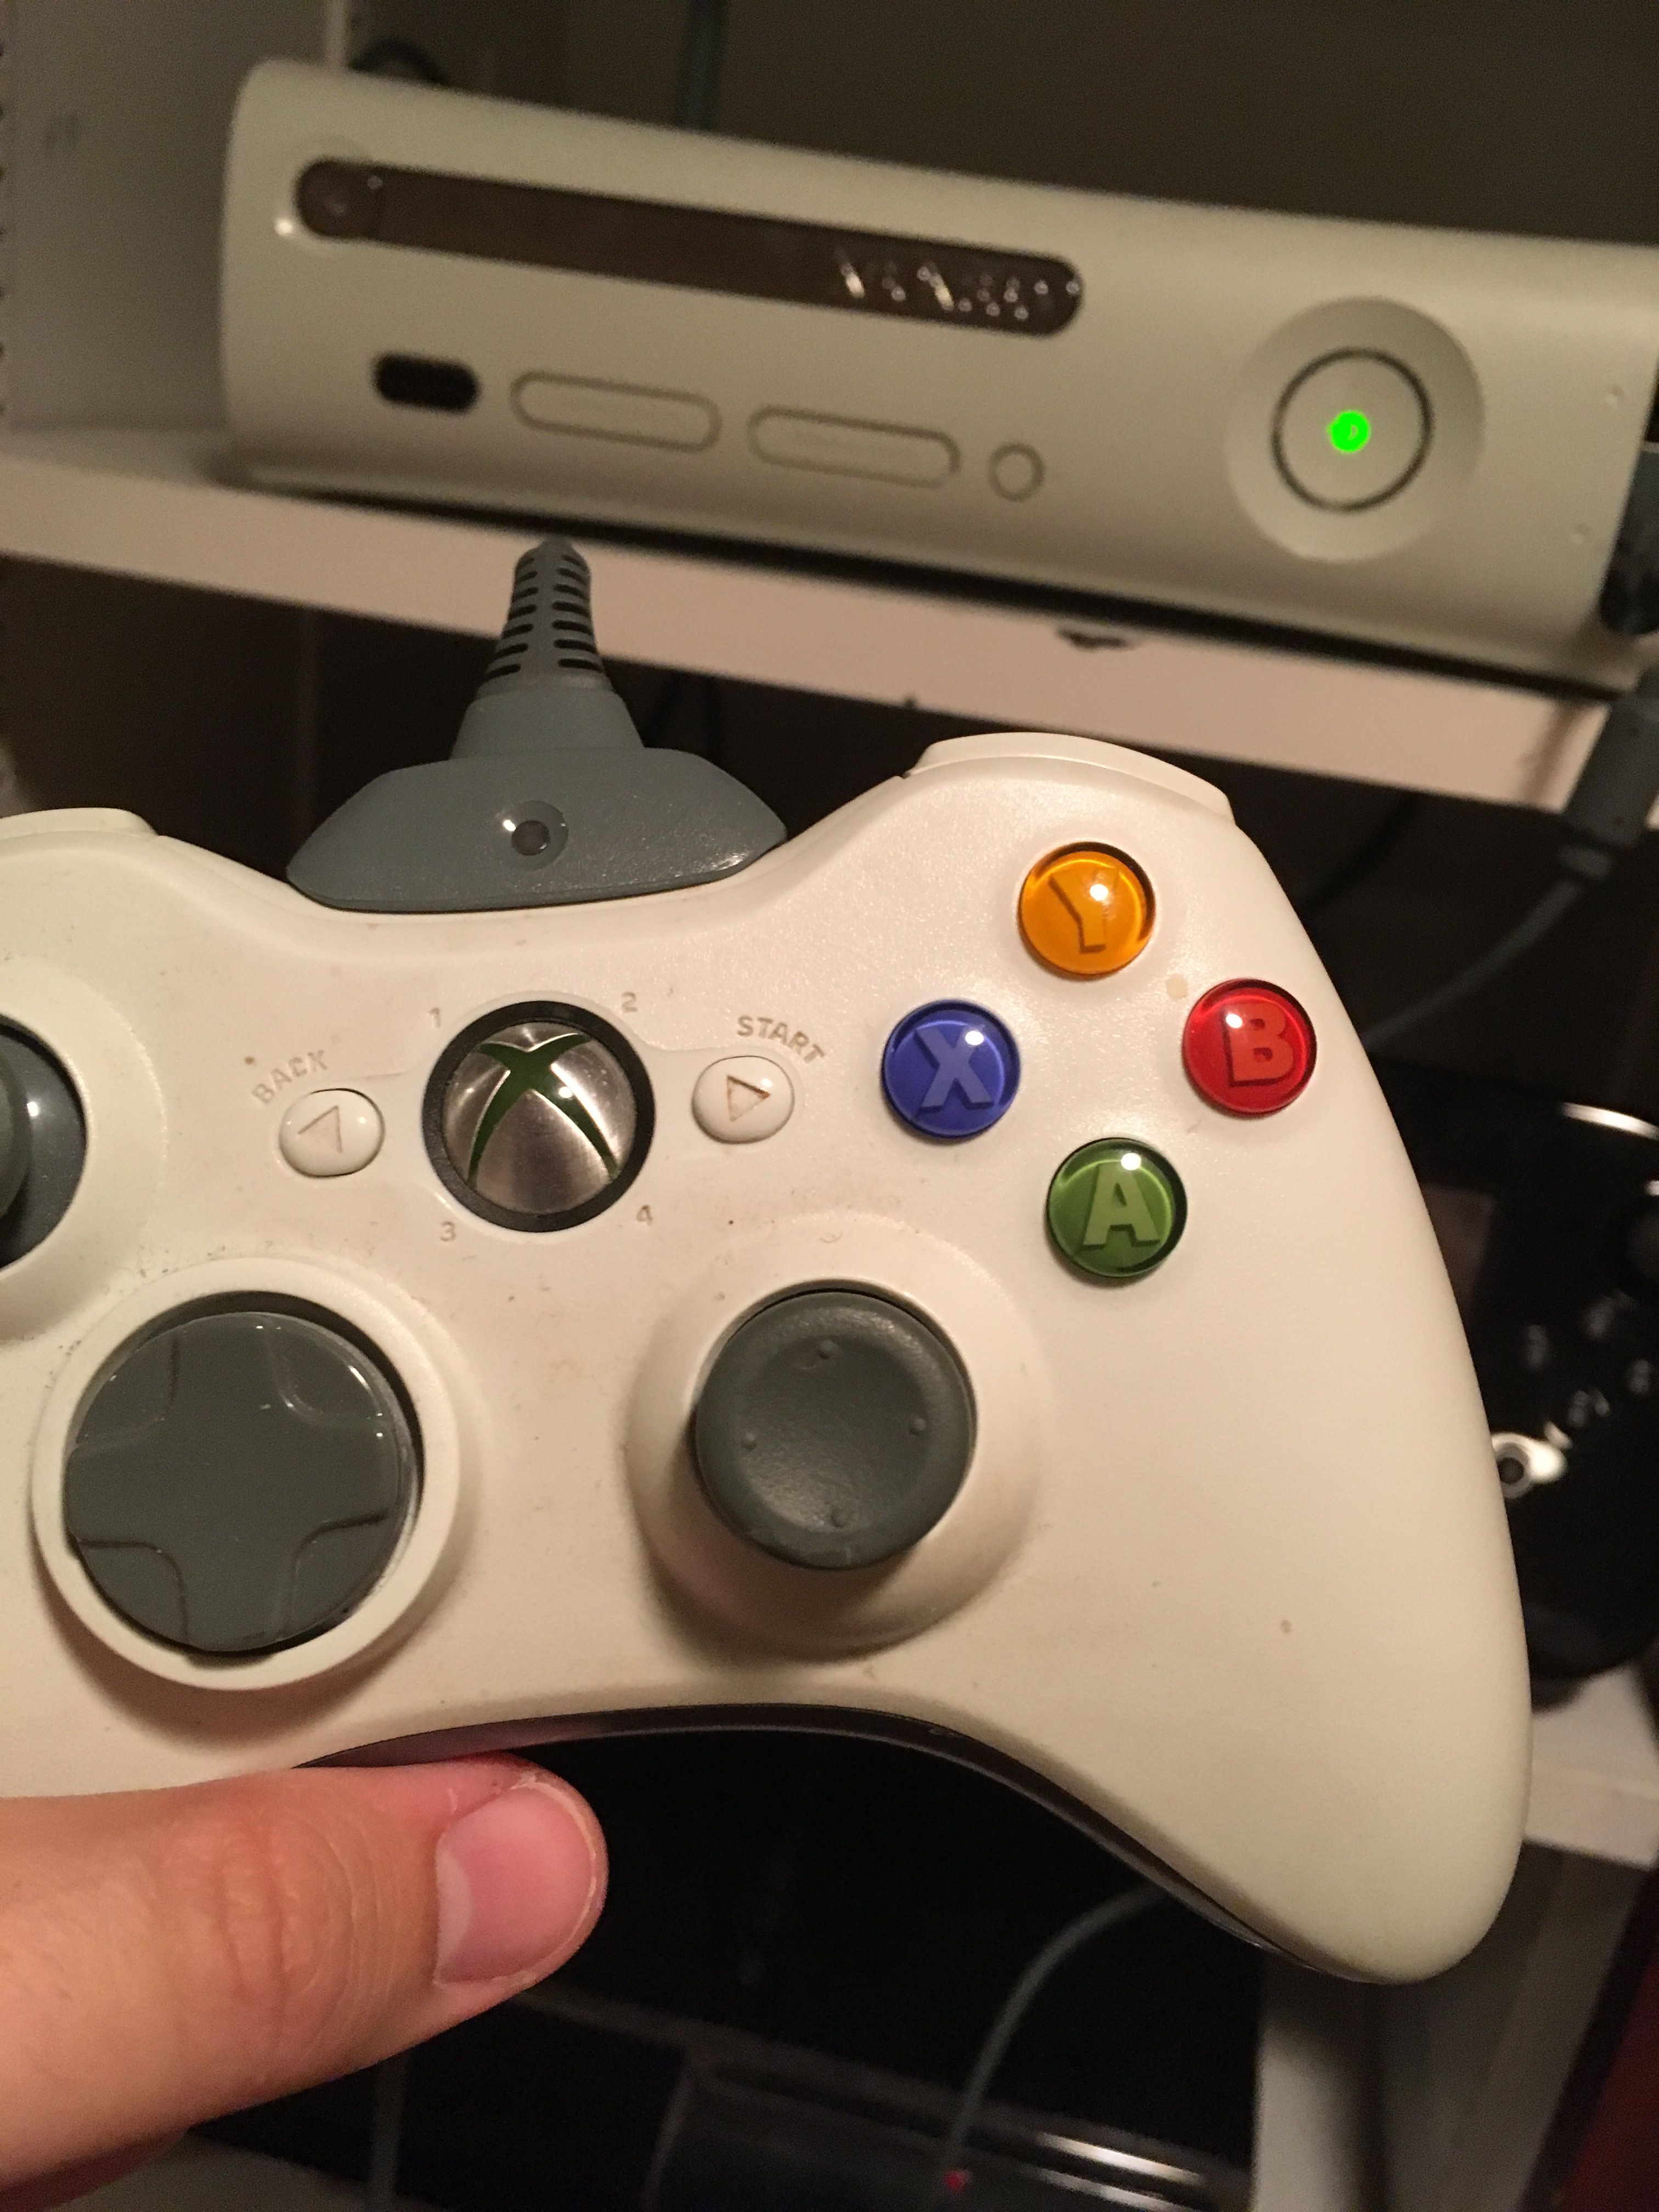
That is neither playing nor charging.
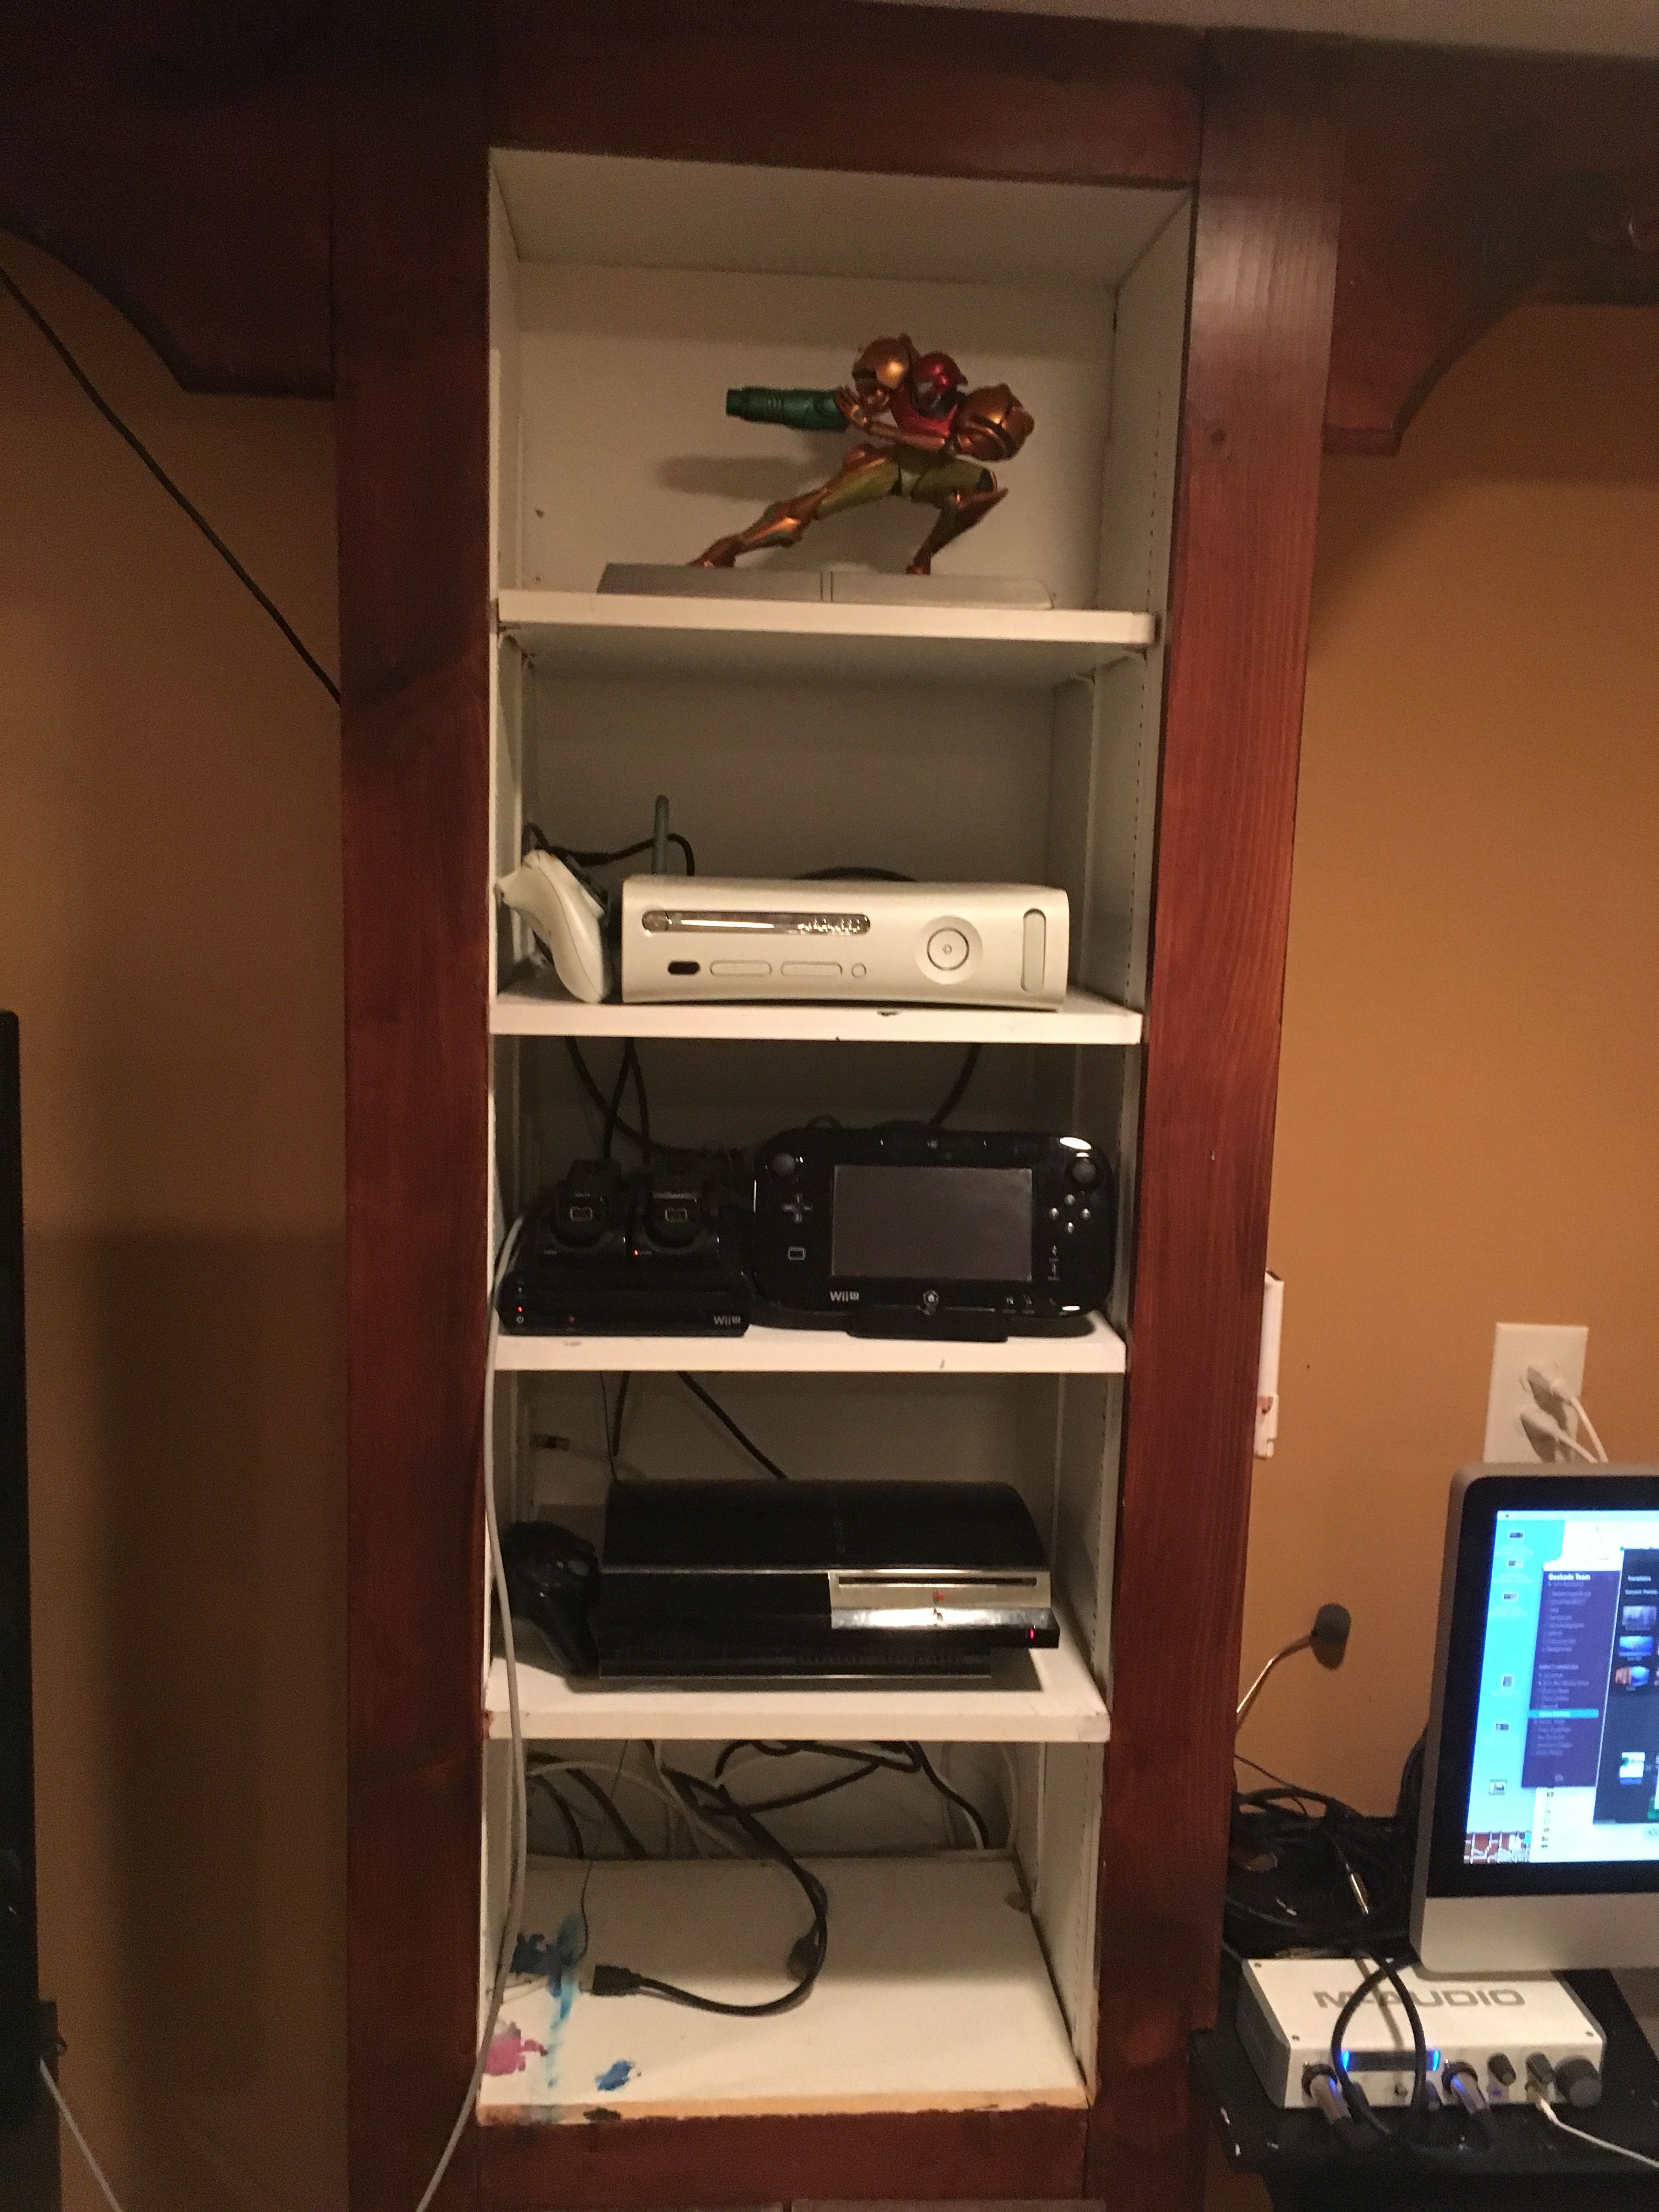
So now that I had all 3 of my “modern” consoles up and running, I just needed to figure out what to do with the other shelves. The top shelf looked perfect for my F4F Samus statue, so that’s where she’s going to be living I think. It looks great, and I can’t imagine anything else of use going up there. I still need to figure out a home for my Link on Epona statue, but I’m sure a solution will present itself over time.
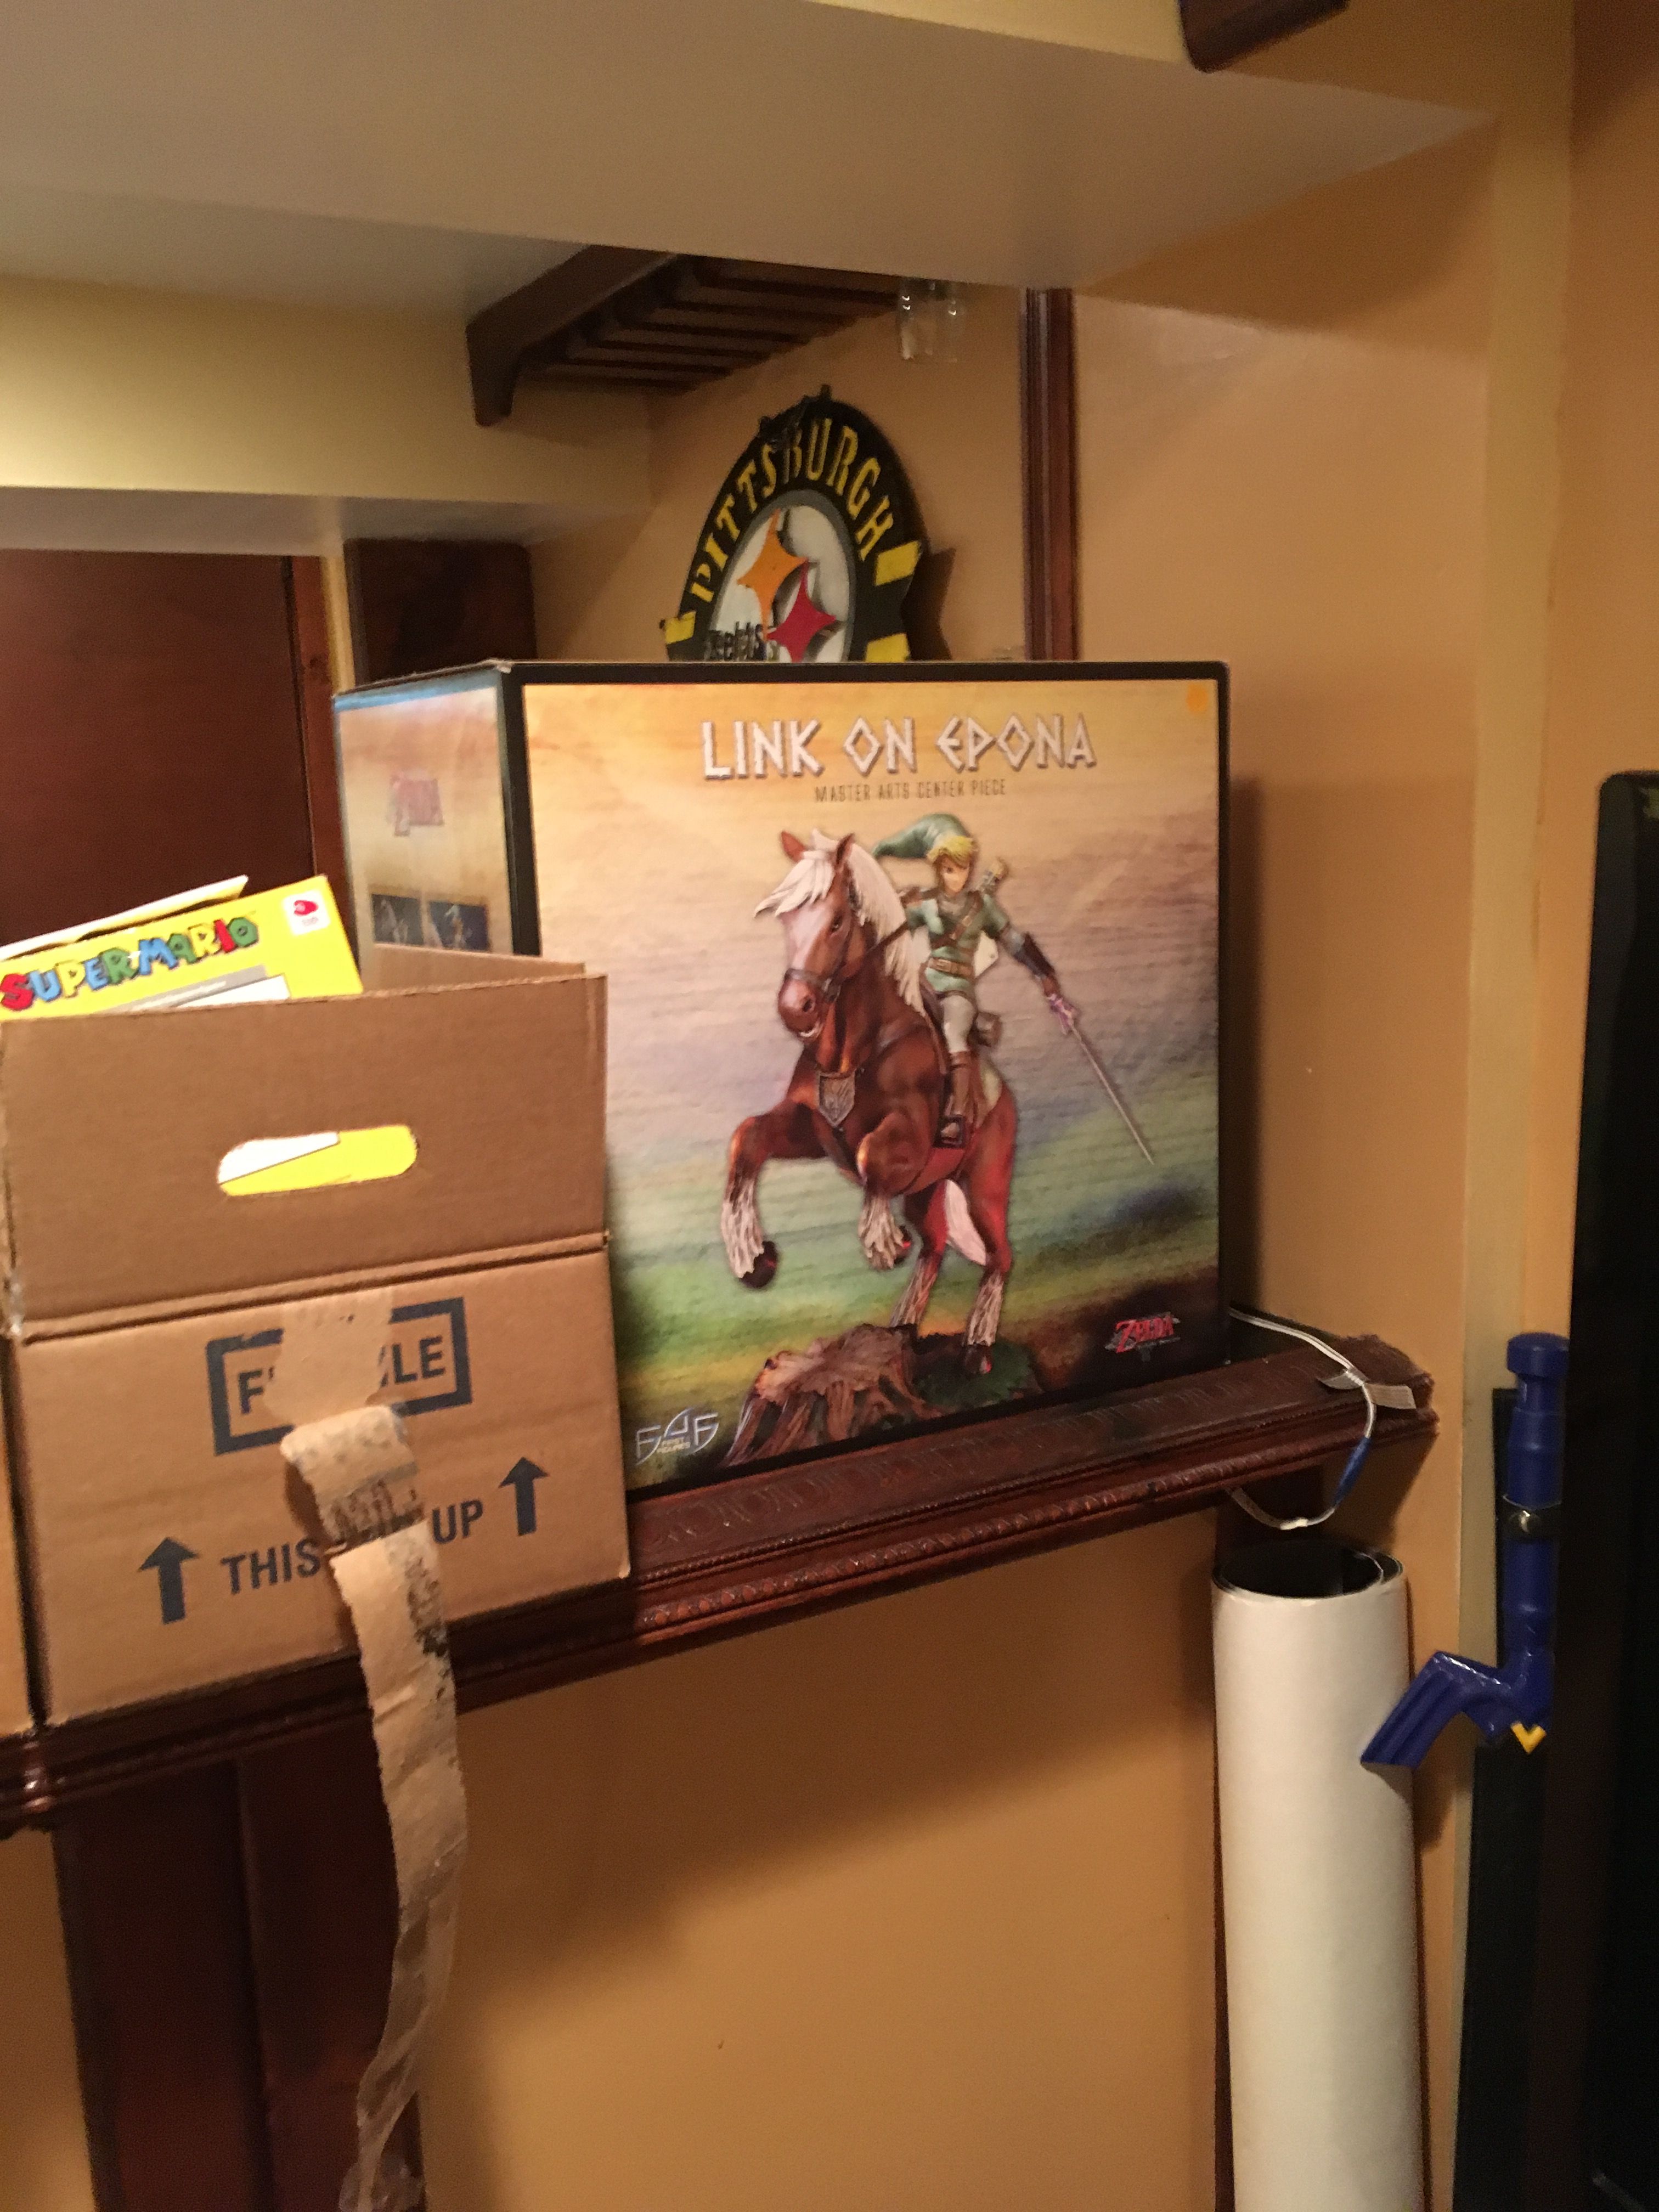
Can’t wait to find a home for that guy.
For the bottom shelf, I picked up a second Switch dock. That’s been great to be able to play it in multiple rooms, even if the price tag was a little steep. I’m not so sure about the order/placement of these consoles though. The whole thing is very functional, and the wires are in the back of the systems, but it could stand to be a little more clean/full. I’ll have to work on it a little more in the future, but the important part is that’s done. I’ll toss those system boxes into my “attic” pile and move on to the rest of my sorting.
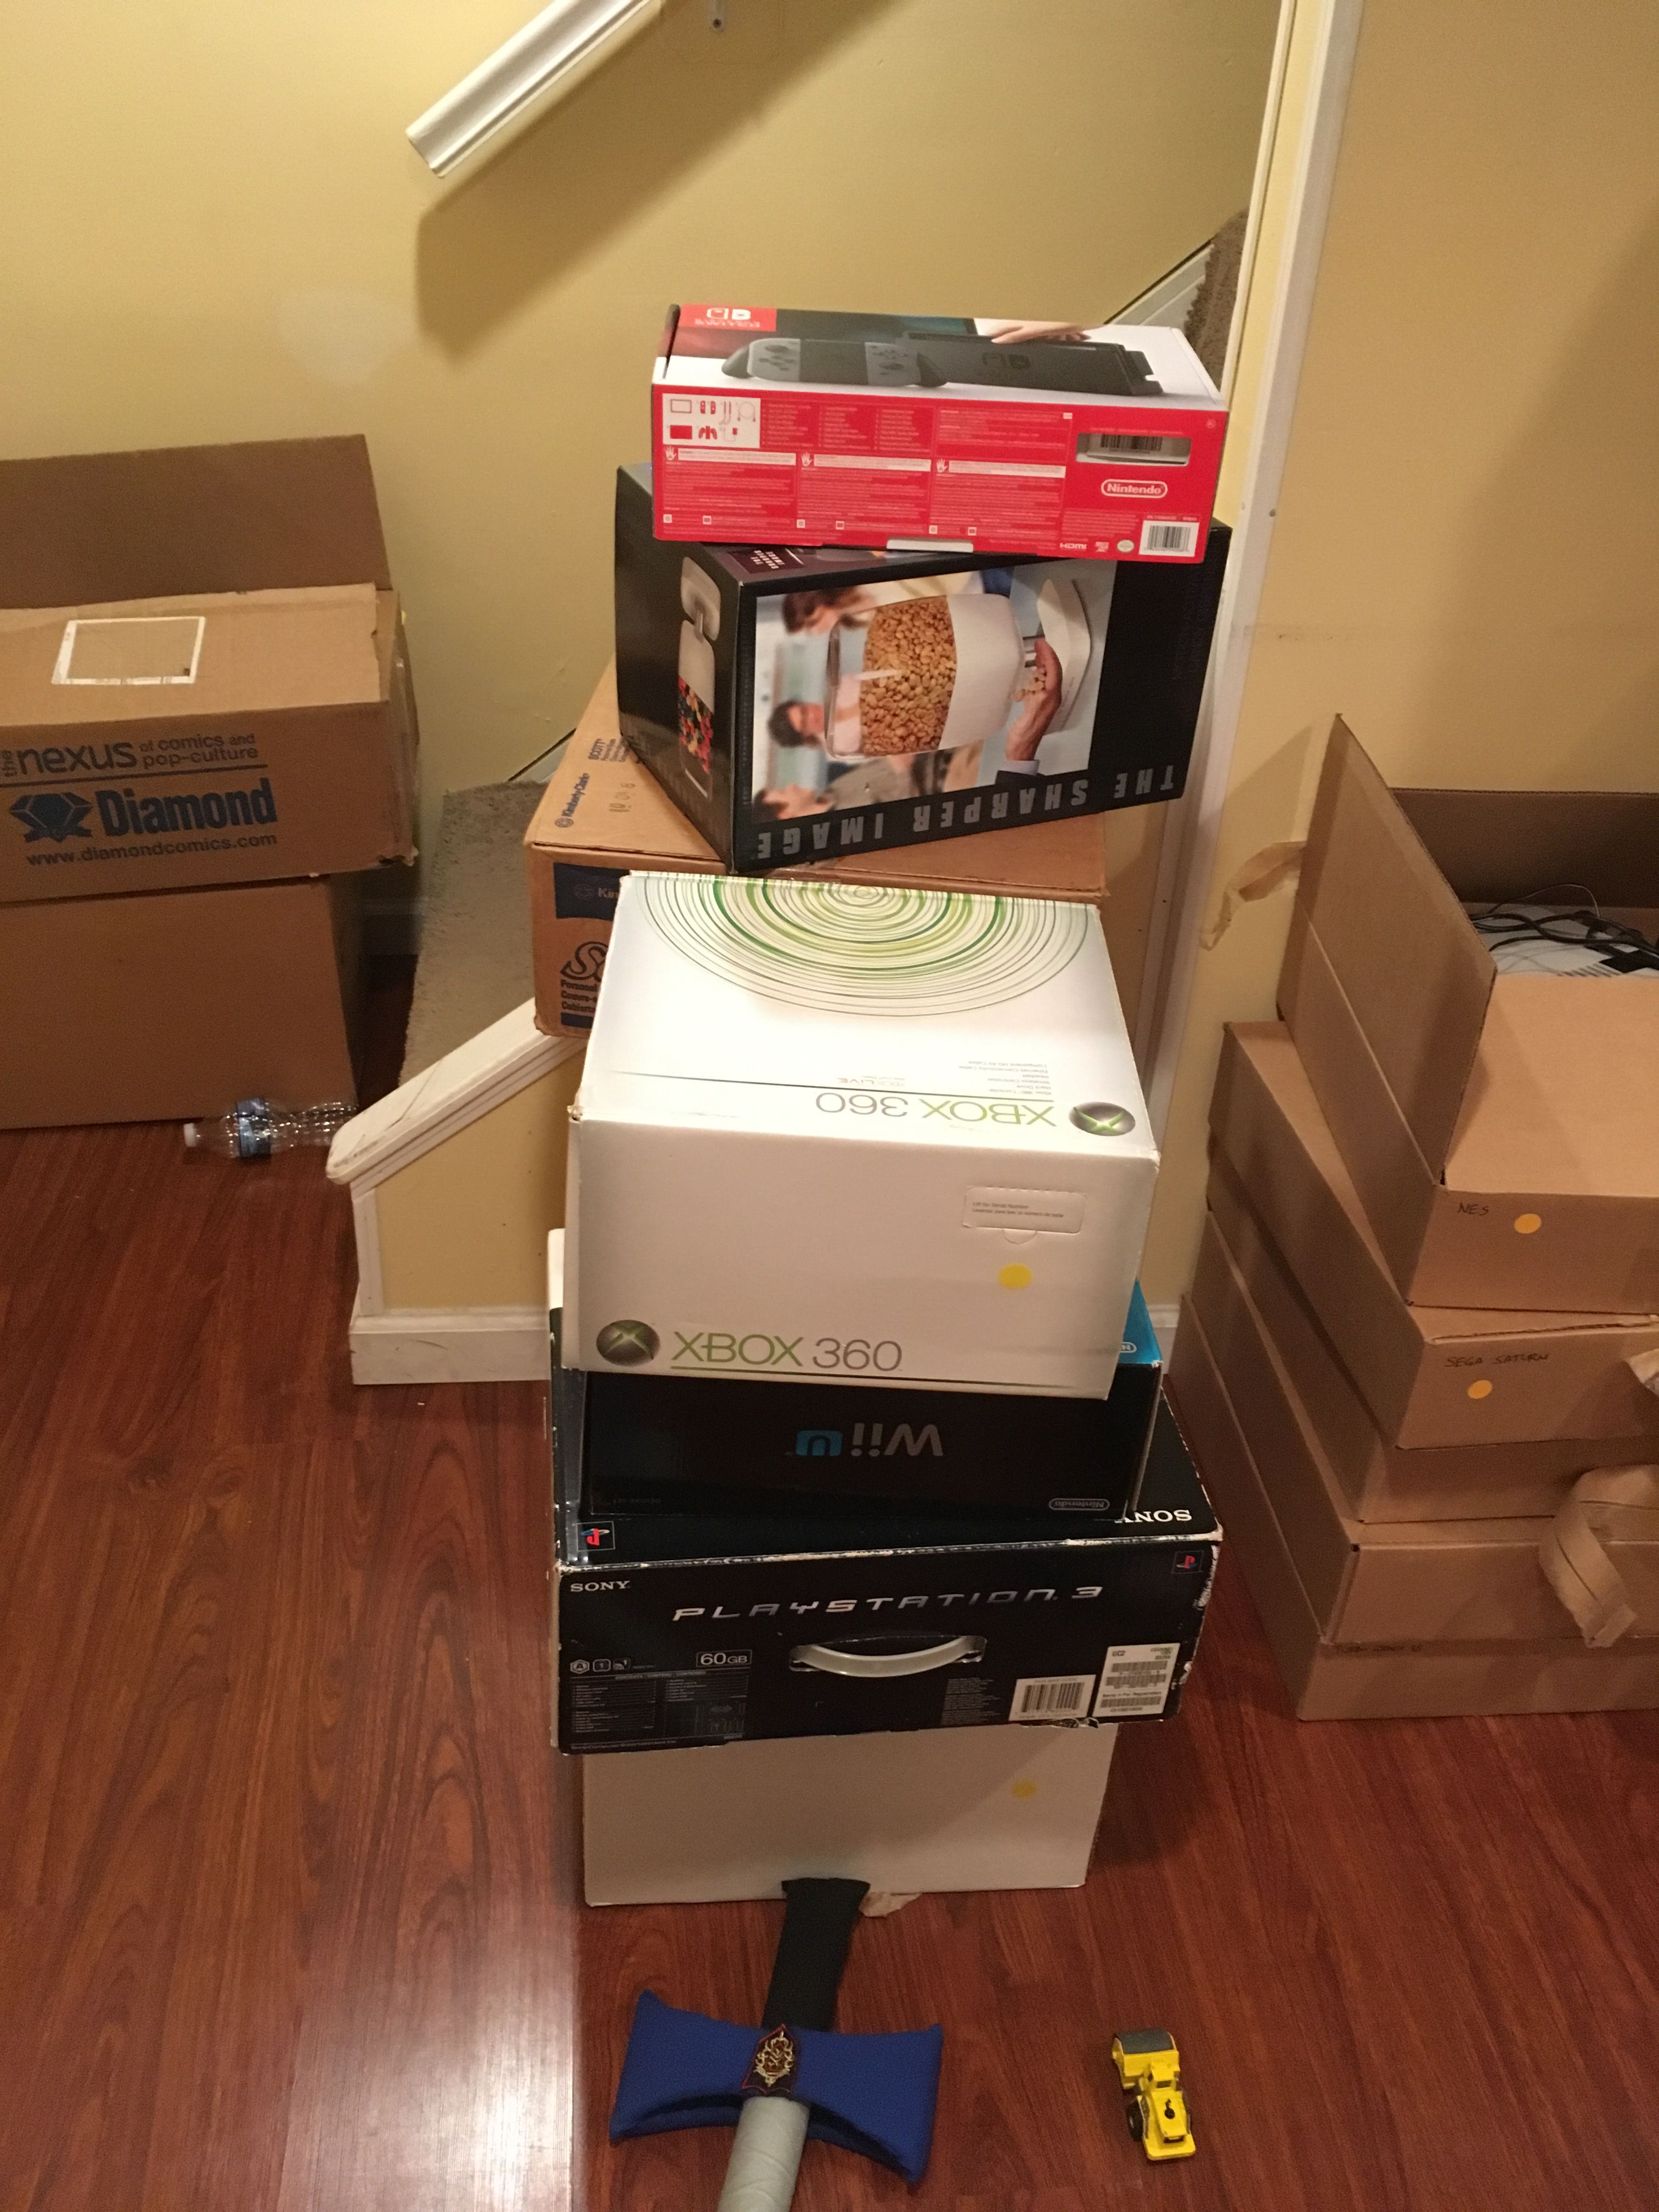
The current “attic” pile. That’s gonna get a LOT bigger.
That’s going to be fun because a lot of these boxes I haven’t looked in for a very long time. I’m certain to uncover some cool treasures I forgot I had. The hard part is still going to be figuring out the shelves for the games, and deciding what I can and can’t fit. Until next time…