Creating a Game Room: Part 9 - Inspiration From Above
As I said at the end of my last Game Room post, things are at more or less a stand still. I do still need to spend some time organizing my stuff, but, well, look at this.
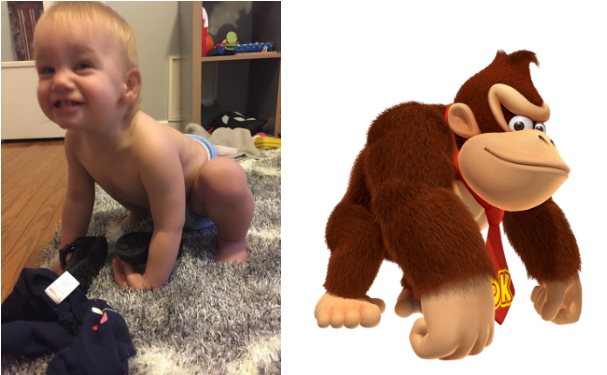
This is my daughter, Ellie. She bears a striking resemblance to Donkey Kong in this picture. This is fitting because she’s very happy, very destructive, and loves bananas. She’s the destroyer of worlds. She is Galactus. It’s become her main focus in life to seek out all physical media and destroy it. Books, comics, DVDs, video games, whatever it is, if it’s placed neatly on a shelf, it must be yanked off and thrown around the house. Until she reaches the point where she’s old enough to get her to stop doing that without the need for constant vigilance, I won’t be putting up my main shelving units which I plan to use to house the bulk of my collection. As such, my games wallow in misery. Behold the tragedy of garage life.
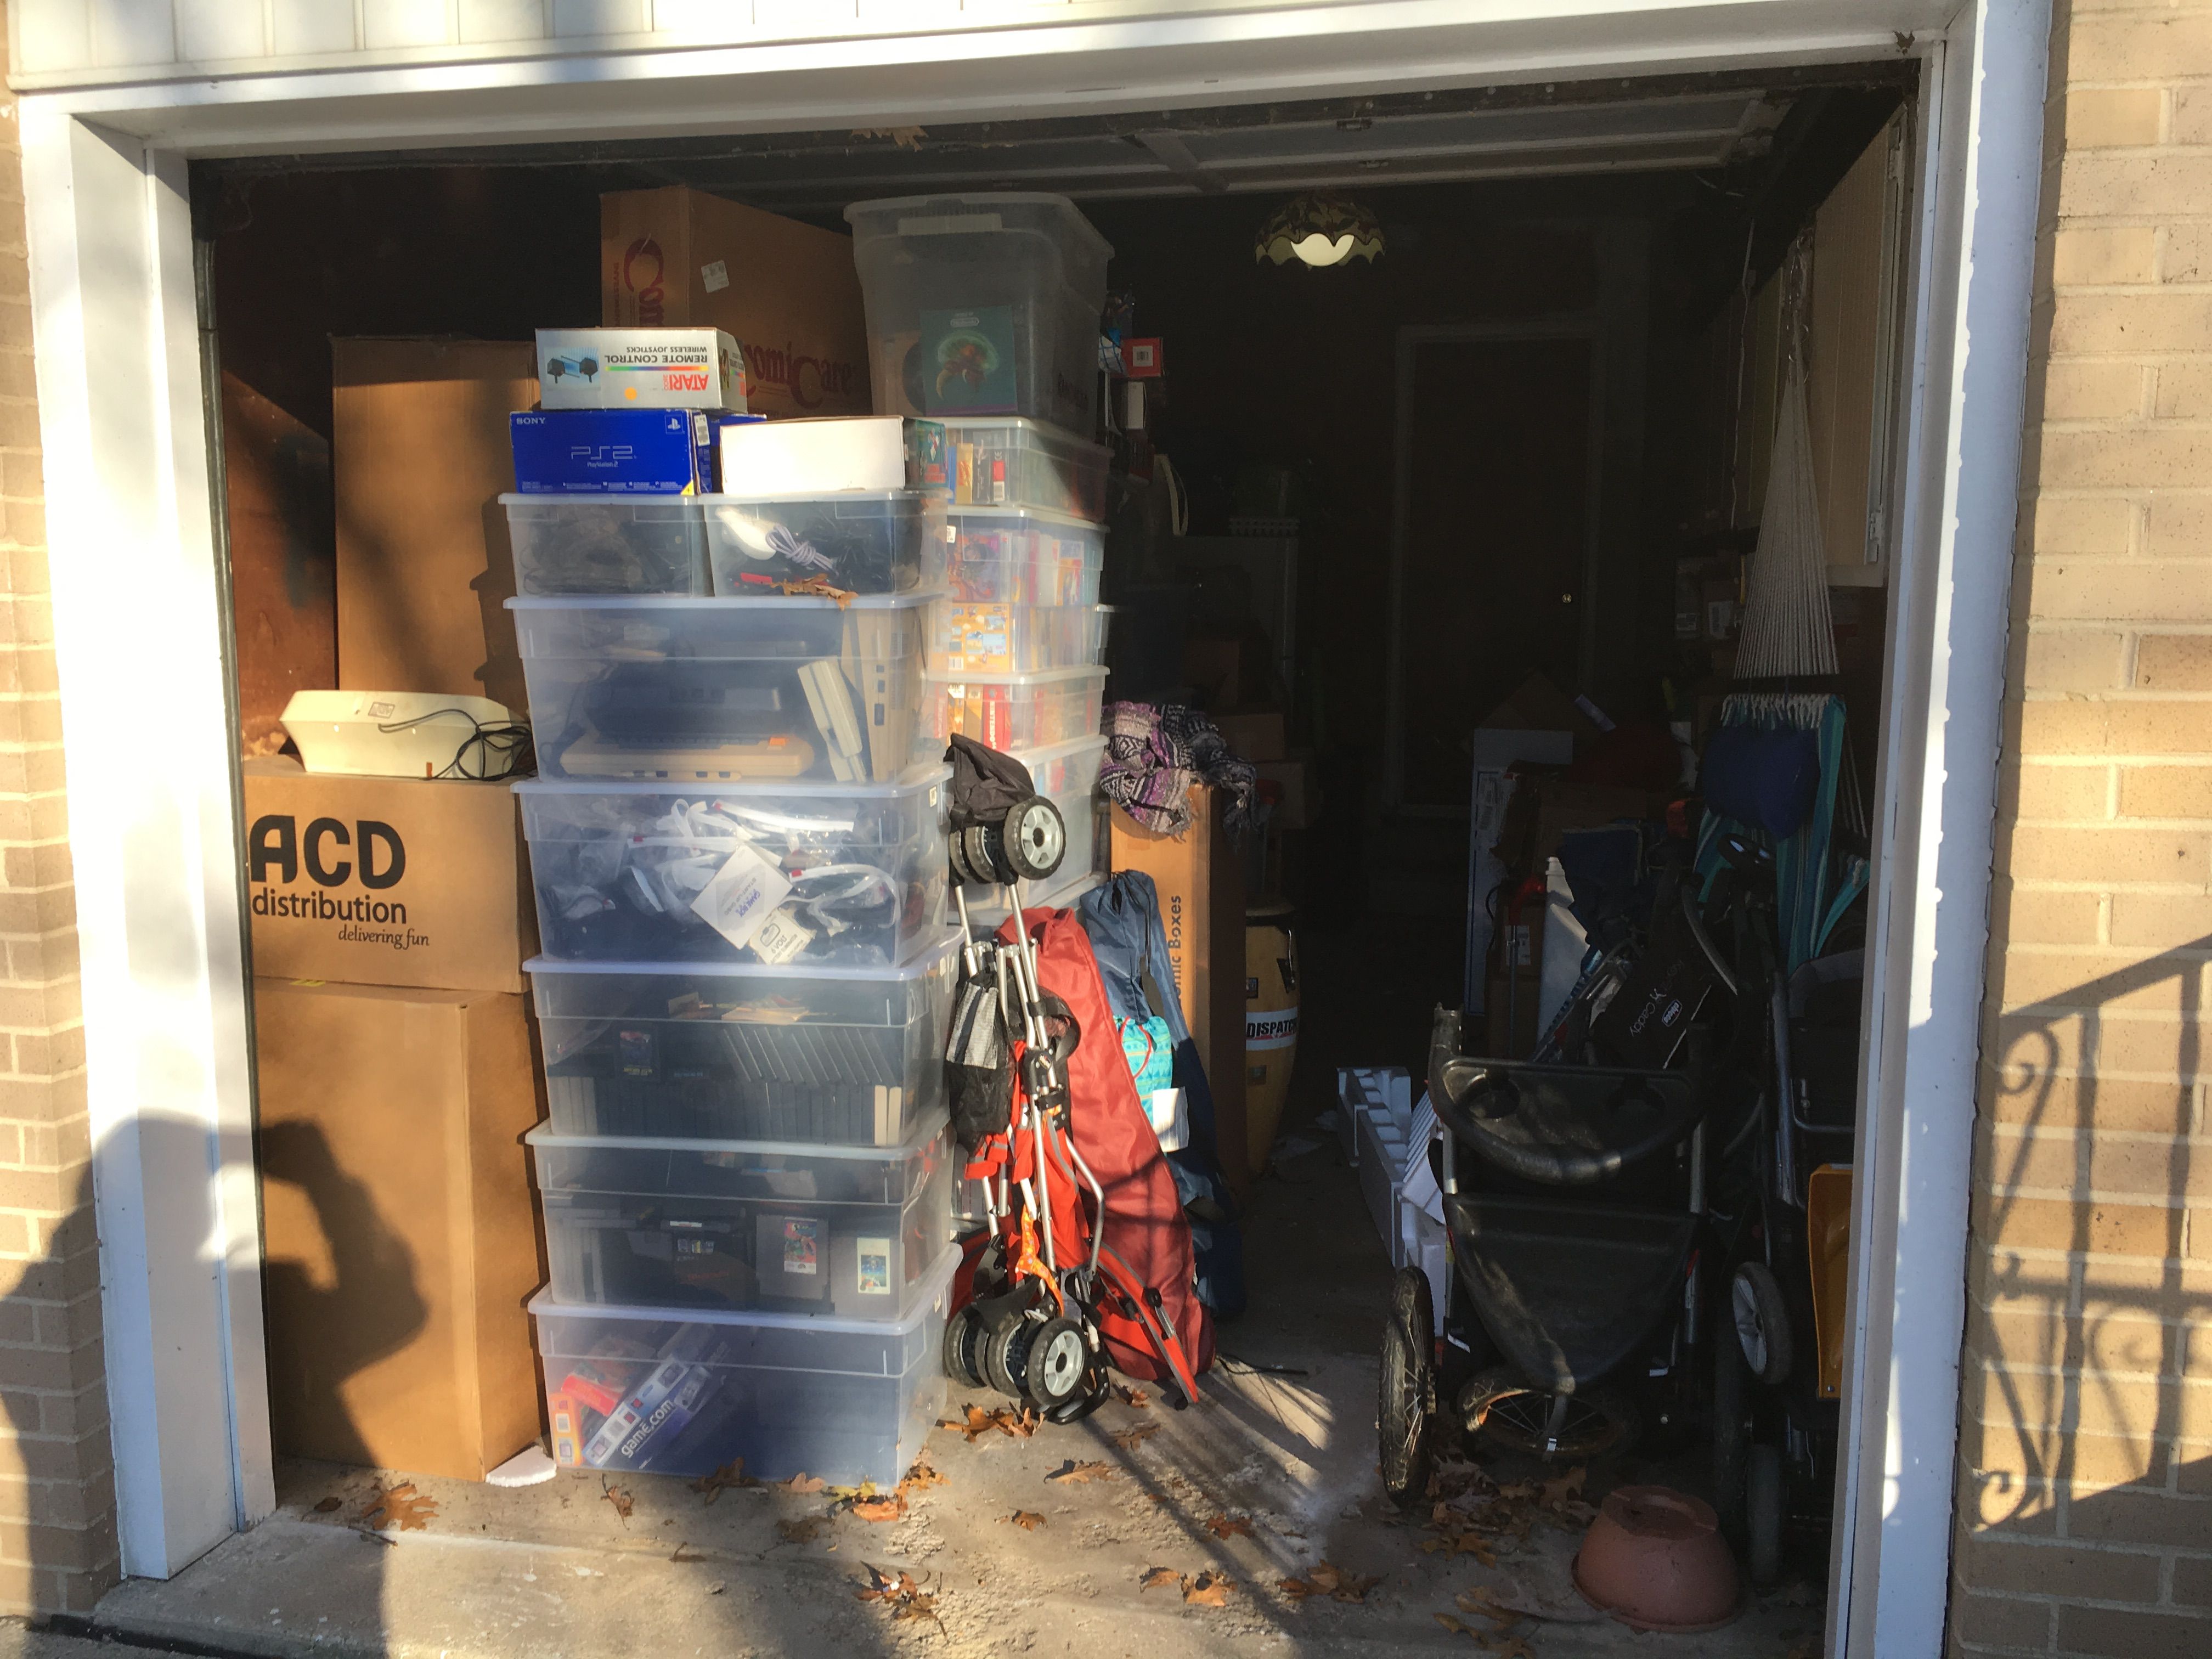
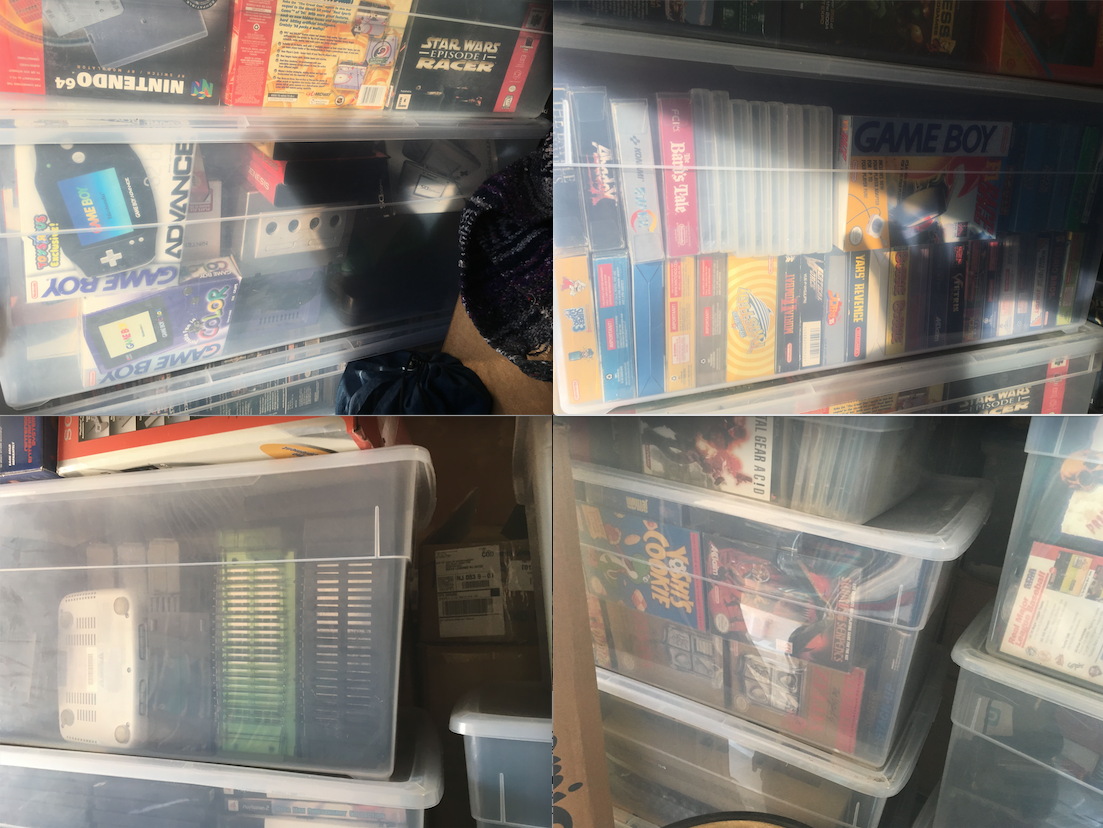
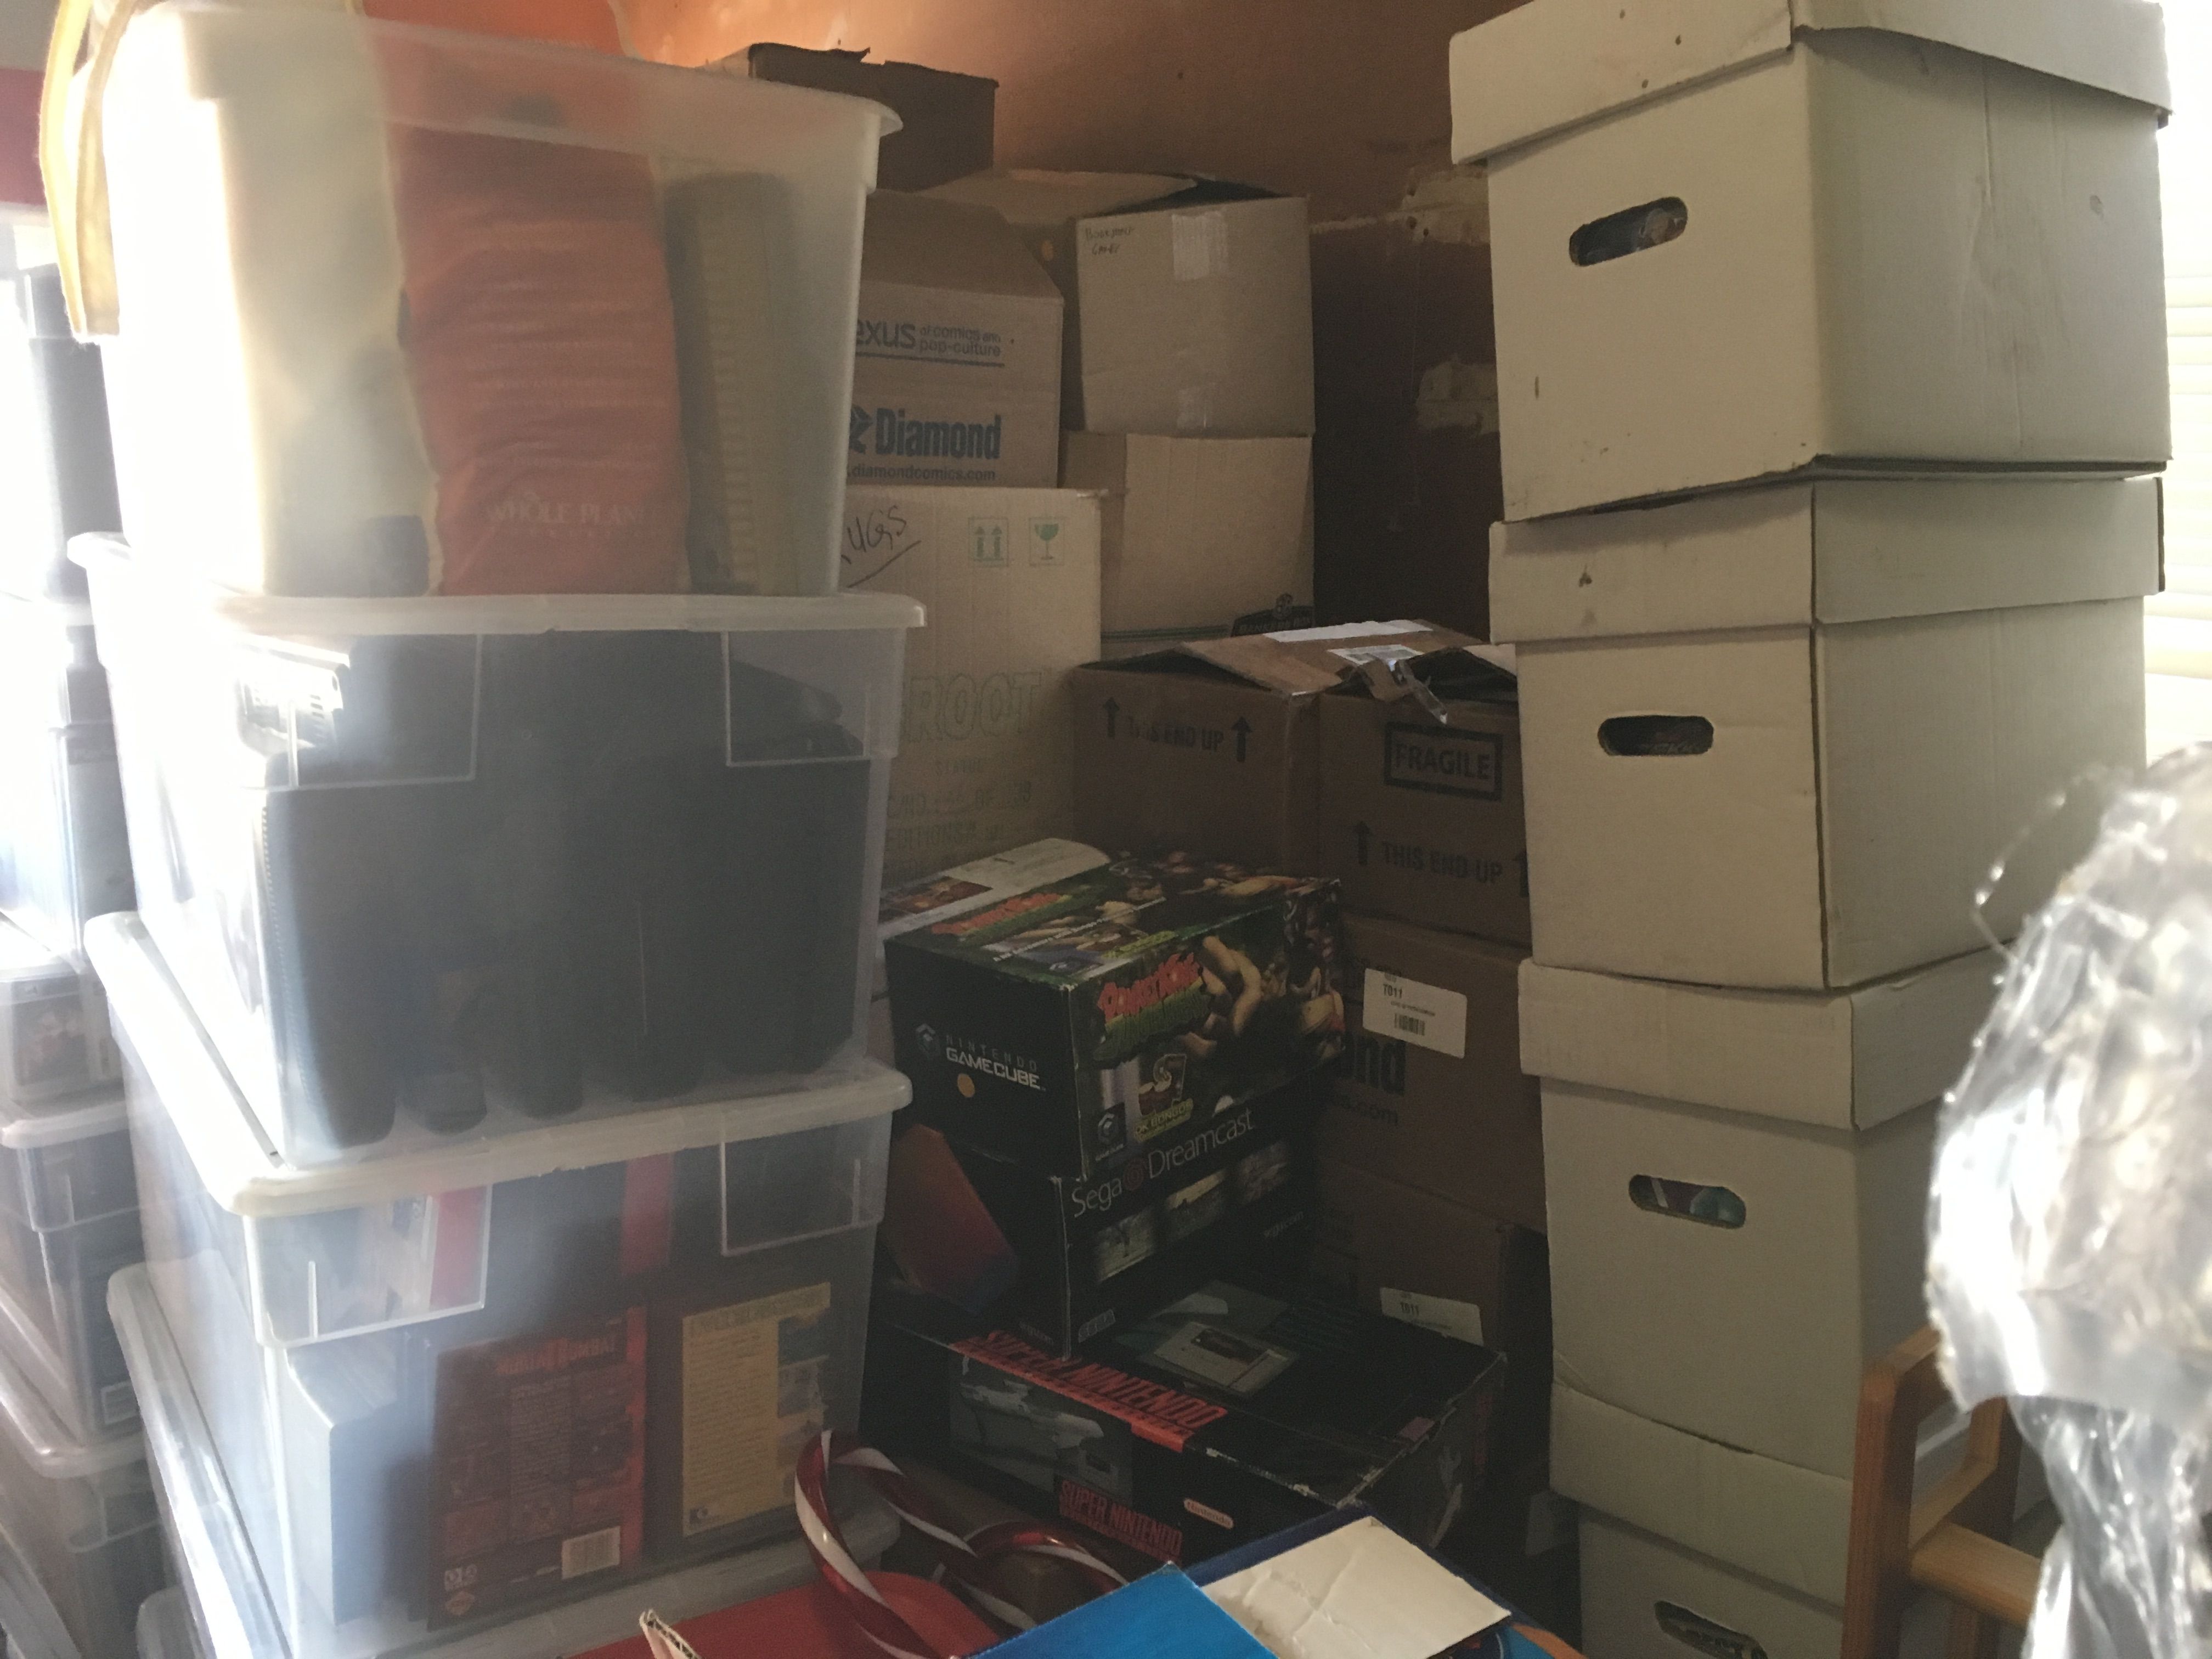
Just look at this sad state of affairs. It breaks my heart every time I open that door. Over 2100 games, over 130 systems, endless accessories, boxes, manuals, swag, and more, just sitting there locked in their plastic coffins. It’s all fairly safe, but it’s still a garage. It isn’t very climate controlled, spiders exist, and in the interest of keeping things as compact as possible over the years, there’s a lot of plastic rubbing up against other plastic. But more than anything, it’s just not very accessible. I’m not saying I plan on playing every Xbox game I own on any sort of regular basis, but if I want to get my Watara SuperVision out and play a little Crystball, it’s going to require a not insignificant amount of digging. Not to mention, it’s taking up the bulk of the space in my garage. It would be really nice to have that space available for other storage at some point.
But this is the way it is. Either I keep it in the garage, or risk it being destroyed by my Ms. Pac-man of a daughter. (She eats most things that appear in front of her). In a few years it won’t be a problem, but for now, I’m stuck…
Or am I?
Over this past weekend, my wife and I hosted a party at our house. At one point, the majority of the party had moved upstairs to the living room, and my friend Sean and I went back down to the basement to get ourselves a drink. I was explaining to Sean how I planned to set things up with the shelves and how I needed to not only wait until Ellie gets older, but also figure out what I was going to do about the floating shelves above the couch to keep the loose carts on. As I wrote in my last post, the framed Atari art looks fantastic above the couch, and I’ll be sad to see it go. That’s when Sean looked up and hit me with a remarkable idea.
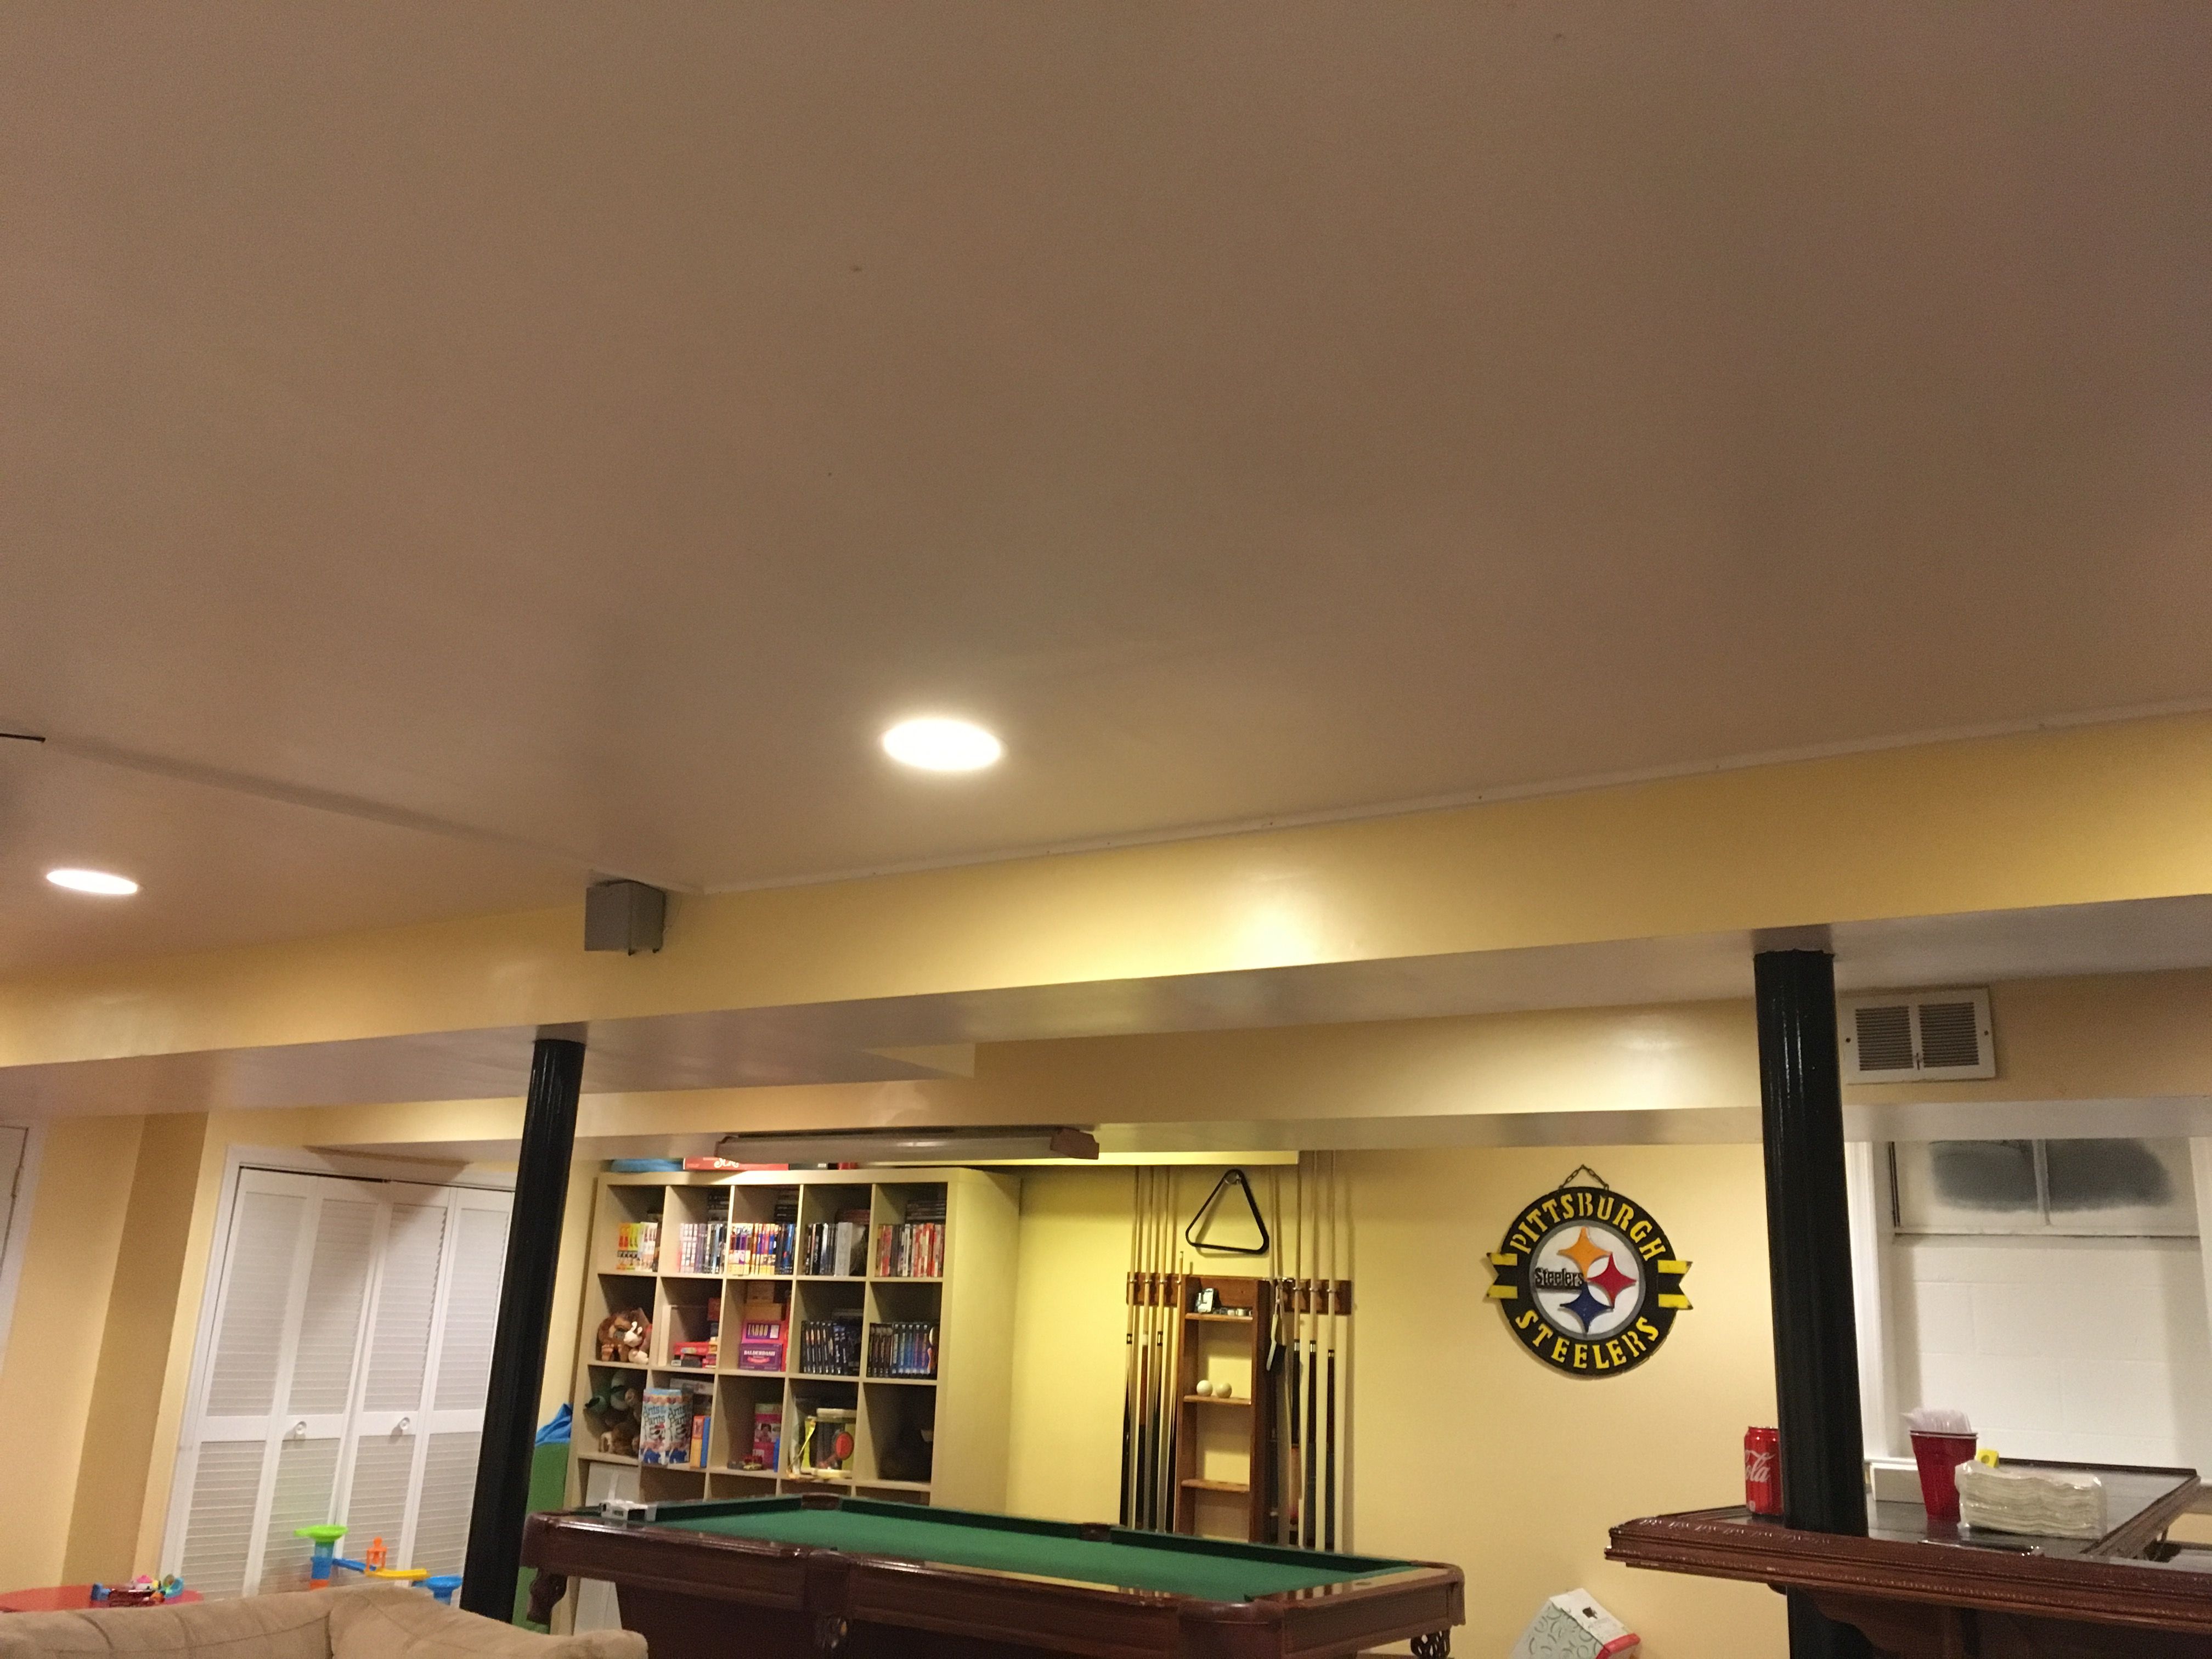
As you can see here, there’s some duct work that’s covered in sheet rock running along the basement ceiling. See, I’ve been looking at this basement as a typical room in a house, but Sean looked at it like a bar and immediately thought about utilizing that space for the carts. It’s brilliant! Bars always fill those kinds of high spaces with weird stuff, and this available space would be absolutely perfect for storing media. Since the ceilings are so low, everything on them would be completely accessible to any adult, and more importantly, completely out of reach for any children. And since whatever I put there would be safe, that means I can start putting it together right away!
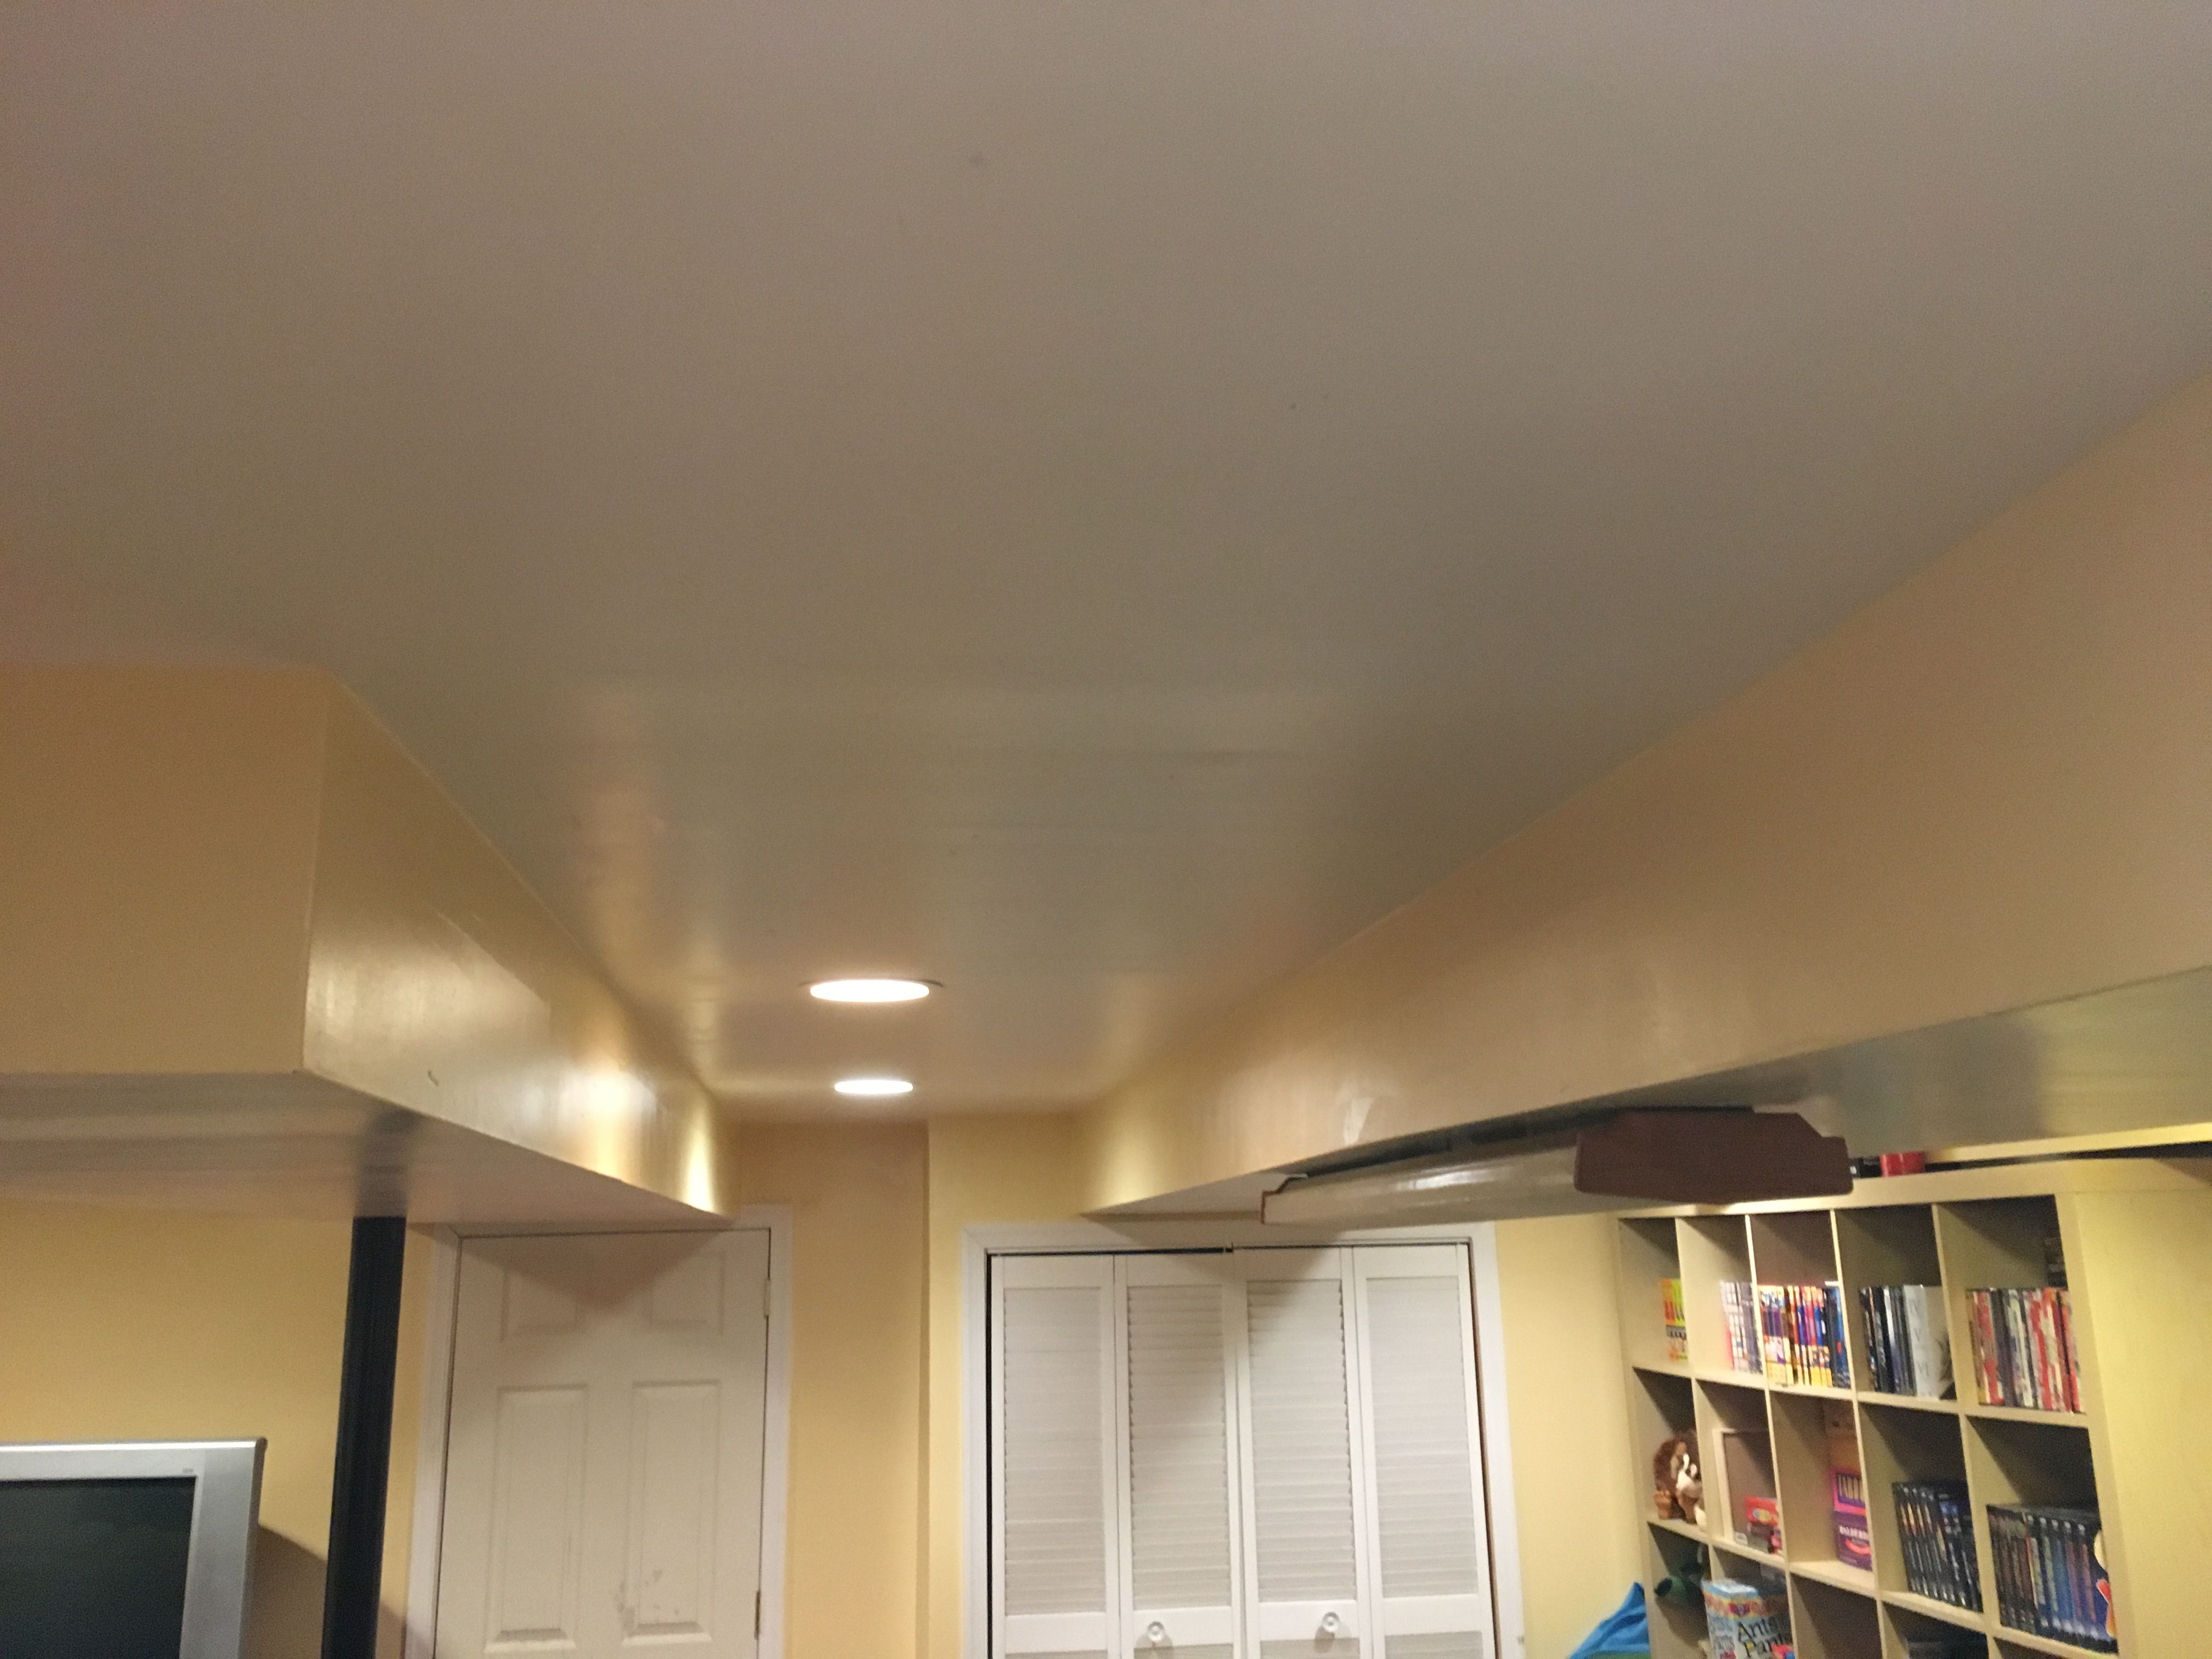
What I have here is three usable surfaces. The fourth one closest to the wall has recess lighting too close to the surface for me to put any cartridges there without losing light. I suspect this won’t be much of a problem though. I have a lot of loose carts, but my basement is pretty long. I’m going to have to do some measuring, but just from eyeballing it, I think it might be possible to get all of my loose carts from my Nintendo, Atari, and Sega consoles up there. And if I’m really lucky, maybe toss a few handhelds and/or Game & Watches up there too.
The challenge is going to be finding a way to get shelving up there that not only looks nice, but will also hold the weight of all those carts. NES games in bulk are lighter than books, but that stuff still adds up, and I’m not 100% sure what kind of weight those can take. There is already a speaker screwed in there from the house’s previous owners, so at least I know it can be drilled into. So, how do I decide what to use?
Whatever I do to affix the shelves needs to look natural. I’d like the shelves themselves to be flush with the bottom of the ducts, but if I do that, I’m not sure how to make them stick. I feel like the best Idea I’ve come up with involves getting some sort of L-shaped bracket that can screw up into the bottom of the duct and hold the shelf out the side, but I fear that wouldn’t hold. I could also get some basic wood shelves and use super-long screws at a diagonal, but again, I don’t really know exactly what I’m screwing into, and I don’t want it to look bad. I’ll have to take a trip to the hardware store and see what I can conjure up. Logistics aside, I’m very excited about this idea. Even barring keeping the games out of my daughter’s mouth, it’s an incredibly efficient use of space, and I can’t wait to get it done.
To think, all this time, all I had to do is look up.
The Game Room story so far:
Creating a Game Room: Part 8 – A Nice Place to Sit
Creating a Game Room: Part 7 – Two Steps Forward…
Creating a Game Room: Part 6 – Love (HDMI) Connection
Creating a Game Room: Part 5 – CRTs are Heavy
Creating a Game Room: Part 4 – Arcade Dreams
Creating a Game Room: Part 3 – Shelf-Satisfaction
Creating a Game Room: Part 2 – Organization is Key