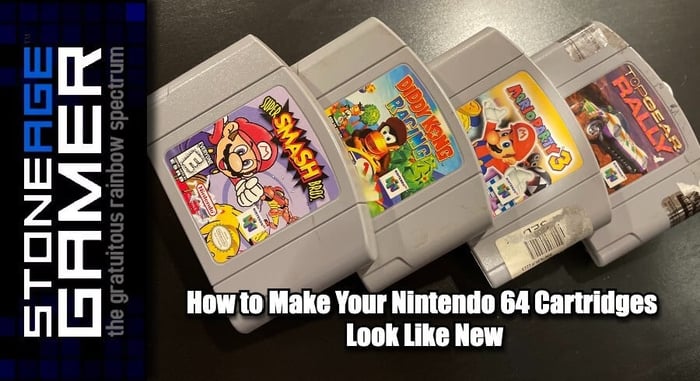
How to Make Your Nintendo 64 Cartridges Look Like New
We’ve all got cartridges from our youth laying around somewhere, and the ravages of time can make those old games look, well, less than great. Thankfully there are a number of ways to dust those old cartridges off and make them shine like new.
How to Clean an N64 Cartridge
This can mean one of two things. You’re either trying to clean the outside, or the inside. The cosmetics of an N64 cartridge are important, but making sure you can play the game inside is paramount. Here’s what to do in either case.
Cleaning Up the Inside
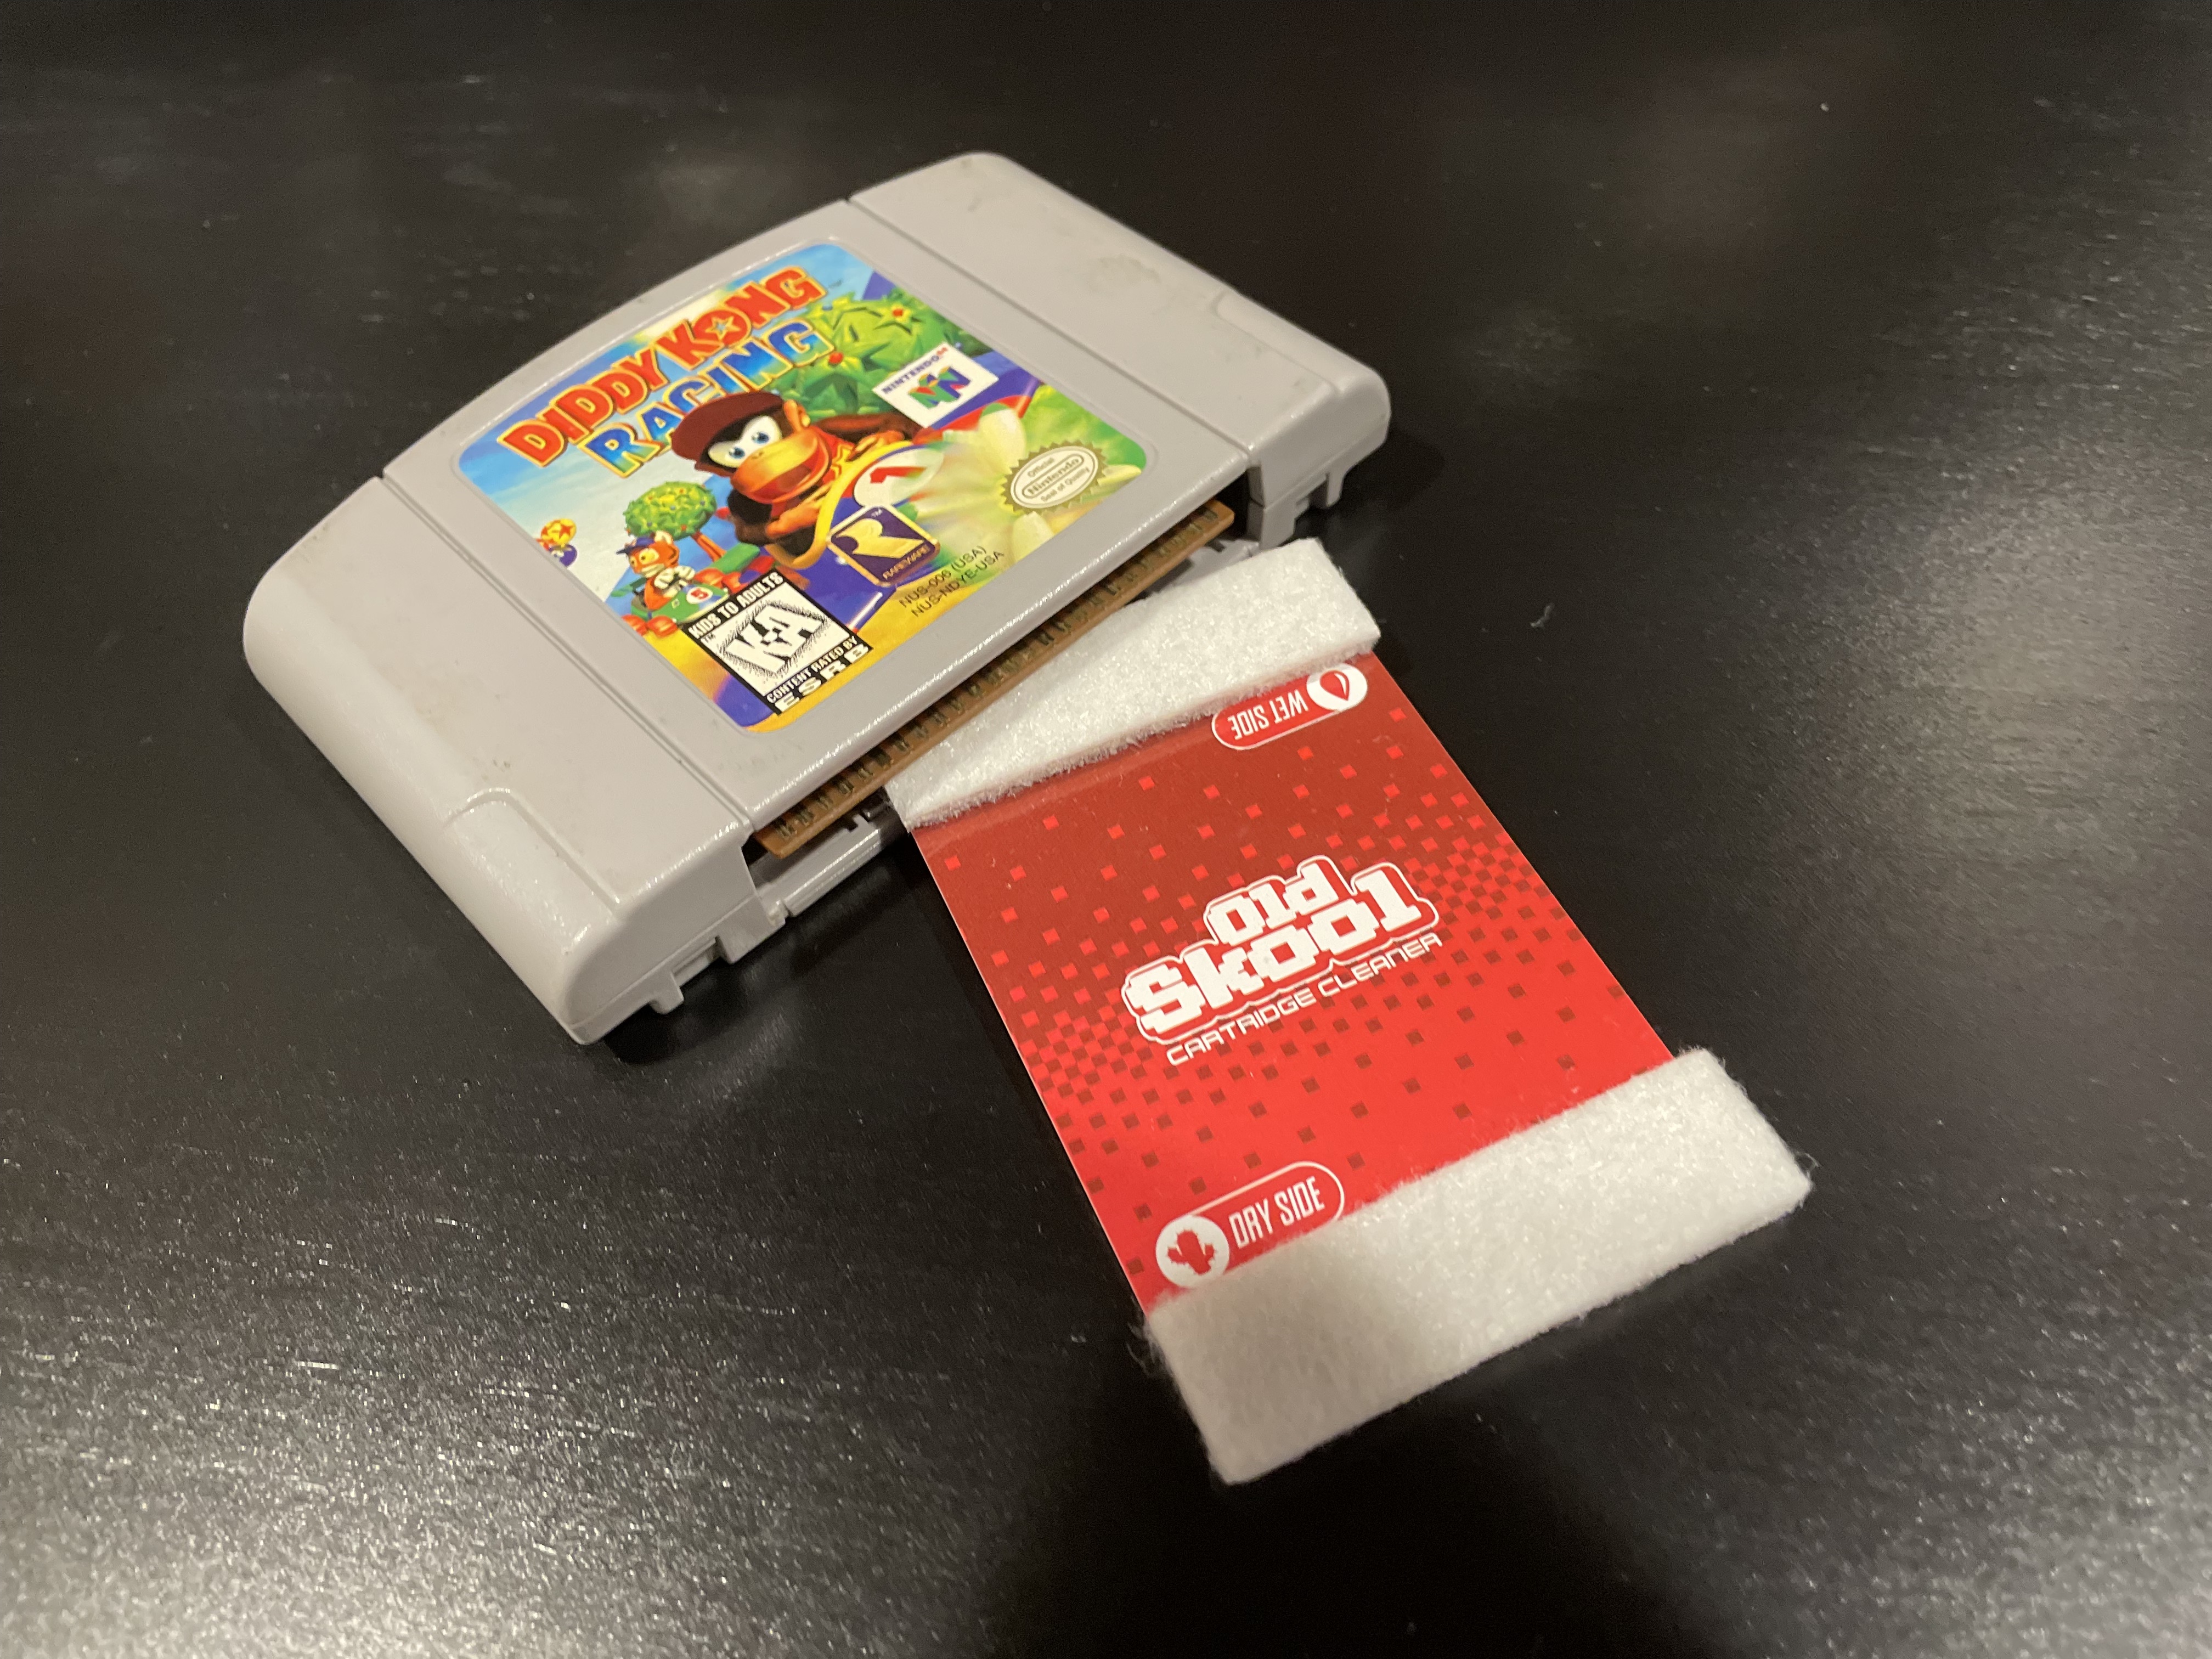
Let’s start with the inside because that’s the easier one to tackle. For the basic stuff like cleaning gunk off of your cartridge’s contacts, we recommend a simple cleaning kit like the Old Skool Cartridge Cleaner. This simple device runs across the contacts at the bottom of the cartridge and cleans most dirt and debris away so the game can be read by your Nintendo 64 console more easily.
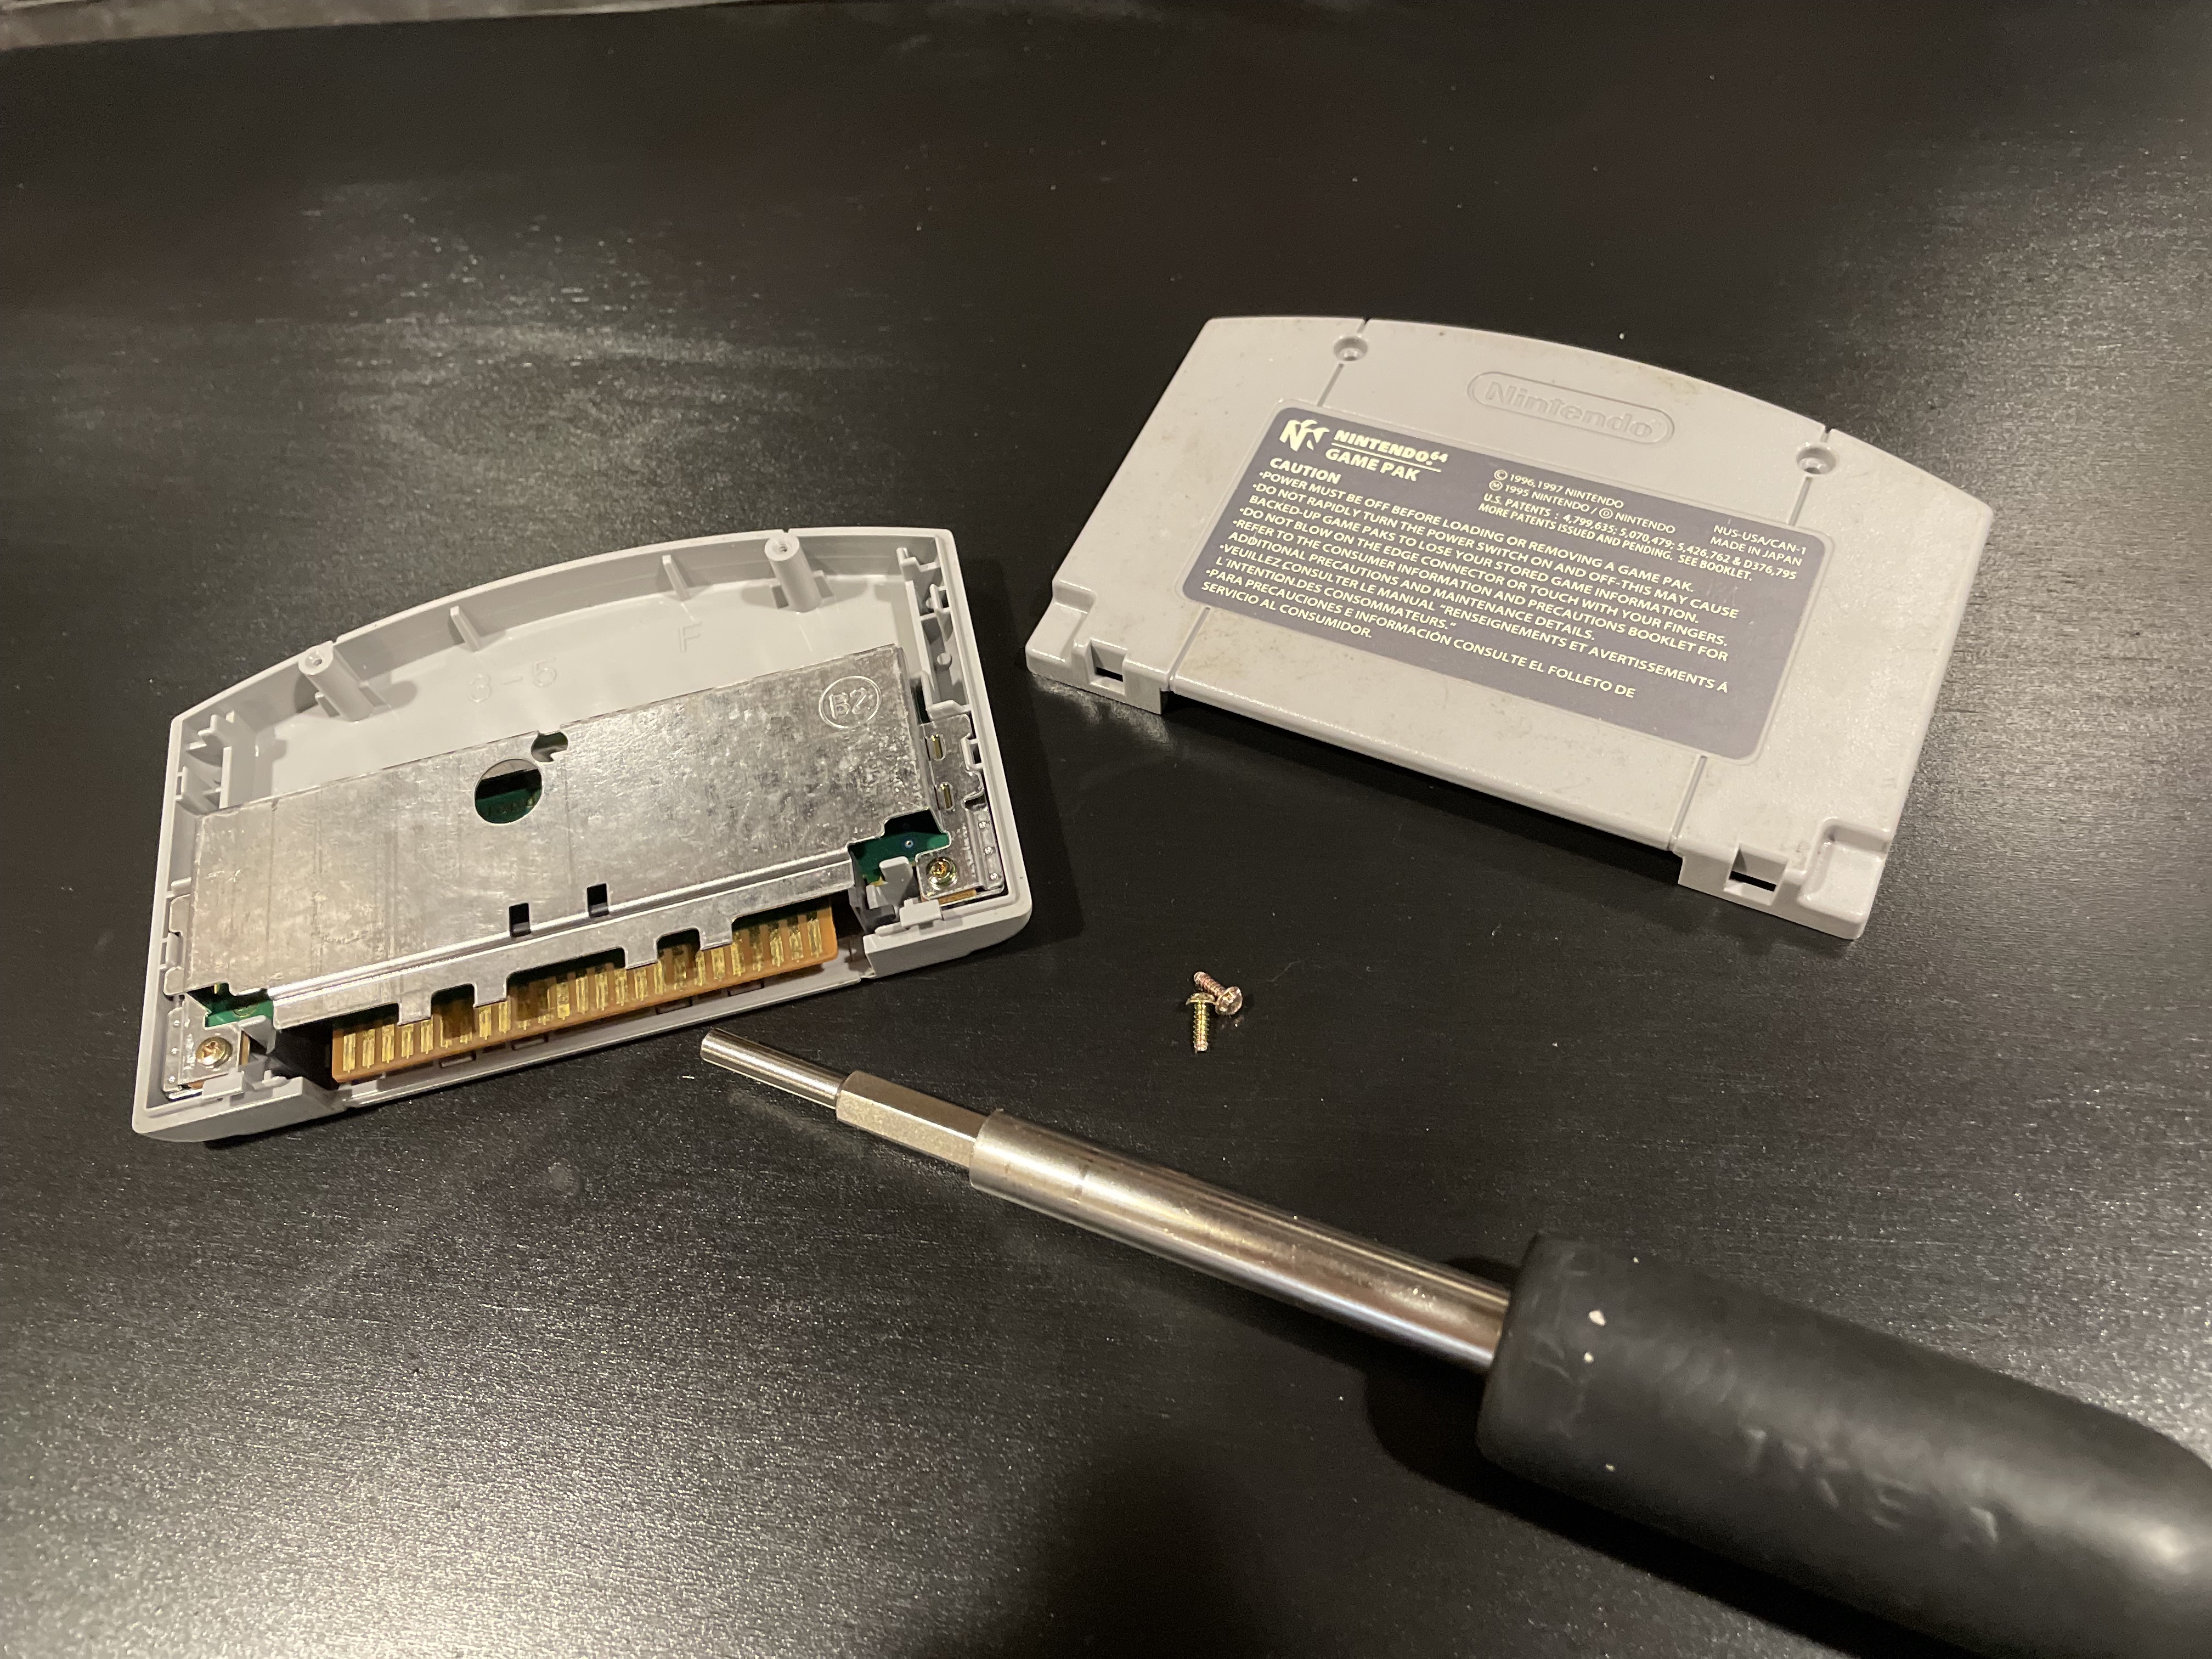
For a more deep clean, you’re going to need to open up your cart to get inside, but a normal screwdriver won’t do the trick. For that, you’ll need a special Game Cartridge Security Bit which we sell right here at Stone Age Gamer. This will plug right into any standard interchangeable screwdriver and allow you to remove the special screws on the back of the cartridge so you can crack it open safely and give the insides a more thorough cleaning.
Cleaning Up the Outside
For cleaning the outside, careful application of regular soap and water is your best bet for things like dirt. Just be extra careful not to use anything too abrasive. Basic hand soap should do the trick but BE CAREFUL. You don’t want to get any liquids on the game labels because they will get water damaged. Use as little moisture as possible to get the dirt off and with a little care and patience, your cartridges should look as good as new in no time.
For the tougher problems, that’s where stuff like Goo Gone comes into play. Common price tags and store stickers usually don’t take all that much effort. Apply Goo Gone to the sticker itself and let it sit for a few minutes. It might take a couple of treatments to get everything cleared off, but be patient, and again BE CAREFUL. Goo Gone will wreak havoc on those game labels, so do your best to only apply the liquid to the areas you want to clean.
Rental store stickers are much tricker as they’re pretty serious stickers. Goo Gone is once again your friend here. It’s just going to take a bit more time and patience.
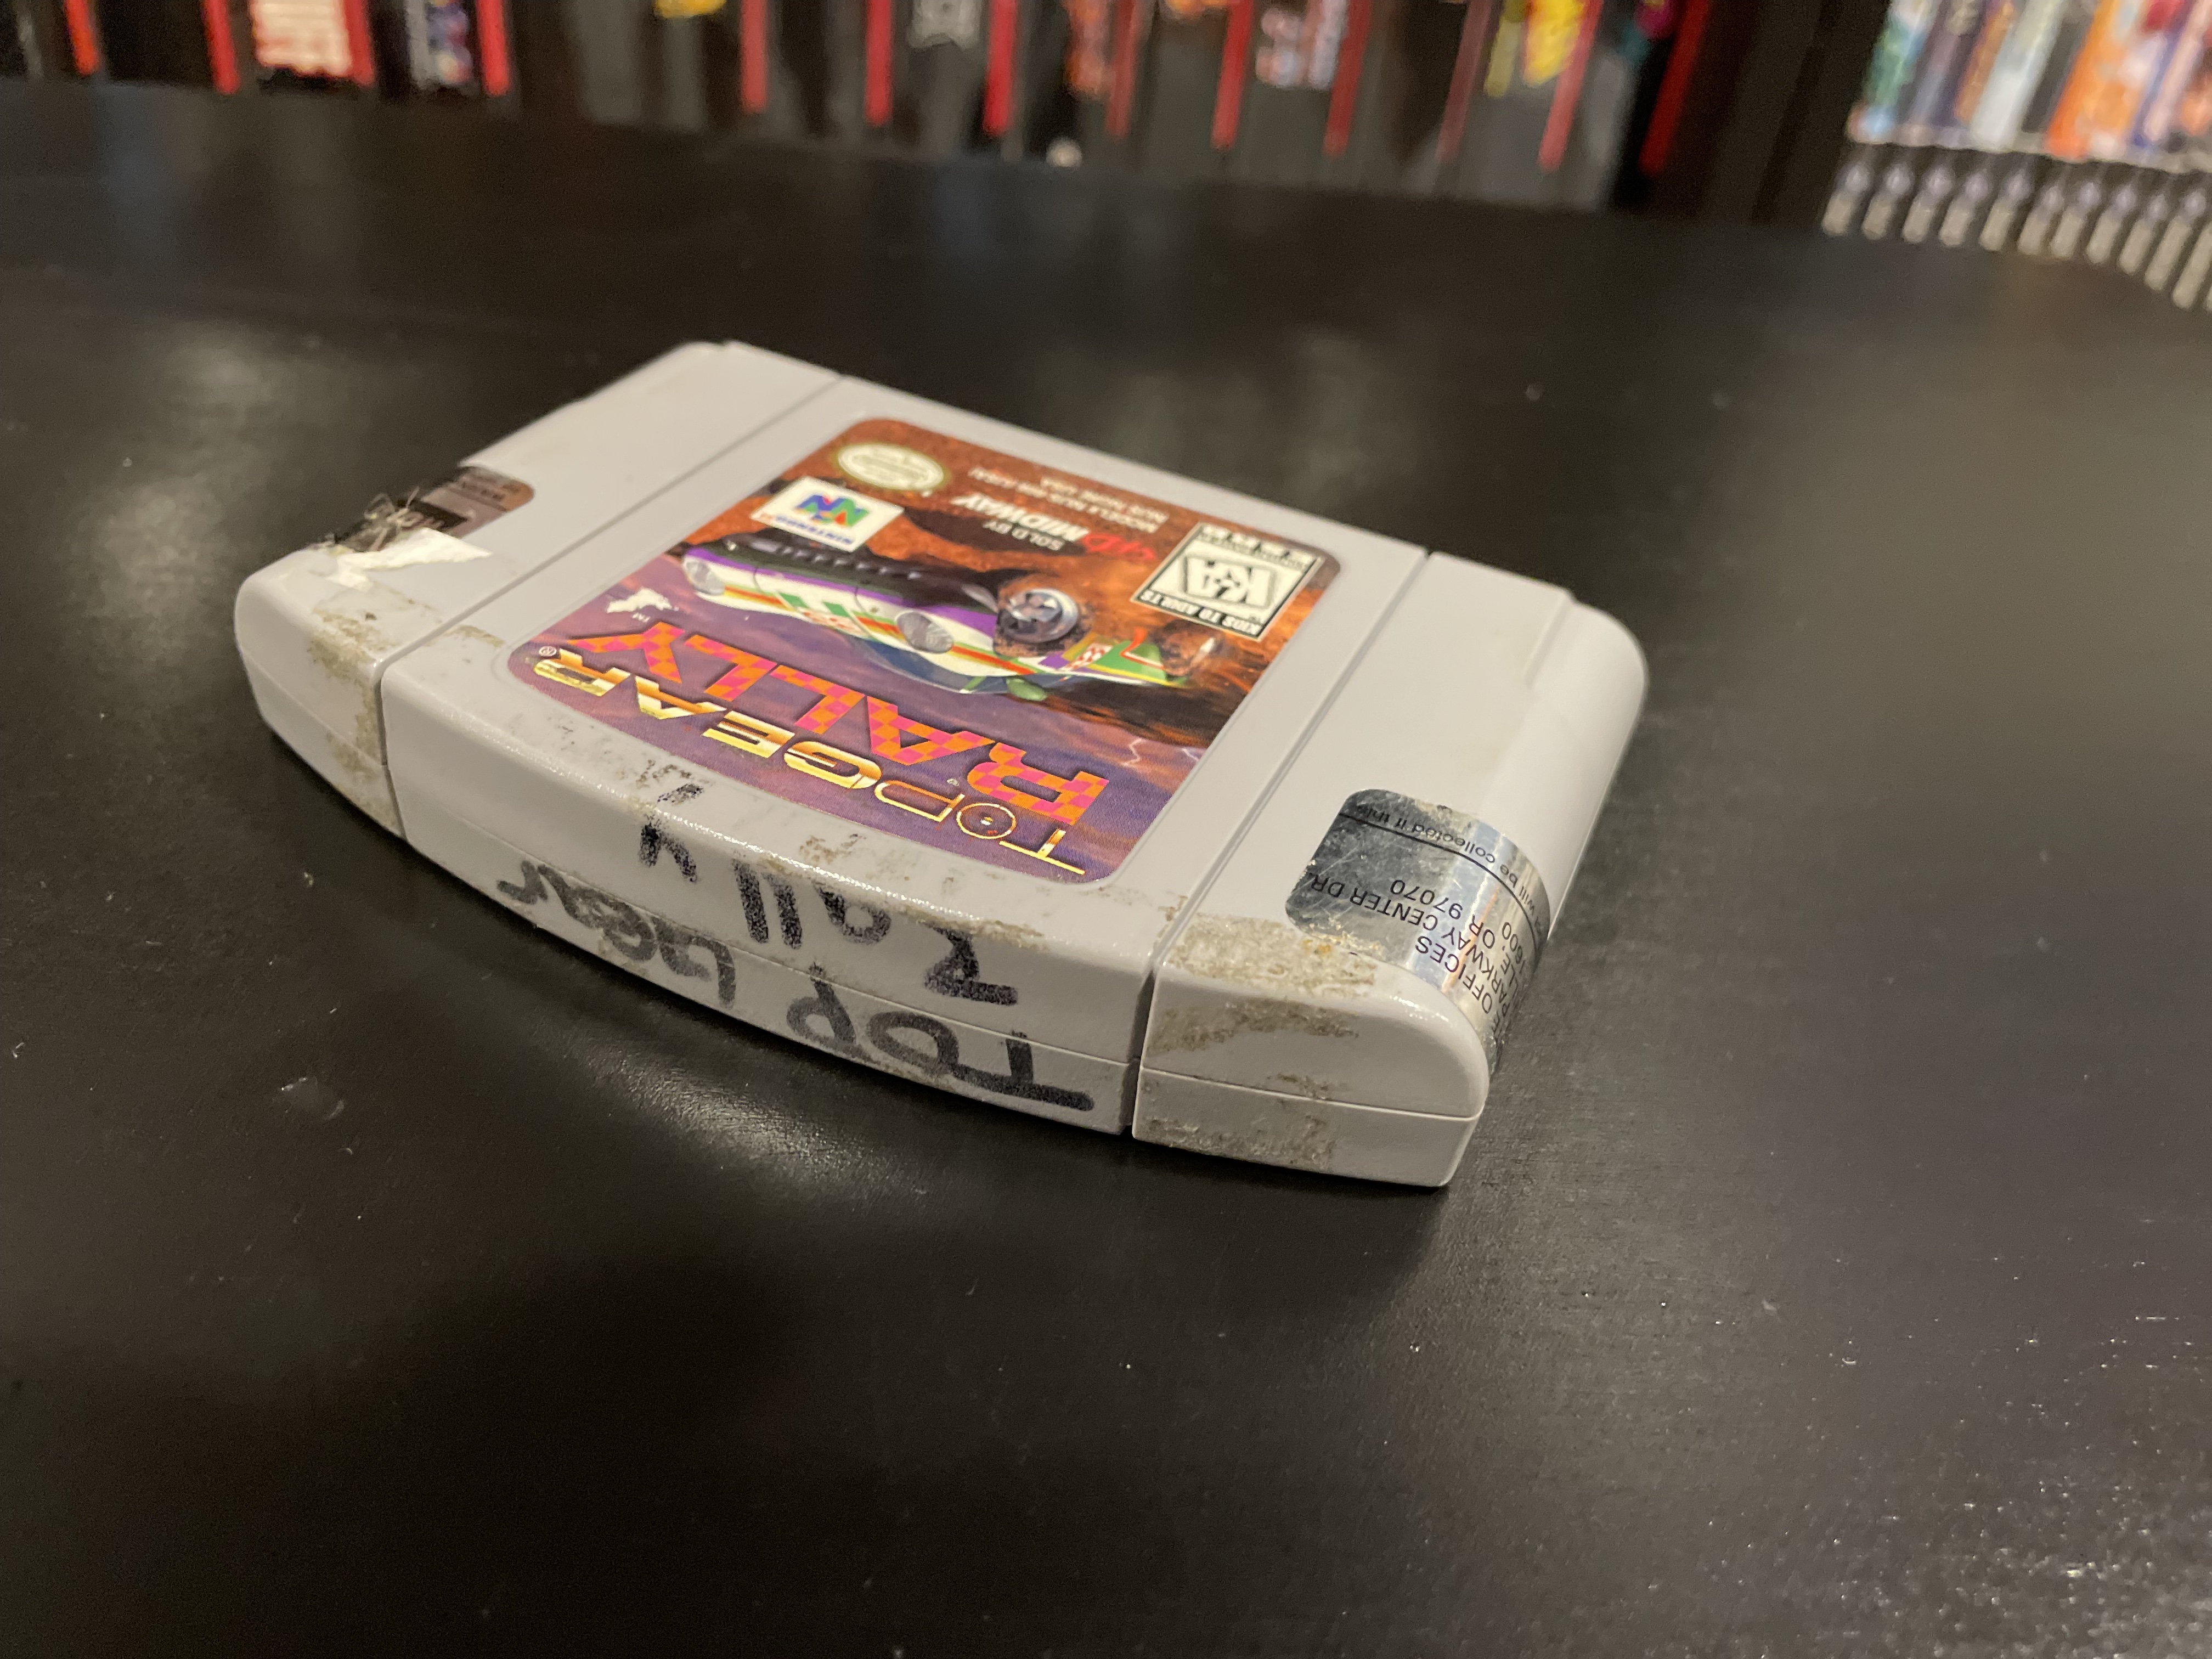
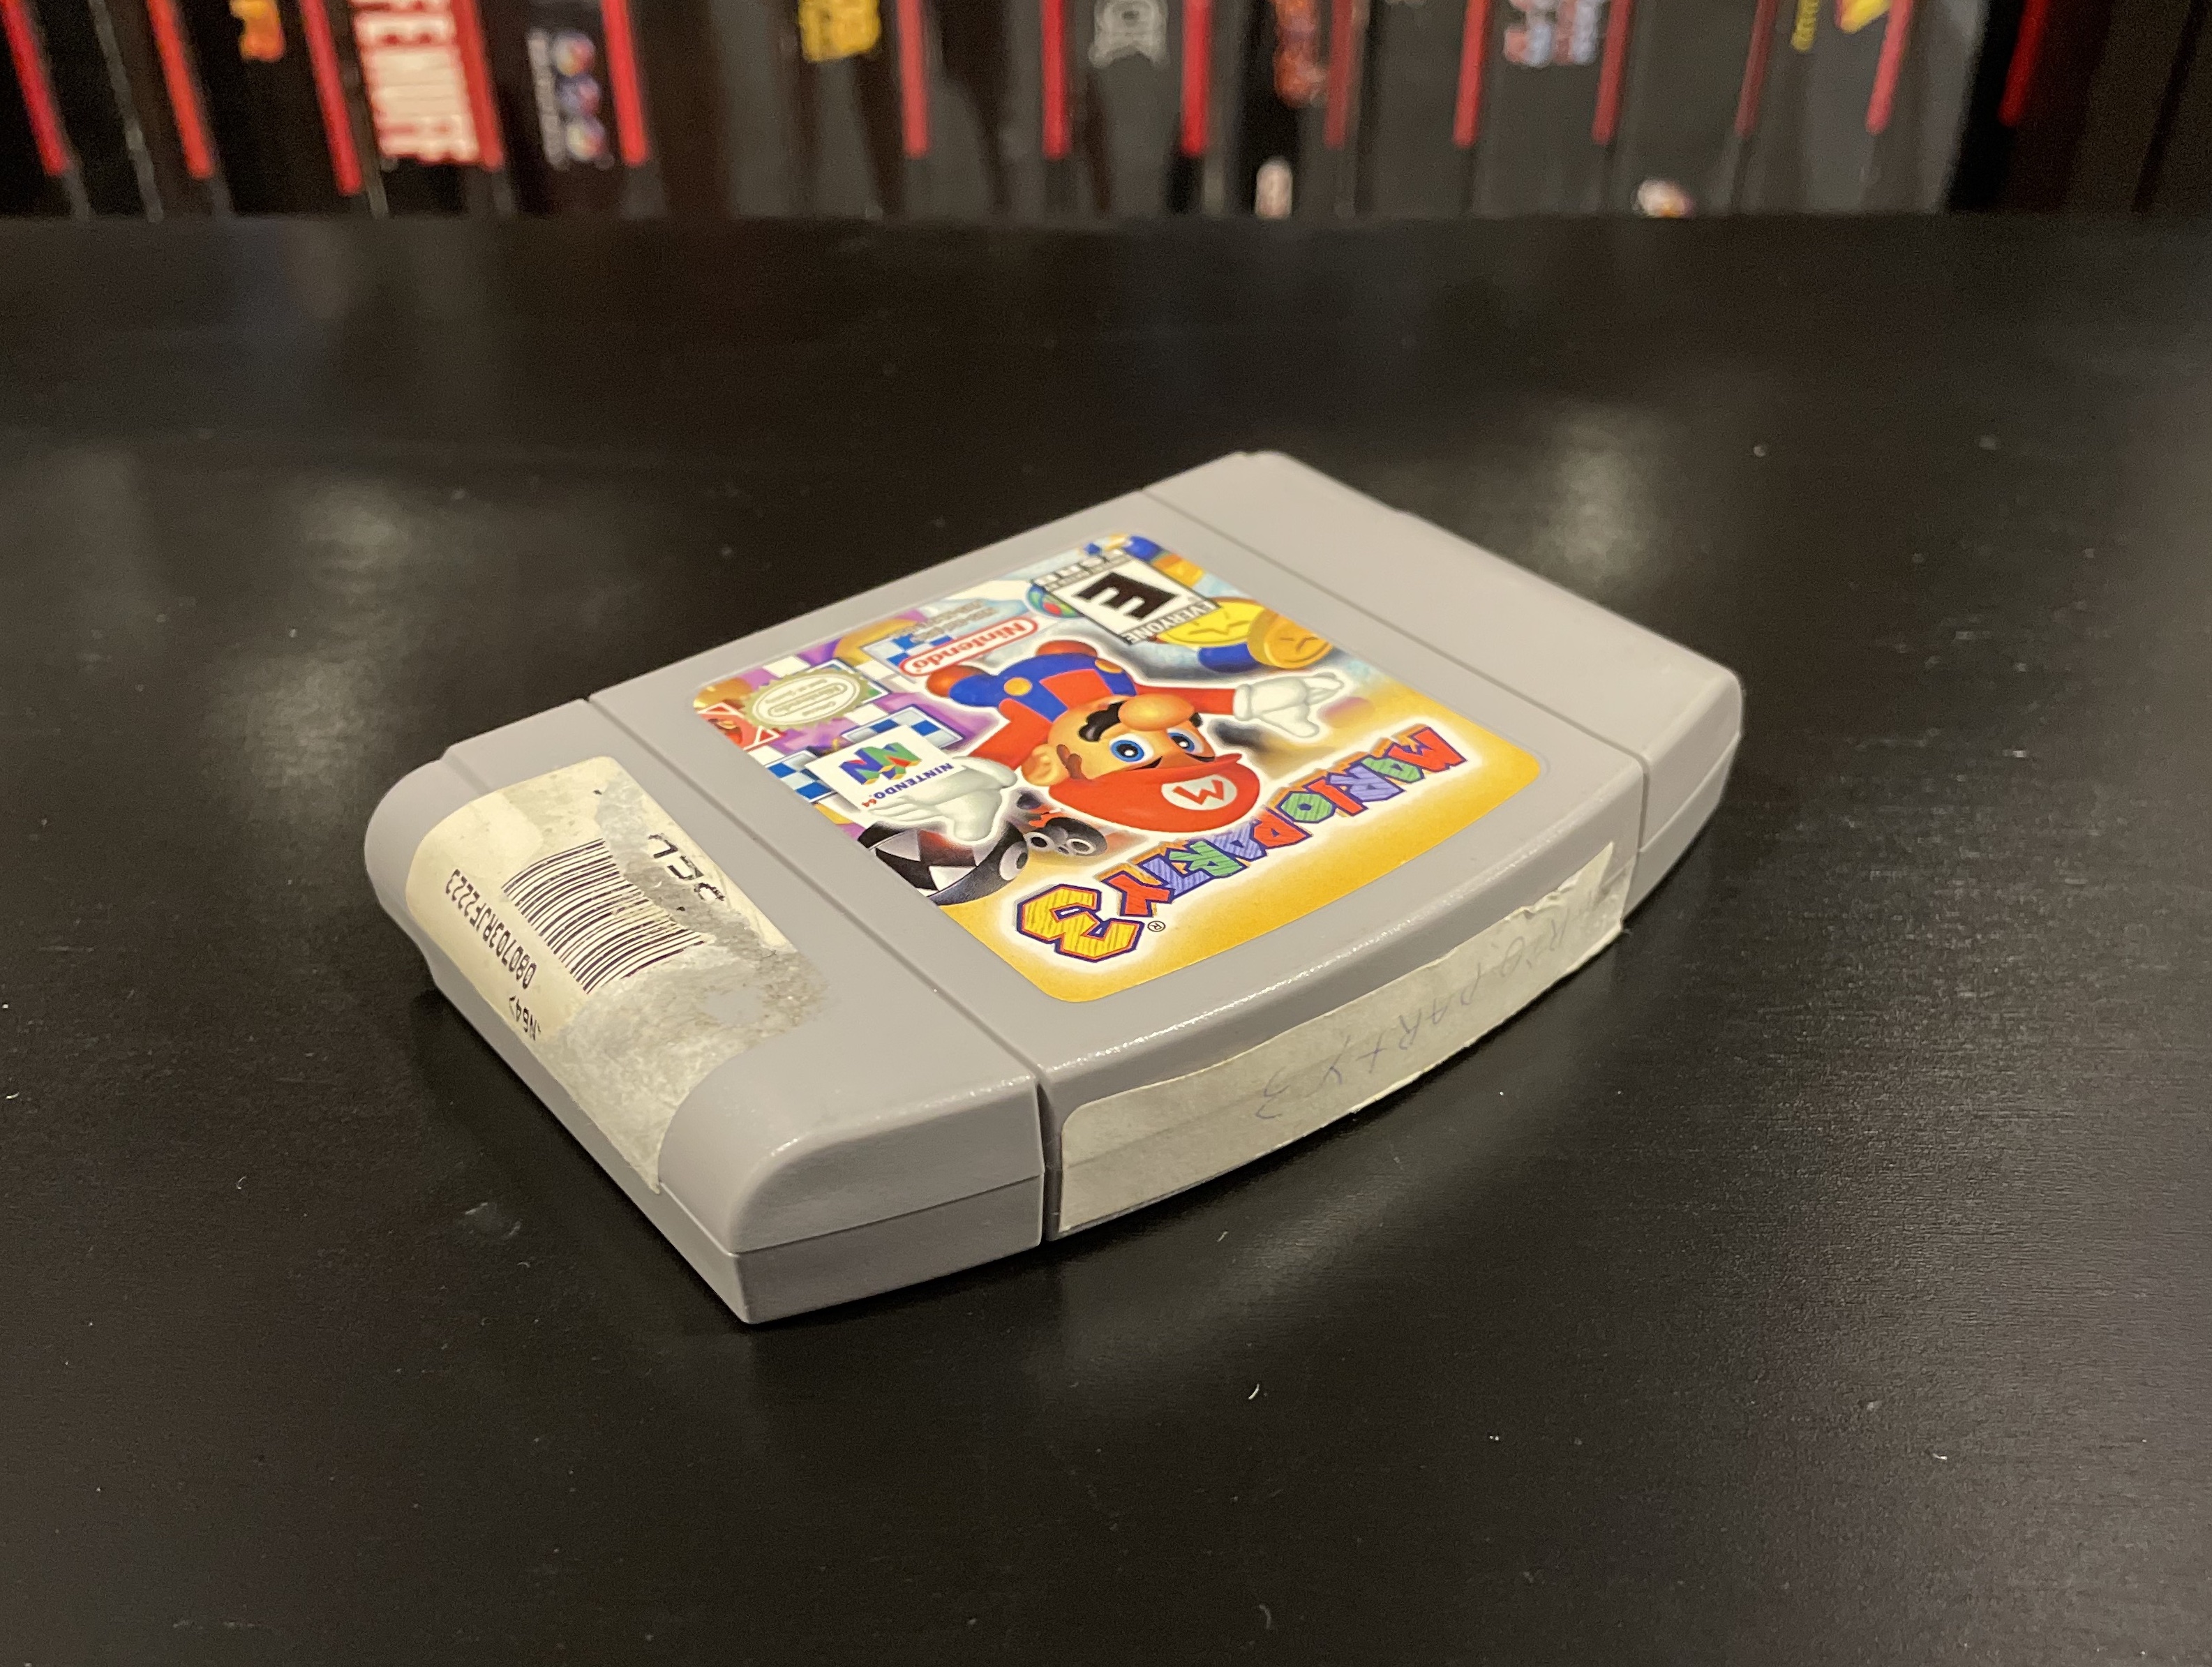
Next, let’s talk about markers. Lots of cartridges wind up with names written on them, especially Nintendo 64 cartridges. These didn’t have end labels, so folks would frequently just write the names of the games on the spine so they could tell which ones they were while lined up on a shelf. This stuff looks like a pain to get off, but there are a number of relatively easy solutions. Some rubbing alcohol can sometimes do the trick, as can hairspray, believe it or not. Again, be extra careful to not get any of this stuff on the game’s labels, because they will get damaged. One of the most effective methods we’ve seen though is the use of a Magic Eraser. These can be found at most grocery stores, and they do a wonderful job of removing marker, especially if you combine Magic Eraser and alcohol.
Any liquids you use though, try to apply to your cleaning tool, not the cartridge itself. Not just to protect the label, but also to prevent moisture from getting inside the seam in the cartridge. If you want to take special care, or if the marker is in the seam as well, use one of those Game Cartridge Security Bits we mentioned earlier and crack that sucker open for some deep cleaning.
Protecting your games
Now that you have your cartridges sparkling like new, how should you go about taking care of them for the future?
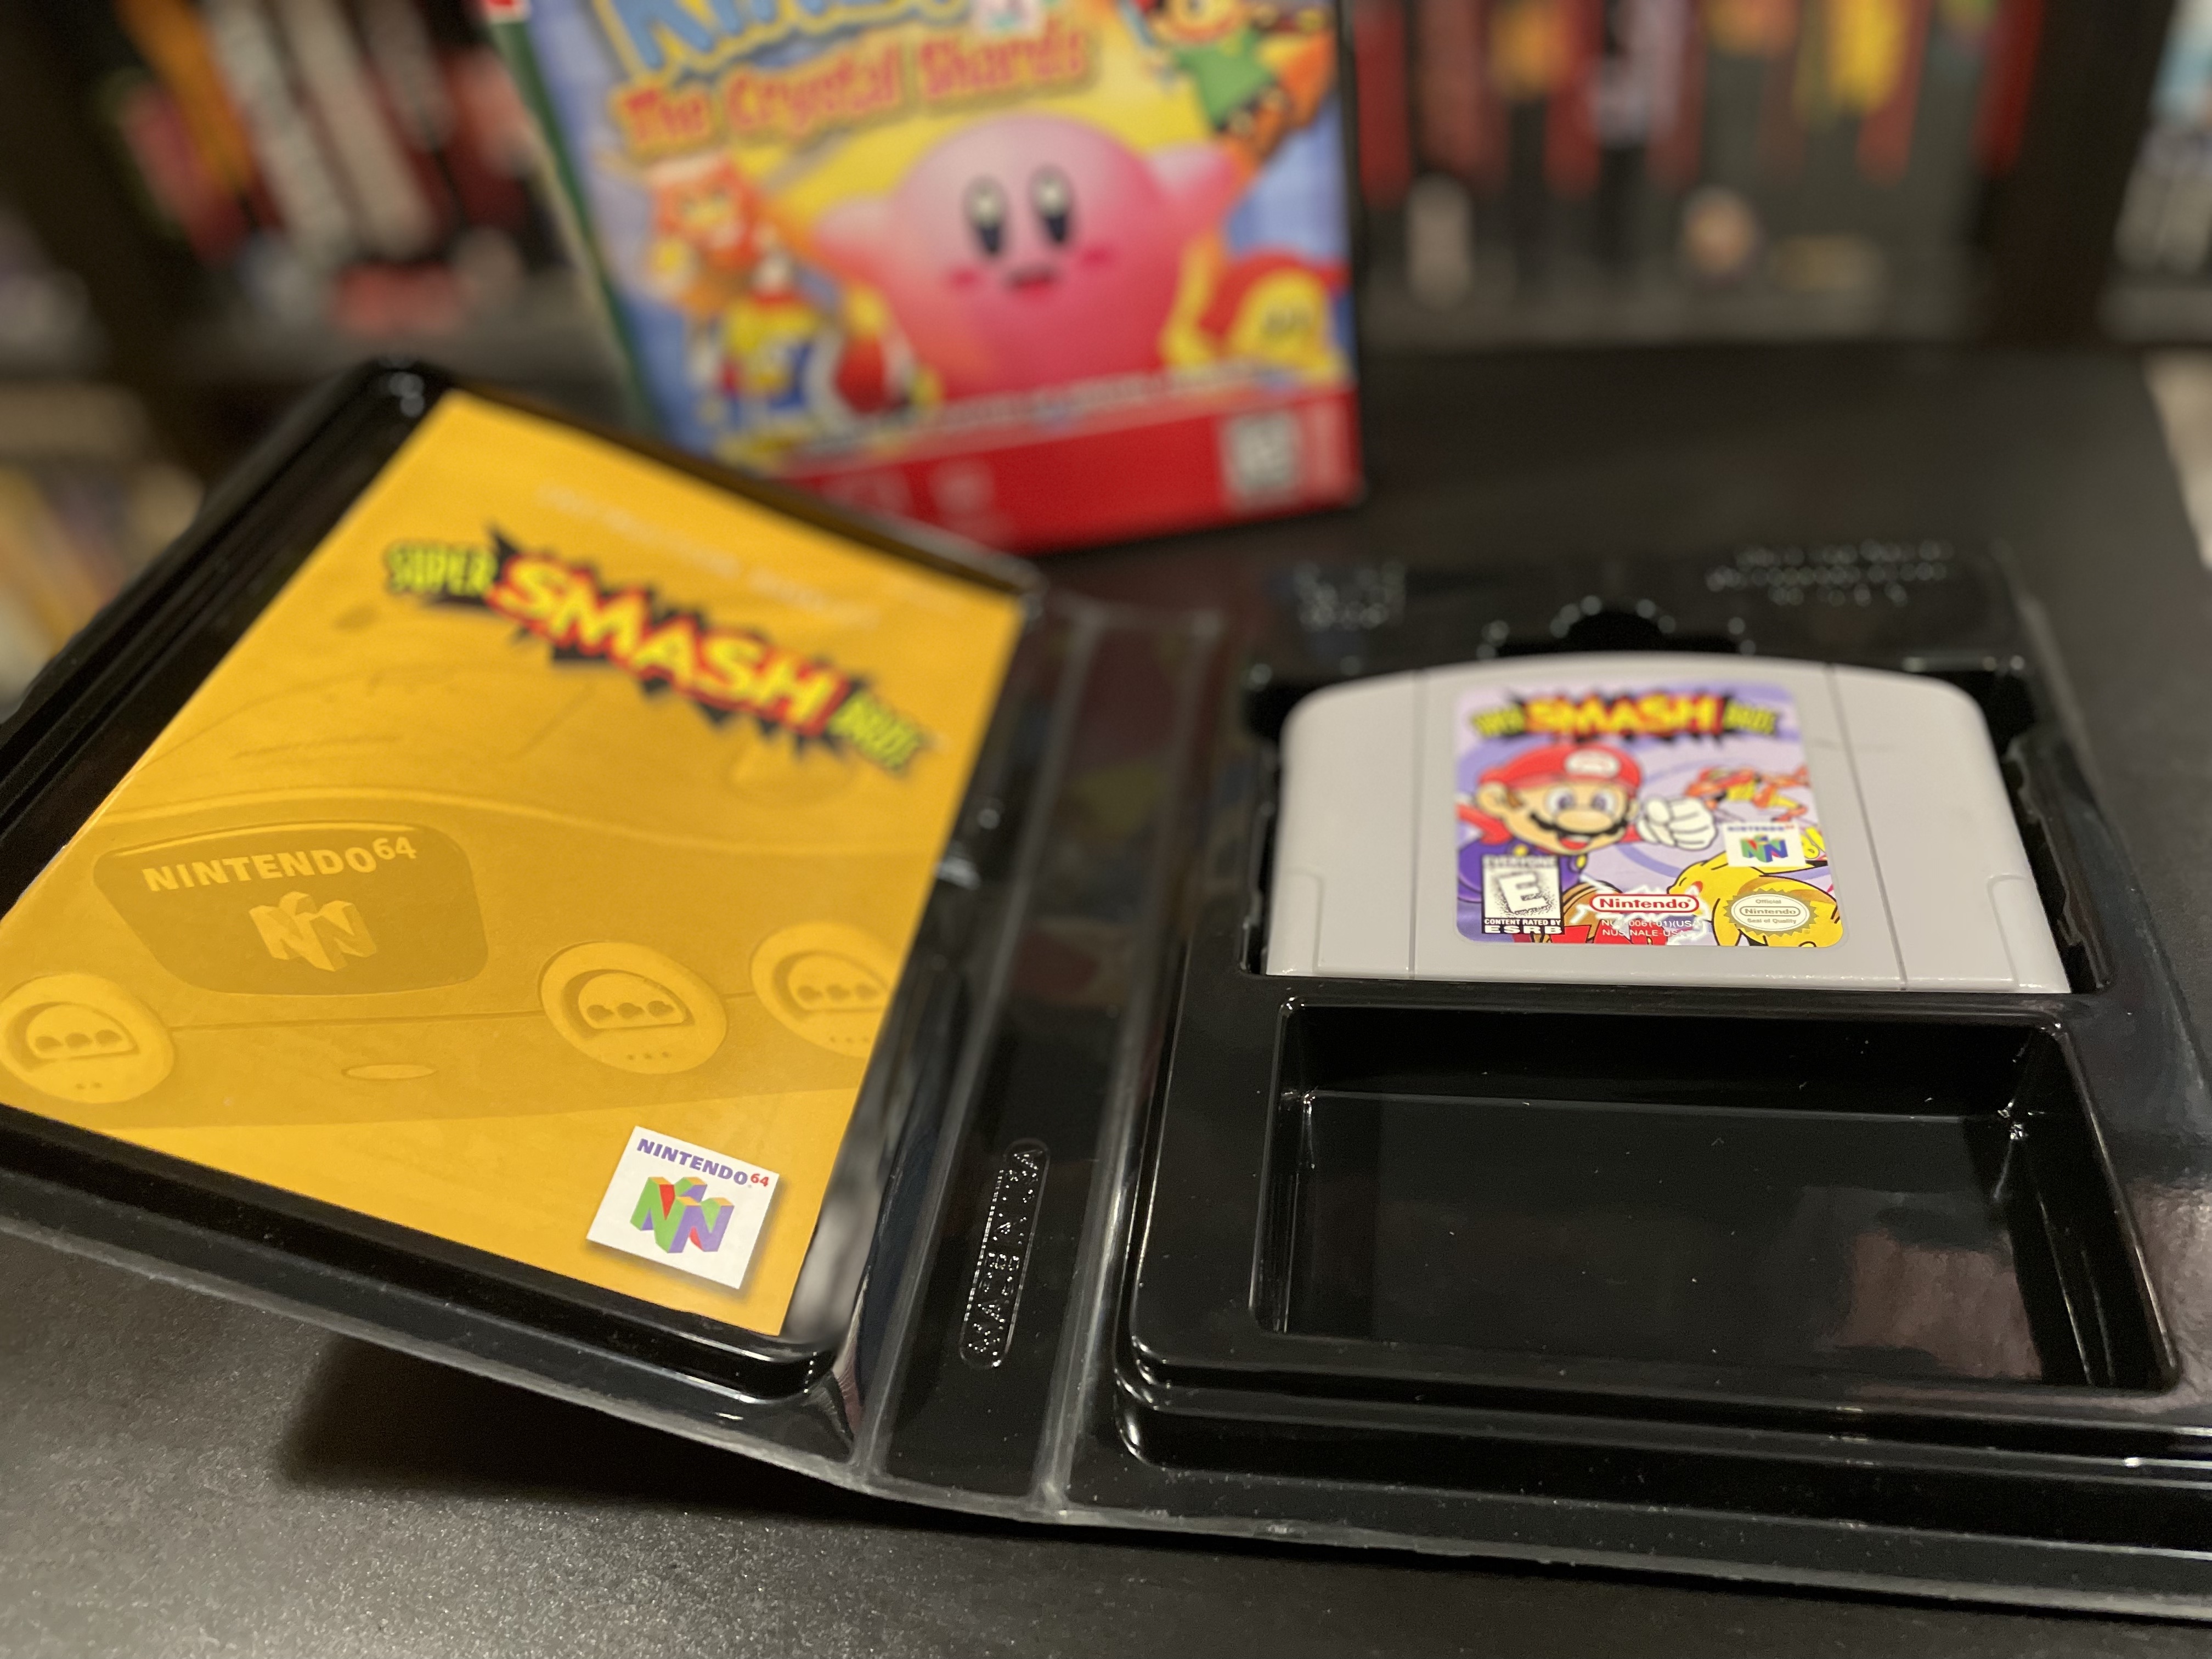
If your games are loose, meaning you don't have the original boxes they came in, you might want to look into something like our BitBox storage cases. These custom cases can have artwork printed for them, and easily store game cartridges, instruction manuals, and even memory cards. These will not only make them look nice on your shelves, but it will keep your cartridges protected from the outside world until you’re ready to use them.
If you’d like to just display the loose cartridges themselves, a somewhat more space efficient option could be the Cartridge Storage Stand from Hyperkin. These stands are not only stackable, but they’ll keep your cartridges in place to prevent dust from getting on the contacts and scratches on the labels from being moved around unsecured.
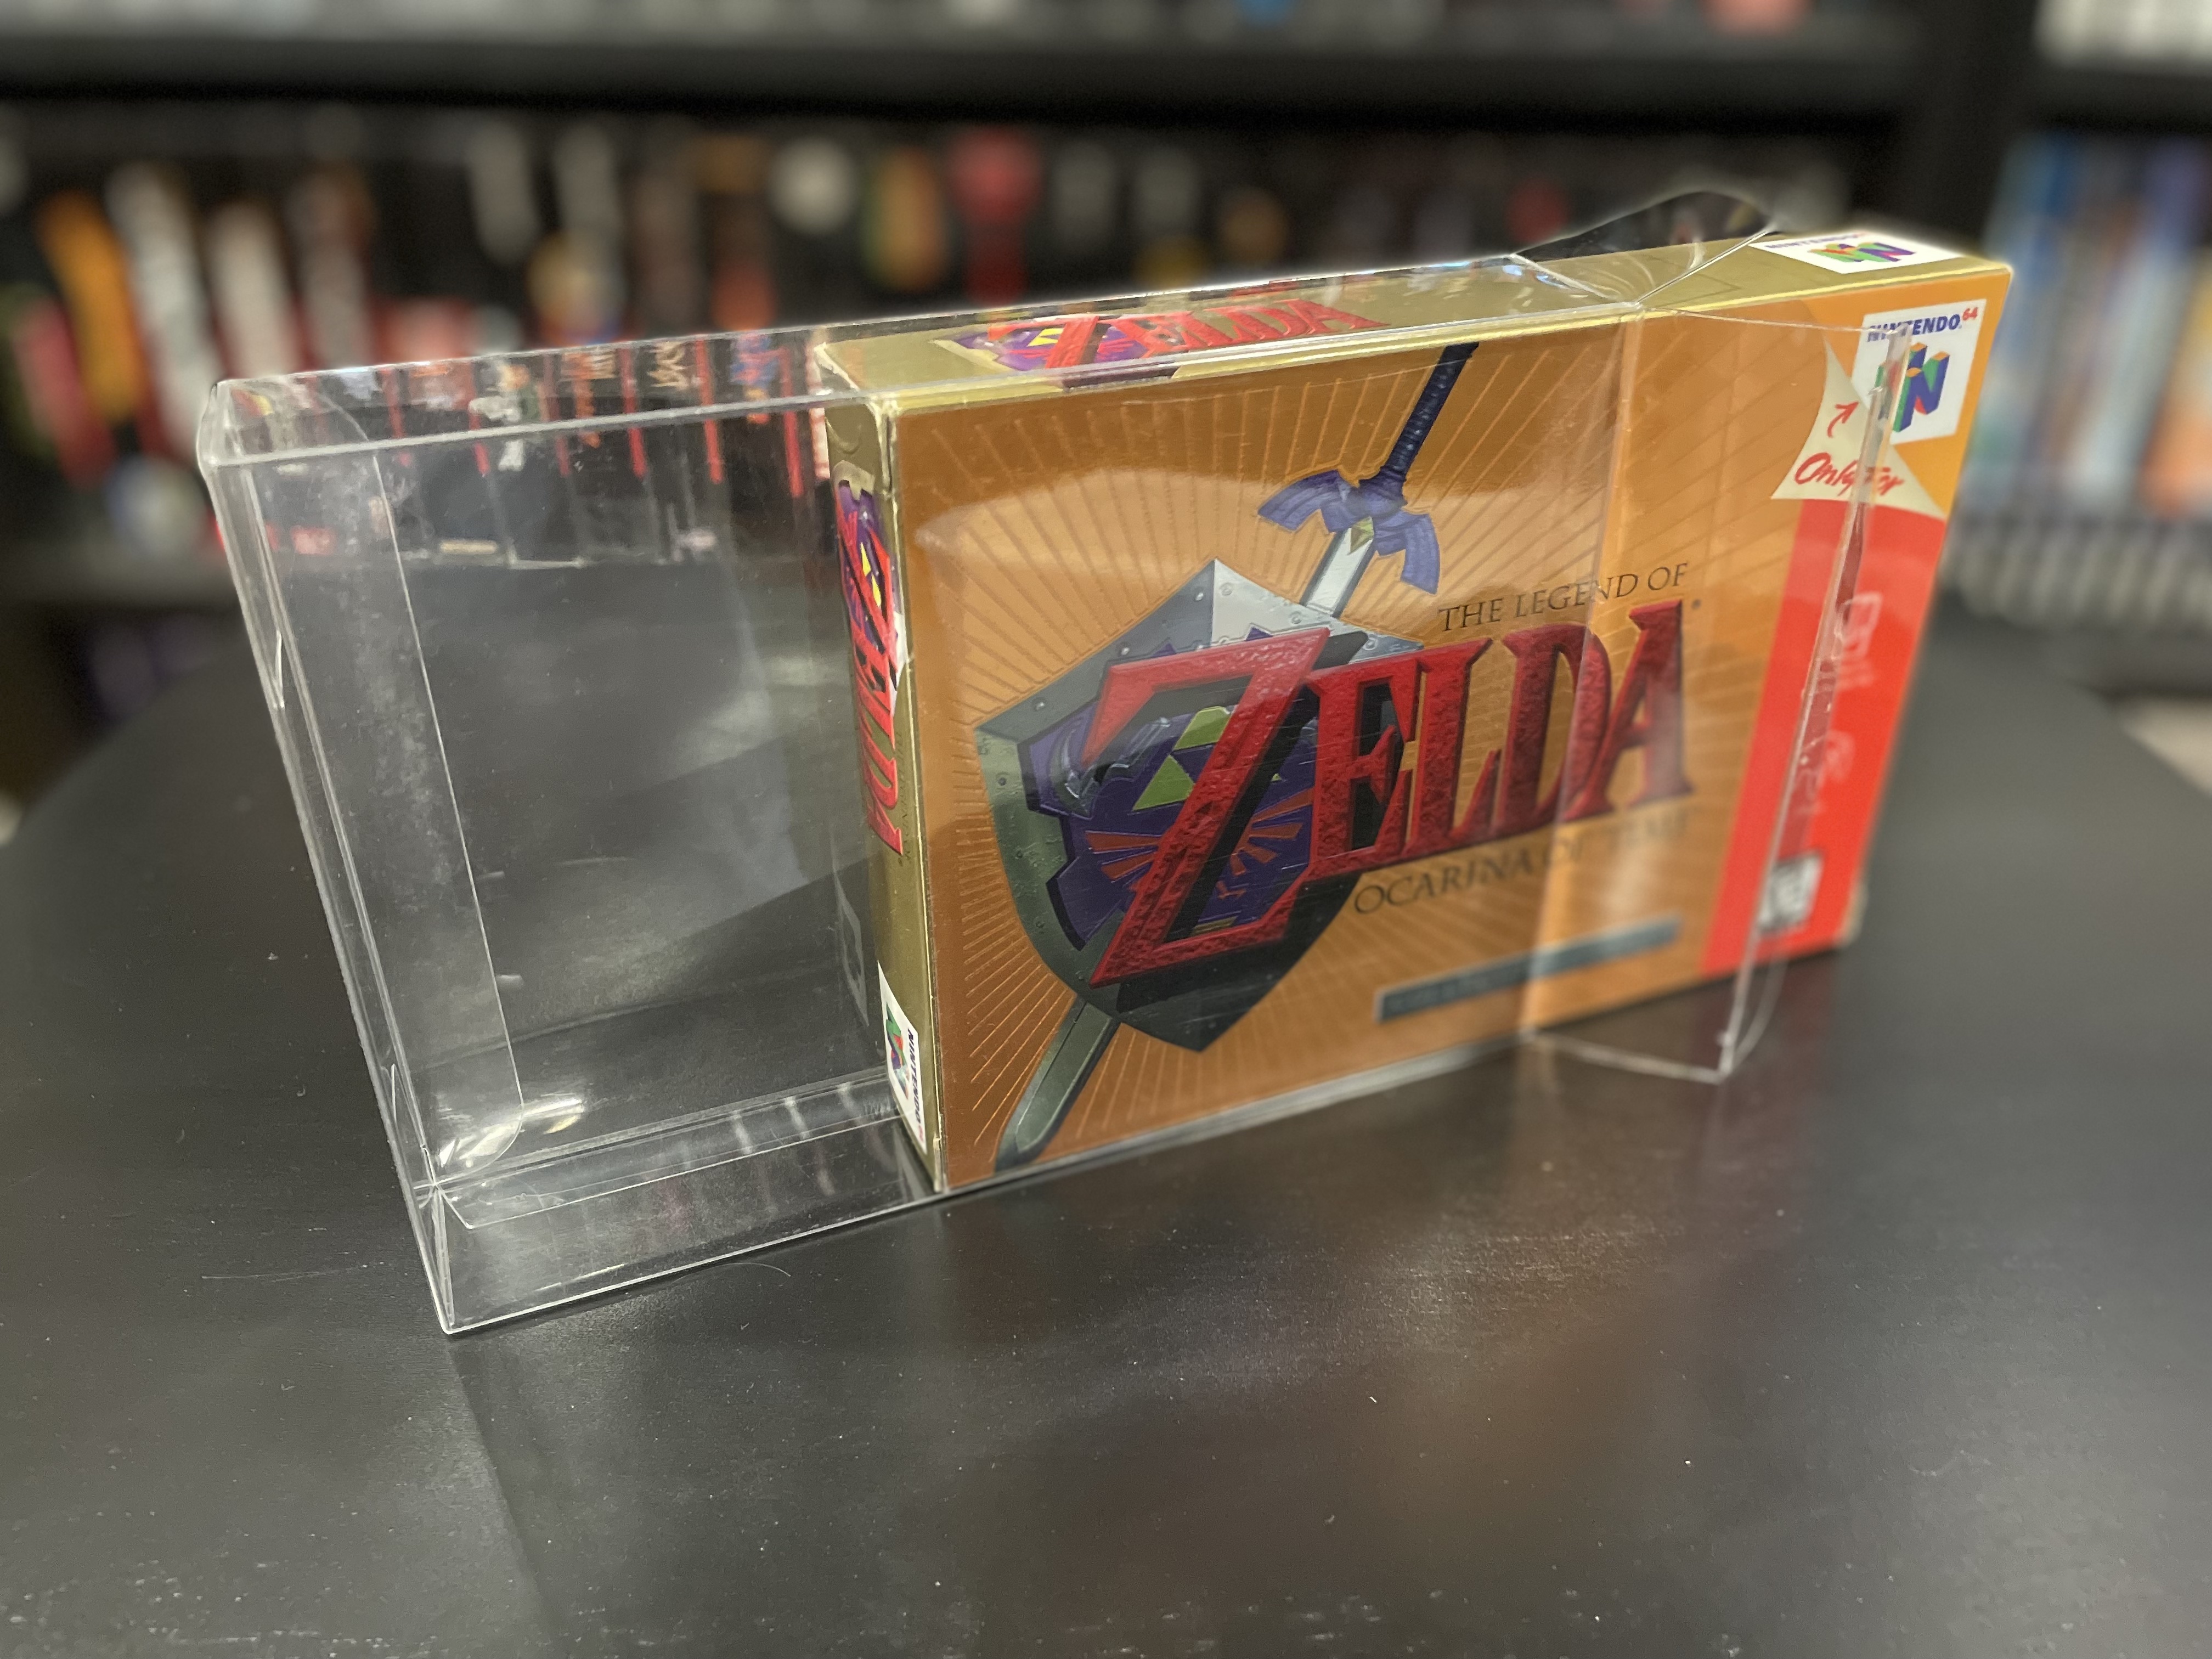
Of course, if you happen to have the original boxes the games came in, a box protector would be a must. These clear plastic cases help keep your boxes structurally sound while also making them look even nicer on your shelf thanks to the clear plastic sheen. And in case you don’t have the insert that helps protect the cart from rattling around and the box itself from getting crushed, we sell those as well.
With these tips in mind, anyone can give their Nintendo 64 game cartridges a new lease on life. With a little work, you’ll be playing Golden Eye 007 with your friends again in no time.