Atari 2600+ Console Starter Guide
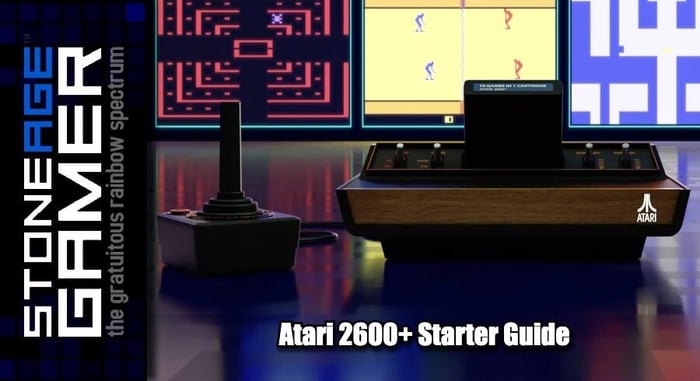
Now that the Atari 2600+ is out in the world, a lot of the questions we all had about it have been answered. How does it play games? How does it compare to original hardware? What’s in the box? It’s designed to be a pretty straightforward device, but there are a surprising amount of factors the back of the box won’t tell you. So this handy guide will break down what it does, what it doesn’t do, and what else you need to make sure you get the most out of your machine.
Now, I do have to specify that I am not the ultimate expert on this thing. I’ve been playing the Atari 2600 all my life and I have a pretty solid handle on what does and doesn’t work with this new iteration. I am not, however, able to tell you why some things work on a technical level. But I’ve had my machine for a little while now, and I think I've settled into a nice understanding of the Atari 2600+’s quirks. So let’s get started!
What’s in the box?

The box contains the system itself, a USB-C cable, one CX40+ joystick, an HDMI cable, and that’s about it. The system is approximately the same size as an Atari 2600 jr., if you’ve ever seen one of those. It’s got a relatively small footprint, but not so small that it feels cheap. This isn’t built like the old Flashback systems, or even the more recent Classic Edition mini consoles. The Atari 2600+ has a little bit of weight to it. Not very much, mind you, but enough so that the strength of the cables that plug into it aren’t enough to make the system move around and not sit where you want it.
The package also contains a multicart with 10 games on it. These are selected using a series of dip switches on the cartridge itself. The games are:
- Adventure
- Combat
- Dodge 'Em
- Haunted House
- Maze Craze
- Missile Command
- RealSports Volleyball
- Surround
- Video Pinball
- Yars' Revenge
This cart also works just fine on original hardware.
The USB-C cable is the Atari 2600+’s power supply, but it does not include a power brick. That’s something you’ll need to supply yourself. We also carry them on our website, if you don’t happen to have one laying around.
The HDMI cable isn’t anything all that special. It’s a decent quality cable that has the Atari logo on it. Neat!
That just leaves the controller.
How does the controller work?

The controller included in the box is the CX40+. In case you aren’t an Atari nut, the classic Atari joystick is called the CX40. The new CX40+, to my eyes, features very few differences from its classic counterpart. It isn’t as easy to disassemble as the old ones since the screw holes aren’t accessible on the bottom anymore, and the stick itself seems to be a bit more stiff, but that could be just because my old CX40s are so well worn.
It also has to be pointed out that while the Atari 2600+ is compatible with Atari 7800 cartridges, the CX40+ joystick does not work with 2-button 7800 games. Some Atari 7800 titles required the use of two different buttons, similar to the NES or Sega Master System. Original Atari 7800 controllers will plug in and work just fine, but the included controller will not do the trick.
Back to the CX40 comparison though, the biggest difference I could find is that the cable is longer. This seems like a great thing, but it’s only longer by about a foot. That means the cable for the controller is only about 5ft long, which probably isn’t going to allow you to sit comfortably while playing, unless you’re going for the classic “sitting on the floor in front of your TV” experience. It’s possible to get yourself longer power and HDMI cables so you can keep the system next to you while you play, which is honestly a fantastic solution, since you’re probably going to want to change cartridges often, and using the Atari 2600+’s Reset and Select switches is something you’ll find yourself doing far more frequently than you may remember. However, if you want to sit back while your console sits comfortably on a shelf, there are some great options out there.
What other controllers work?
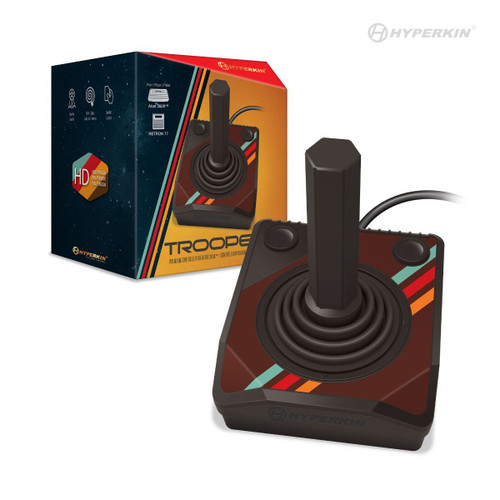
Hyperkin makes a couple of solid Atari 2600 controllers that work pretty well. First, there’s the Trooper. These have a similar form factor to the CX40, and feature two face buttons for left or right-handed play. NOTE: Those two buttons do not function with 2-button Atari 7800 games.
Trooper Joystick Controller for Atari 2600 - Hyperkin
$15.99
Boogie the night away with the Hyperkin "Trooper" Premium Controller for Atari 2600™/ RetroN 77. This groovy controller allows you to hold the 70s right...… read more
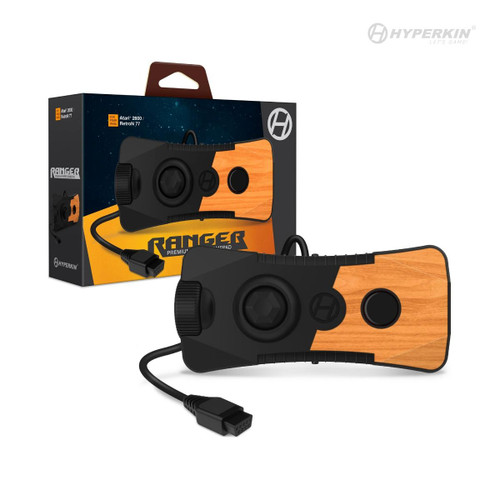
The other option is the Ranger. This is a neat little pad that has a thumbstick instead of a big ol’ joystick, which is neat. But its biggest selling point is its built-in paddle. It isn’t the same as Atari’s old paddle controller (or their new Paddles as far as I know, I haven’t gotten to try those yet). It’s got a lot more resistance when twisting it, and for my money it isn’t quite as comfortable to hold as the classic paddles. That said, it’s a really nice controller, and I’ve gotten a decent amount of mileage out of mine. Both of these controllers have considerably longer wires than their official Atari counterparts.
Ranger Gamepad for Atari 2600 - Hyperkin
$24.99
Control your favorite Atari games in a way you've never done before. The Ranger for Atari 2600™ and RetroN 77 is a gamepad-style controller meant...… read more
Out of Stock
Of course, the simplest solution in terms of making the included CX40+ work at a comfortable distance is to get yourself some controller extension cables. Sega Genesis ones are the most common to find, and they work just fine with Atari 2600 controllers. I actually got myself 2 of them to daisy chain together because even with one extension, the cable wasn’t quite long enough to sit comfortably on my couch.
Do Sega Genesis controllers work?
The short answer is no, at least not out of the box. But with a little help, that can be fixed. The original Atari 2600 can be played with Sega Genesis controllers, which makes the Atari 2600+’s inability to use them kind of a pain, especially since finding working Genesis controllers is far easier to do than finding working 7800 joysticks, and being able to use a Genesis controller for those 2-button 7800 games would have been a great solution. Fortunately, there’s a workaround!
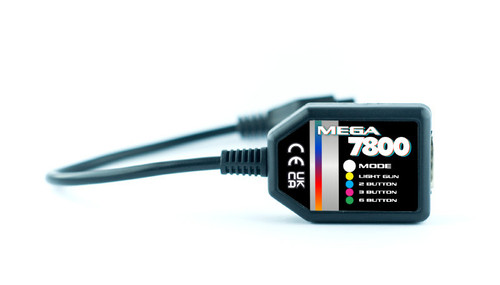
Mega7800 Controller Adapter for Atari 7800 - RetroHQ
$19.99
Mega 7800 - Controller Adapter for Atari 7800 The RetroHQ Mega 7800 is a controller adapter which allows you to use your Master System and...… read more
The Mega7800 from RetroHQ is a controller adapter that allows you to use Sega Genesis controllers on an Atari 7800 with specific functionality for the 7800 GameDrive Flash Cart in mind. It also has the awesome side effect of allowing you to use Sega Genesis controllers on the Atari 2600+! Standard 3-button controllers, 6-buttons, and even the officially licensed wireless controllers from Retro-Bit plug right into the Mega7800 and work like a charm. It works on 2600 and 7800 games, including 2-button support for the 7800 games that require it. As far as I’m concerned, this thing is an absolute must-have for Atari 2600+ owners.
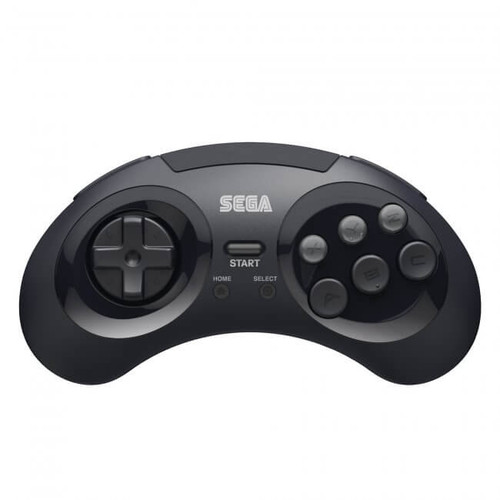
8-Button Wireless 2.4 GHz Controller for Sega Genesis - Officially Licensed
$33.99
No longer be tethered to your console. The officially-licensed SEGA Genesis® controller gets reengineered as a 2.4Ghz wireless controller and carries along its original layout and...… read more
Out of Stock
As a side note, Sega Master System controllers work just fine on their own, but not as 2-button controllers. I have no idea why, and I think it's weird.
How do the games work?
I’m not going to pretend I have a grasp on the technical details of how the system reads the games, but the basic concept is, you put a cartridge in, and it loads it up for you to play. It is, however, a much slower process than on original hardware.
Games actually have to load up on the Atari 2600+. The original systems booted up near instantaneously, but this new system has to take a few seconds to load the game, which can be a bit of an annoyance. However, and I can not stress this enough, THE ATARI 2600+ SUPPORTS HOT SWAPPING. I wish I knew this when I first turned the unit on because it would have saved me a TON of time.
When playing the original consoles, the general practice was to turn the system off between games because, well, that's the only way they worked. If you yanked the game you were playing out of your Atari 2600 without turning the system off, it would make very angry noises at you and the screen would go all bug nuts. Because of this, it never occurred to me that I should just leave the Atari 2600+ on while changing games, but that is exactly what you should do. Once you remove whatever cartridge you’re playing, the screen will go black and return to the game loading screen, which is so much faster than making the system perform its whole boot-up sequence every time you swap carts. There’s still some loading time, but it’s only about 2-3 seconds on average.
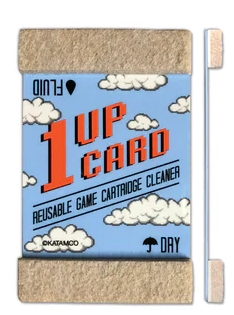
All that said, the Atari 2600+ does seem to have a much harder time with dirty cartridges than my original hardware. I could take the same cartridge and put it in my Atari 2600+ and watch it fail to load time after time, but then put it in my Atari 7800 and watch as it boots up immediately with no issues at all. Cleaning my cartridges quickly became a very important task, and fortunately we just started carrying a whole line of cleaning products from 1up Card.
Video Game Cartridge Cleaning Card - 1UPcard
$3.99
1UPcard Video Game Cartridge Cleaning Card Get back in the game! Double-sided cleaning card makes cleaning a breeze! Apply 99% isopropyl alcohol to one side...… read more
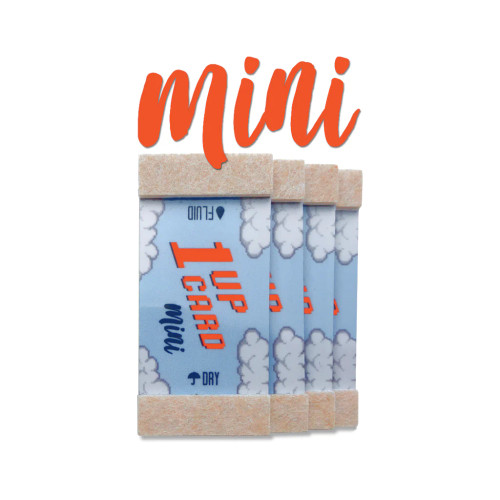
The most important thing to get would no doubt be the cartridge cleaner. Now, these things come in two different sizes. The standard size ones will do the trick on the majority of 2600 and 7800 games, but the mini cards are probably the ones you want to go with if you’re specifically going to be cleaning Atari 2600 games. Some of the older carts had these plastic shields on them. You can use something to prop them open (1upcard actually makes a “cartridge key” that we should be getting soon that helps with that) but doing so doesn’t leave you with a ton of room to fit the full-size 1upcard in the cartridge. The mini ones are the right tools for the job. It’s also worth mentioning that there’s some debate as to whether swiping from side to side or up and down is the “right” way to clean cartridges, and the official word from 1upcard is that there is no wrong way. Both seem to have their advantages, and both will get your cartridges clean. So go ahead and swipe whichever way you think gets you the best results.
Mini Cartridge Cleaning Card (4-Pack) - 1UPcard
$14.99
Mini 4 Pack Game Boy Cartridge Cleaning Card - 1UPcard Restores games for Game Boy and more Durable cleaning card restores games quickly and easily....… read more
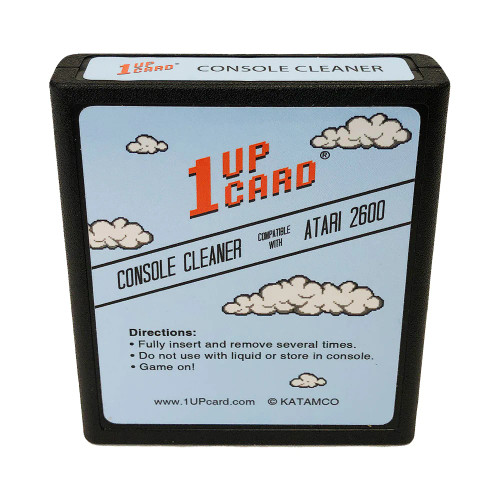
The other thing to consider would be the Console Cleaning cartridge. This will clean your console’s cartridge slot, and if you’re putting a bunch of filthy old carts into your Atari 2600+, this will probably be a good thing to have on hand.
Console Cleaning Cartridge for Atari 2600 / 7800 - 1UPcard
$24.99
Atari 2600 Console Cleaner - Atari 2600 Cleaning Cartridge by 1UPcard A clean console is just as important as clean games. If your pin connector...… read more
With that, all of your compatible cartridges should work just fine.
Which games work?
The Atari 2600+ is designed to work with original Atari 2600 and Atari 7800 cartridges. It isn’t 100% compatible with all cartridges, but the vast majority of official Atari carts do function with the system. A list of compatible games can be found on Atari’s website here.
Do Flash Carts work?
Sadly, no. At least not as of this writing. It’s possible that could change with future firmware updates.
Do homebrew games work?
This one’s a bit tricky. I believe the current answer is “some.” However, there are planned firmware updates that I believe will include more homebrew support. For instance, it’s been confirmed that a future update will allow Circus Convoy from Audacity Games to play on the Atari 2600+. Neat!
Can the system be updated?
Yes. The actual system instructions don’t say anything about it, but the system will be able to be updated via its USB-C port. It’s not as convenient as an SD card slot, but it’s better than nothing.
How does it compare to the Hyperkin Retron 77?
Honestly, they both work very similarly. The Retron 77 has been out there longer and there are several alterations that can be made to it to allow it to do lots of things that it can’t do out of the box. However, it does not play Atari 7800 cartridges, which the Atari 2600+ does. For a better visual side by side comparison, here’s our Atari 2600+ overview video.
Is there anything else I need to know?
At the end of the day, the Atari 2600+ is a neat machine that serves a very specific purpose. It is not the same as playing on original hardware on a CRT TV, but it is a wonderful way of easily playing original cartridges on a modern HDTV. It looks nice on a shelf, and I’ve honestly been having a ball with it. It’s an incredibly niche machine though. If you still have a functioning Atari 2600 or 7800, this isn’t going to do much for you other than allow you to play your carts on an HDTV, which might not even be that much of a draw to you depending on your setup. But if that’s a novelty that holds luster to you, it’s a nice machine with some weird quirks.


