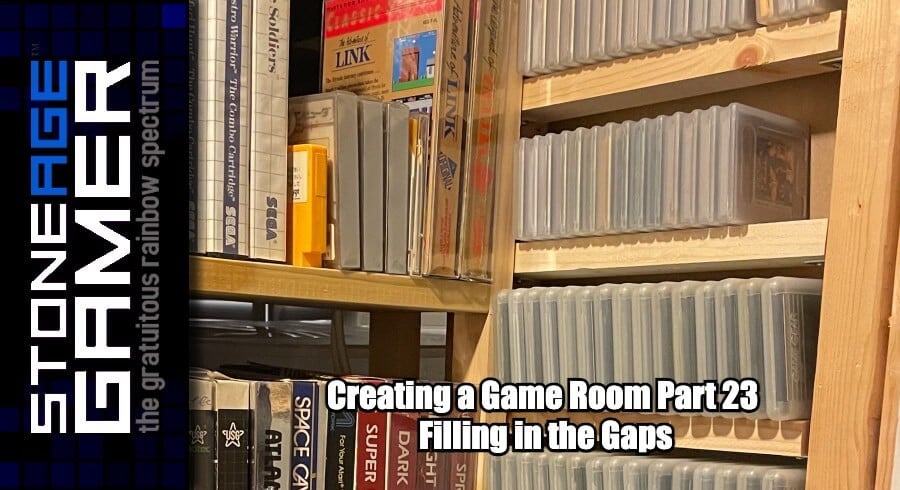
Creating a Game Room: Part 23 - Filling in the gaps
The Space Between Spaces
When the last one of these had posted, that part of the project had actually already been done for a couple of months. It was, as I said, an excellent stopping point, and it wound up being very telling about how useful the space actually was, and what I needed to fix.
As this was happening, I ran into an unrelated problem that actually helped inspire a solution to one of my existing closet issues.
Switching things up
As you may or may not know, I’ve been on a mission to collect every US released Bubsy game. Why? Who can say? I’m a nutcase. Anyway, I finally got my hands on a copy of Bubsy: Paws on Fire for Switch, and that officially put me over the edge on my current Switch storage situation.
I had the cases lined up behind the Switch dock in my basement, but with that space full, I now needed to find a more long-term solution.
Meanwhile, I’ve been playing through the Metroid series with my son, and I needed to get out a couple of 3DS and DS games. They wound up being stuffed on top of other things in this old shelving unit in the closet. I also occasionally found a desire to check out those Sega Genesis games I thought I didn’t care about, and well, it was a hassle. I also came across some issues with the way I had my loose SNES and Atari 2600 games stacked, but we’ll get back to that in a minute.
I needed a solution for my Switch games, and I found it in an unexpected place: Underneath my TV.

Since I moved in, I haven’t had the slightest idea what I should do with these spaces in my TV stand. They’re there for things like a blu ray player and game systems, but since I have this shelving unit built into the wall here, I didn’t actually have anything to put in those slots. So I’ve been stuffing my son’s LABO kits, or like in this picture, filling it with board games for the kids. (Not pictured: 2 shelves that effectively divide these spaces half).
But it turns out, Switch games fit on those shelves like a glove, and the top ones are perfect for DS games. Who knew?
The trouble was, how to stop them from sliding back?

A few weeks ago I had to replace the storm door on the back of my house, and I needed to get some molding to fill a small gap where the old door was, and I accidentally bought way too much. So I cut four pieces of it off at the length of the shelves here, and put a few nails behind them to keep them in place. And boom. Beautiful storage for my games, with room for expansion.

I am a bit concerned that my Switch collection is going to keep expanding, but if anything I can move my PS4 games somewhere else since I don’t really use them all that much. (Sorry PS3).
Now back to the closet.
Mind the Gap
While it was great to have that little bit of extra breathing room with the removal of DS, PS3, and Switch from the closet shelving, problems still remained. One of the biggest issues (other than the ones I mentioned earlier) has always been storage of loose Game Boy and Game Gear games. These things are so darn small and they just never really sat comfortably anywhere. I had them all organized in a bin, but what I needed was a place I could put them on a tiny thin shelf.
I’ve seen lots of custom shelving units for Game Boy carts online, but I didn’t really have a place for that on my walls, not one that I’d like anyway. But then, while sitting in my closet looking at my games (because again, I’m a nutcase) it struck me.
I could totally fit games between these things!

Studs, right? I think that’s what they’re called. Whatever. I’m not a constructionist! But what I do know is these would be perfect for stuffing tiny shelves and small cartridges.
I took some measurements and bought some 2 inch boards, and cut them to the size I needed. Now, I say 2 inch because that’s how much I needed, but what I bought, while labelled 2 inch, was only about an inch and a half. At first I was kind of ticked off about it, but it turned out to be a blessing in disguise. (more on that in a bit).
The plan was to get all my Atari 2600 carts on one side, then all my Game Boy and Game Gear on the other. I began hanging the shelves in a manner that can best be described as “the stupid way.”
Basically, I held the shelf where I wanted it, then I drilled wood screws diagonally right through to the shelf. It looked… not so great. But the shelves were holding!

I sent a picture to my friend Mike, and he told me I should get some small L brackets. He was very right. So I was off to the hardware store.
When I finally got the parts I needed, this is what I came up with.

Once I had these all built, installing them was MUCH easier, and the whole thing looked way more stable.
But back to why the shelf size turned out to be a good thing. Good ol’ M Network games! You know, those Atari 2600 games that don’t sit or stack ANYWHERE because they’re shaped like Intellivison carts with an extra fat rectangle at the bottom? Well, I set the shelf just far enough away from the wall so that extra bit fit perfectly behind the shelf. Look at that!

So I finally had them all in place, and I gotta say I am extremely pleased with how it came out.
I do wish I had enough wood to make the shelves go all the way to the floor, but I have to be at peace with the fact that I will never have every cartridge I own out and about. And this is fine because I just don’t need better access to my Odyssey 2 games. They’re in an easy to reach bin, and that’s going to be good enough.

There’s still a lot of stuff on the floor, but we’ll get there. I have a whole other chunk to fill with shelves, and then we’ll see just how much of these bins I can empty.
A Super Solution
Now that I knew what I was doing, setting these ones in place went much quicker, and I really can’t tell you how much having my Game Boy games on a shelf like this makes me happy. Just being able to flip through them without others falling all over the place is like a dream come true. I still have to alphabetize them and the Game Gear games, but this is such a tremendous relief.

It took up less room than I expected it to though. So I had to decide what I was going to do with the rest of the room. As it turned out, I had exactly enough room to put my loose SNES carts!

This was great because the way I had them on the shelf they were on before wasn’t working out. They were all stacked on top of one another instead of on their sides, so if I wanted to grab a single cart, it was a guaranteed mess/balancing game. This though, is perfection.

This process cleared out three whole shelves on the other wall, and after much consideration, I decided the best use of that space would be to empty the two giant bins of Sega Genesis games I had and line them up.

Not only do the games look pretty nice there, but losing those giant bins allowed me to take some of the things that had been clogging up my floor and get them put back in the corner. It’s nice to have more breathing room in there.

And I think that’s going to do it. The only thing left to do now is start thinning this stuff out. There’s no shortage of stuff here that I don’t really need, and while I’ve been weeding out duplicates as I go, it occurs to me that maybe I don’t need to own a copy of We’re Back for Game Boy. That process is going to be intimidating, but I think a well-curated collection will make me more happy than just a massive numbers game.
Until next time!
The Game Room story so far
Creating a Game Room: Part 23 - Filling in the Gaps
Creating a Game Room: Part 22 - The Closet Conundrum
Creating a Game Room: Part 21 - Decorating and Procrastinating
Creating a Game Room: Part 20 - Console Consolidation
Creating a Game Room: Part 19 - So Long, Temporary Solutions!
Creating a Game Room: Part 18 - And Everything Inbetween
Creating a Game Room: Part 17 - Atari to Xbox
Creating a Game Room: Part 16 - Making Nintendo Look Good
Creating a Game Room: Part 15 - Overdoing it on Organizing
Creating a Game Room: Part 14 - At Long Last, SHELVES
Creating a Game Room: Part 13 - Adventures in Consolidation
Creating a Game Room: Part 12 - On the Blink
Creating a Game Room: Part 11 - Reclamation at Last
Creating a Game Room: Part 10 - Paint it Black
Creating a Game Room: Part 9 - Inspiration From Above
Creating a Game Room: Part 8 - A Nice Place to Sit
Creating a Game Room: Part 7 - Two Steps Forward…
Creating a Game Room: Part 6 - Love (HDMI) Connection
Creating a Game Room: Part 5 - CRTs are Heavy
Creating a Game Room: Part 4 - Arcade Dreams
Creating a Game Room: Part 3 - Shelf-Satisfaction